29
5.5 ETHERNET CONFIGURATION
The chiller can be remotely monitored and operated through any PC connected to the same network where
the chiller is connected via Ethernet.
To be able to access the chiller remotely it is first necessary to configure its IP address. Follow these steps on
the external controller display to do so:
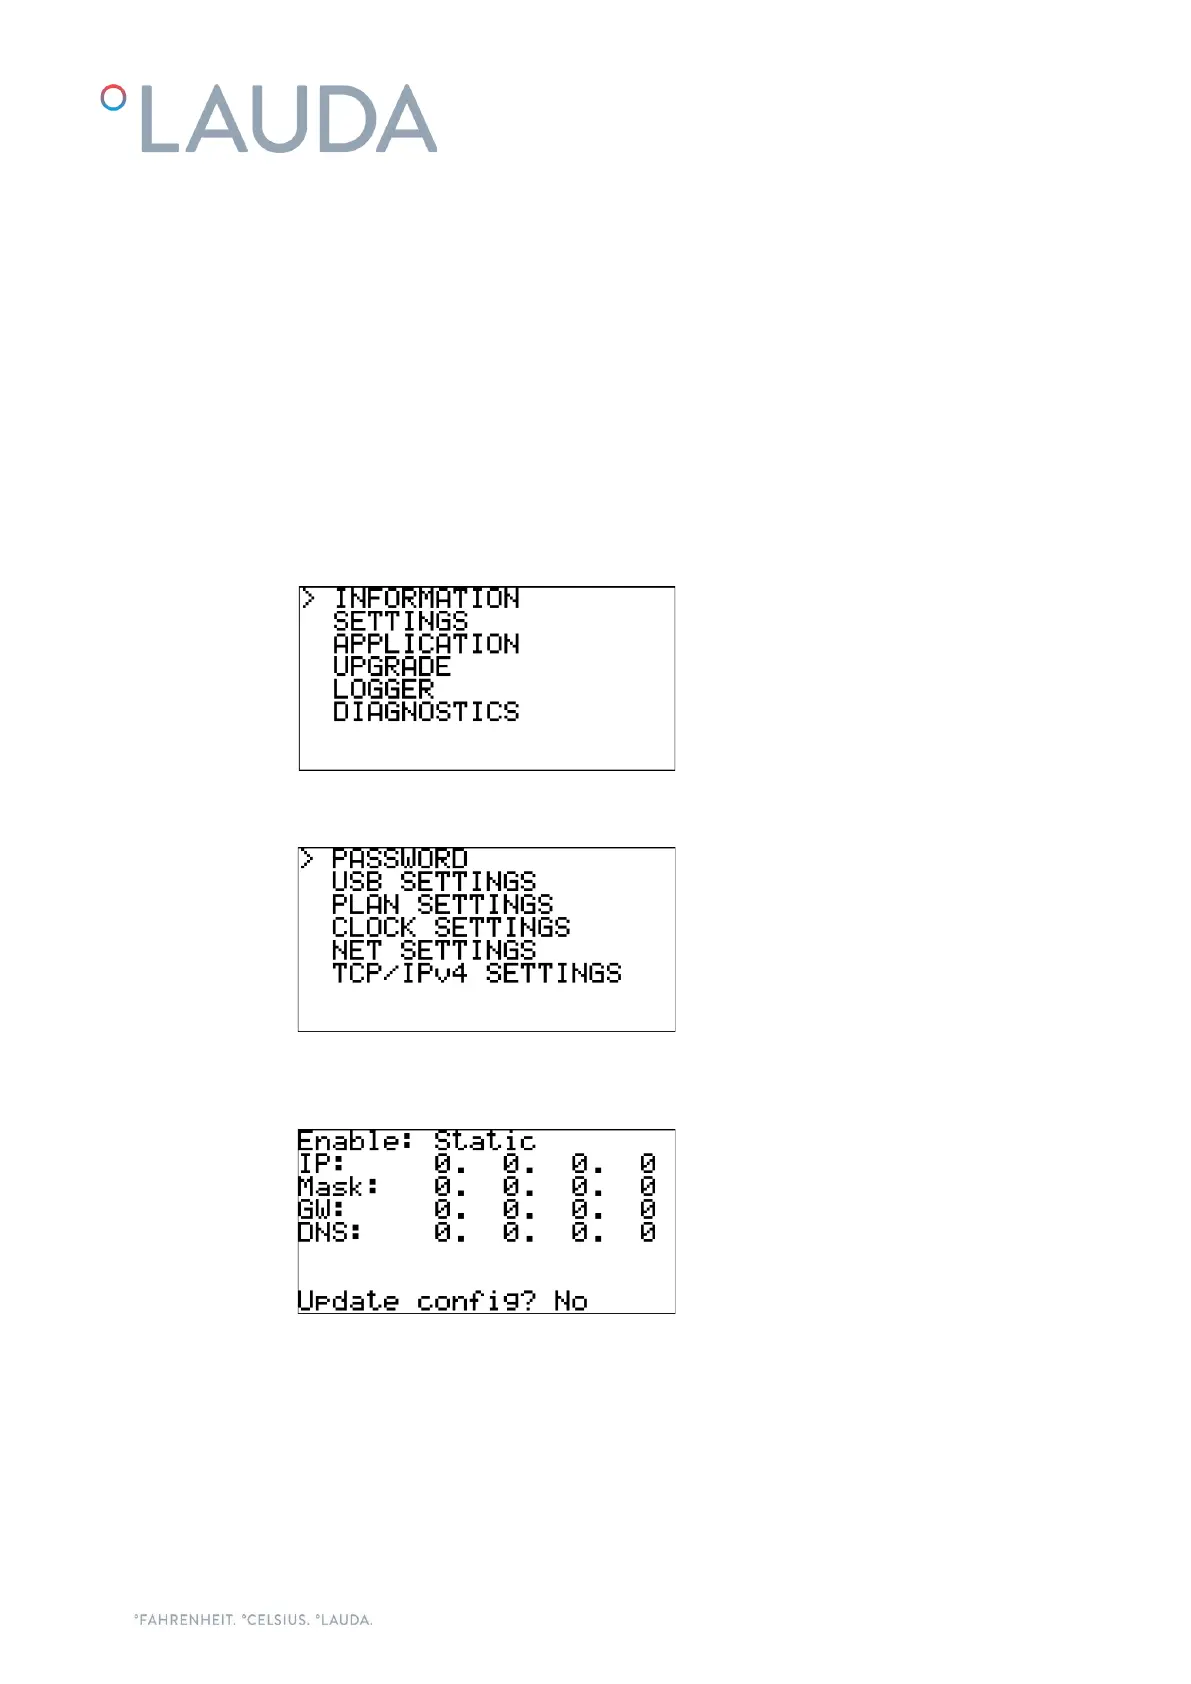
1. Press the Alarm and the Enter buttons for a few seconds, until the display changes to the following
screen:
2. Use the Down button to select “SETTINGS” and press Enter to access the Settings menu:
3. Use the Down button to select “TCP/Ipv4 SETTINGS” and press Enter to access the IP Configuration
screen:
4. In this screen, use the Enter button to move to the next field and Up and Down to change the values.
Check with your IT team which values are correct for your local network.
Once done, select the “Update config?” field, change it to Yes with the Up button and confirm with
Enter. This will save all the new values.
Note: If no button is pressed during 30 seconds, the controller discards any changes that have not been saved
and goes back to the Main screen.