The LEDSs will “run” Left To Right alternatively Blue / Green
The calibration process may take up to a minute or two and when finished, the
LEDs will display (green) any previously selected sources and zones or revert
to standby (right hand LED only, pulsing green/blue) if that was the previous
state.
5.3 Creating input to output switched selections
While this would typically be performed by RS232 commands from your control system,
basic selections may also be performed manually by following these steps in
sequence.
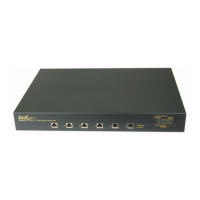
Manually select output zone
Press the right hand press button switch sequentially until one of the LEDs in the lower
row corresponding to the desired output (zone) is blue, then release the switch and
proceed to the next step.
The left hand six LEDs in the lower row indicate the output zones 1 to 6 left to right.
(Zone 2 is depicted in this picture)
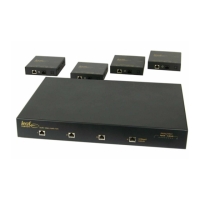
Manually select the input source for that zone
Press the left hand press button switch sequentially until one of the LEDs in the upper
row corresponding to the desired input (source) is blue, then release the switch.
The left hand six LEDs in the upper row indicate the input sources 1 to 6 left to right.
(Source 1 is depicted in this picture)
 Loading...