This example is based on the last example (see 7.2.5.1).
Three different print jobs shall be printed. The print-out shall not be carried out in a
fixed order but on the basis of direct addressing each print job. The addresses of the
print jobs shall be 1, 5 and 7 and the print order 1-7-5-5-1. The job list is the same
as for Example 1 but the parameters of the single print jobs are different.
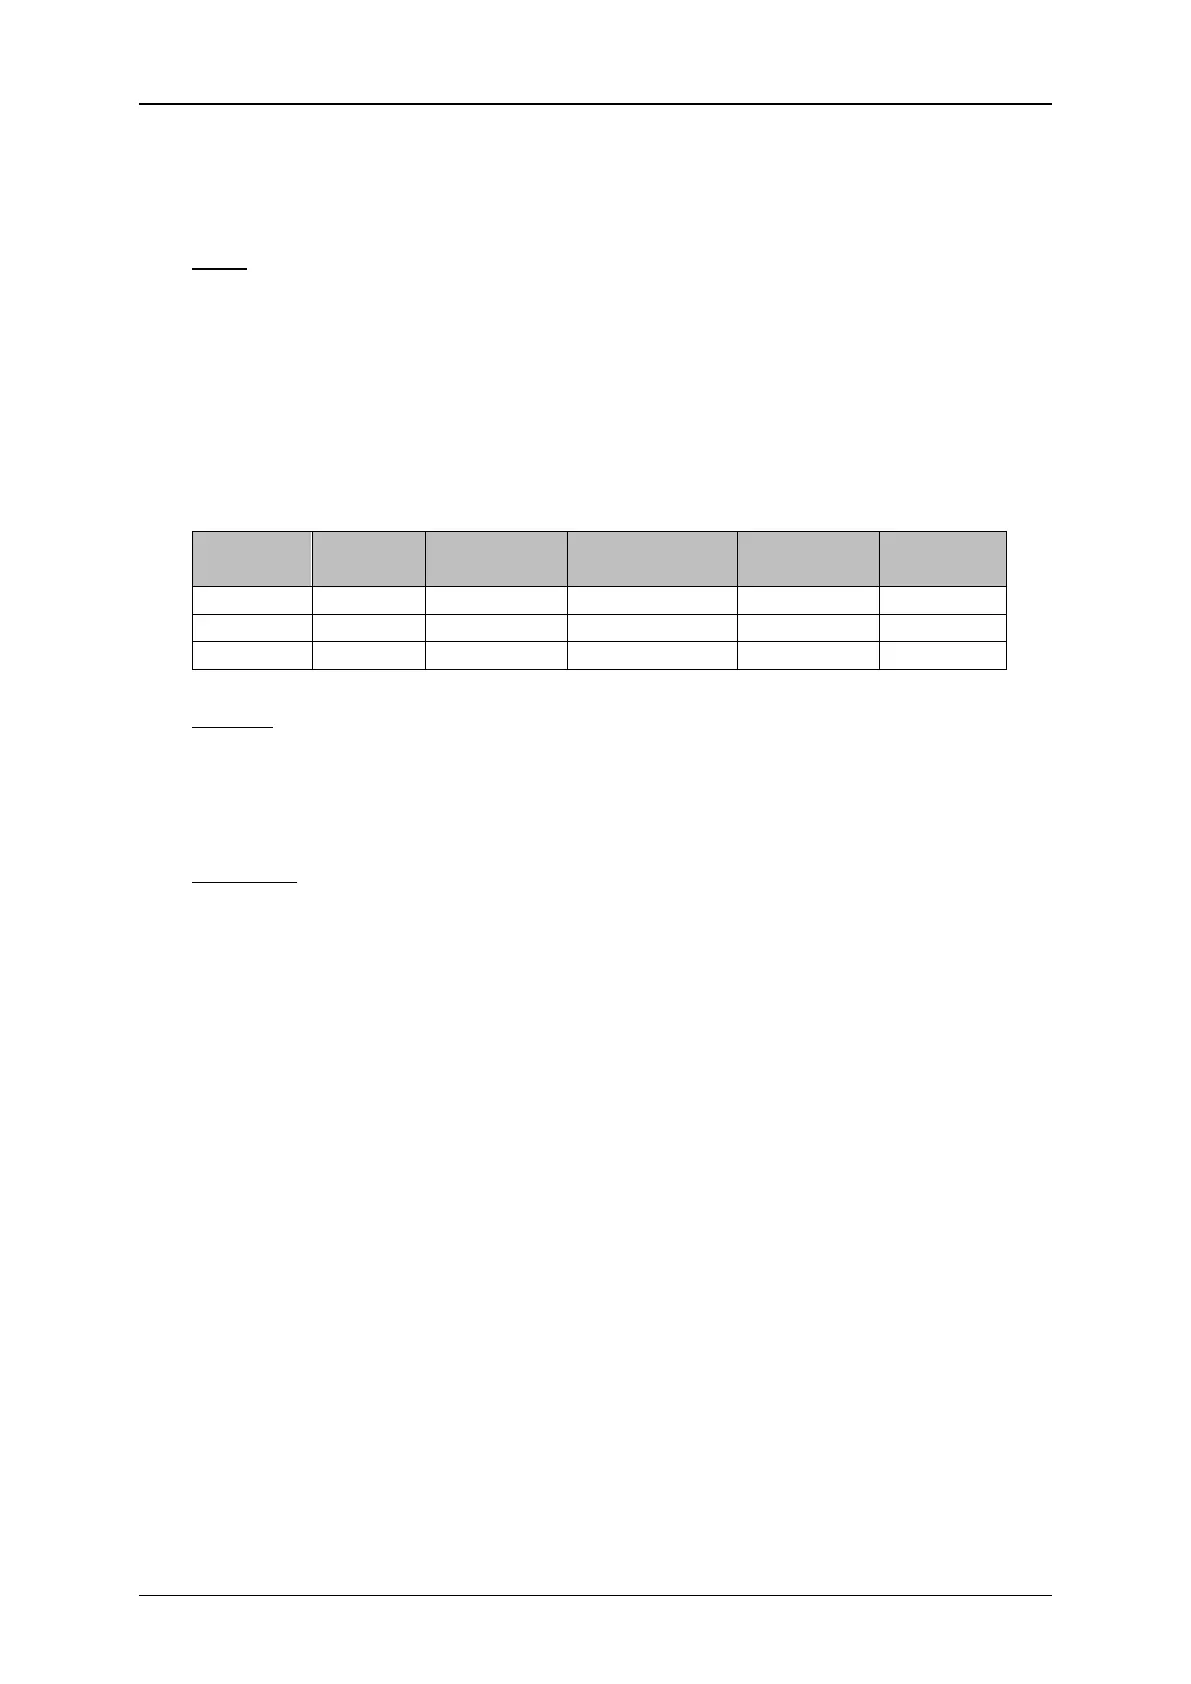
For this example the following parameters were added to each print job:
Presets:
The presets for this example are the same as for example 1.
Settings:
The joblist settings are the same as for example 1.
Approach:
The numbers in brackets refer to the pictures in Figure 41.
2. Apply the address of the print job at the first position of the job list to the X4
connector (decimal=1; 10-bit binary=0000000001) (4).
3. With the next <PrintGo> signal the addressed print job will be printed. For
this print job the <PrintGo delay> is set to 0 mm. Therefore the print out will
start directly with the <PrintGo> signal (6). <PrintGo repetition> is set to
two and the <PrintGo distance> is set to 60 mm. Therefore there will be a
total of three print outs (6) and the distances between the first dots of each
print out/repetition will be 60 mm (7).
4. Apply the address of the print job at the seventh position of the job list to the
X4 connector (decimal=7; 10-bit binary=0000000111) (13) (8).
5. With the next <PrintGo> signal the addressed print job will be printed. For
this print job the <PrintGo delay> is set to 30 mm. Therefore the print out
will start 30 mm after the position where the <PrintGo> signal occurred (9).
<PrintGo repetition> is set to 1 and the <PrintGo distance> is set to 70
mm. Therefore there will be a total of two print (10) outs and the distances
between the first dots of each print out/repetition will be 70 mm (11).
6. Apply the address of the print job at the fifth position of the job list to the X4
connector (decimal=5; 10-bit binary=0000000101 (12).
 Loading...


