29
Chapter 4Frame Mortise & Tenon Jig User Guide
MORTISE & TENON ROUTING PROCEDURES
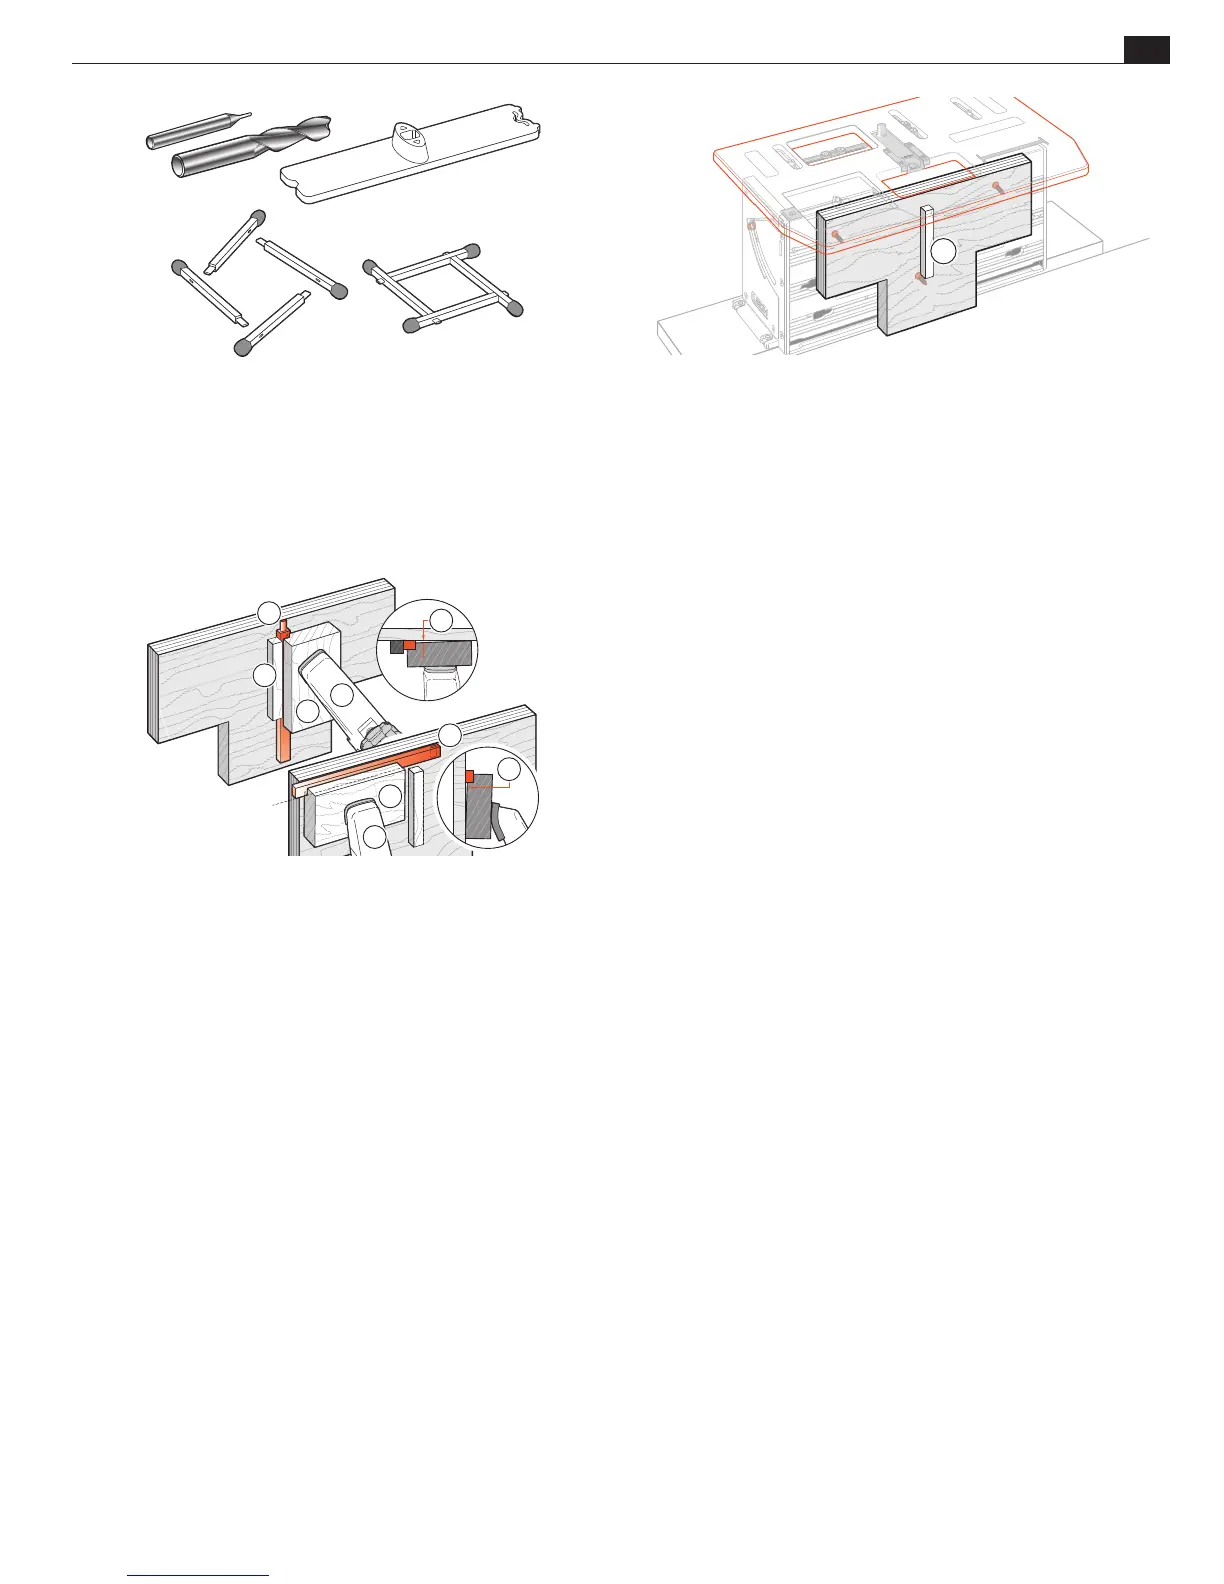
4-38 The tiny
1
⁄32" x
3
⁄32"[0,8 x 2,4mm] mortises and tenons on this
“match frame” were formed (with machine tool bits) on a
1
⁄4"x
5
⁄16"
guide. The
15
⁄32" tenon bit is
7
⁄32" larger than
1
⁄4". The
1
⁄32" bit is
7
⁄32"
smaller than
1
⁄4". A similar metric set: 6mm guide; 1mm mortise bit,
and 11mm tenon bit to produce 1mm joints. Machine tool bits as
small as 0.010" with
1
⁄4" shanks and similar metric are available from
machine tool suppliers.
4-39 For very small joints we recommend attaching a rigid piece
of ply or MDF minimum
3
⁄4"[20mm] to the clamp plate, using
the through screw holes in the plate. This should have its own
mini side stop fence attached for tenons
➀
.
1
4-40 To hold very small workpieces
➁
, make up a rabbeted
holder
➂
with the rabbet slightly shallower than the workpiece
thickness, leaving a gap at
➄
and
➈
. i.e. For Tenons: Side stop
➀
Tenon Piece
➁
Holder
➂
Clamp
➃
Gap
➄
. For Mortises: Mortise
Piece
➅
, Holder
➆
, Clamp
➃
, Gap
➈
.
■
1
2
3
4
5
6
9
7
4


 To Next Page