Setting The
Time, The First Time
IMPORTANT:
The first time you connect your new SmartSet
®
clock radio to the
AC outlet the internal computer will automatically set the time correctly for the
area you live
which
is the initial default setting. The displays will scroll
for a
few seconds and then show the correct
Year, Month, Date, Day and Time in
your area
.
Your clock is set correctly and running.
If you
want to move to other European countries
you must change the default zone
display to your own zone
which follows the
Greenwich time standard
. You only do this one time
and the SmartSet
®
will remember
the new default zone setting and will always return to that setting
after a power
interruption
. Actually, there are twenty four time zones you can select. Your
default tim
e zone number is
23
.
Time zone setting (according to the Greenwich timetable)
: GMT (Greenwich zero time)
1: GMT
1
2: GMT
2
3: GMT
3
4: GMT
4
5: GMT
5
6: GMT
6
7: GMT
7
8: GMT
8
9: GMT
9
10: GMT
10
11: GMT
11
12: GMT
12
13: G
MT + 11
15: GMT + 9
16: GMT + 8
17: GMT + 7
18: GMT + 6
19: GMT + 5
20: GMT + 4
21: GMT + 3
22: GMT + 2
23: GMT + 1
To change the default time zone display,
depress the
TIME ZONE
button. The number
23 will
appear on the display indicatin
g that
the default zone is ZONE 2
3.
Hold the
TIME ZONE
button and then press either the
SET
(Up) or (Down)
button until your own time zone appears on the display, then release the buttons.
The clock display will change to the correct time in the time z
one you selected. The
clock will always return to the correct time in the zone you selected after every
power interruption.
If you move to a different time zone, simply change the default zone display to the
new zone and the SmartSet
®
will remember that se
tting for you.
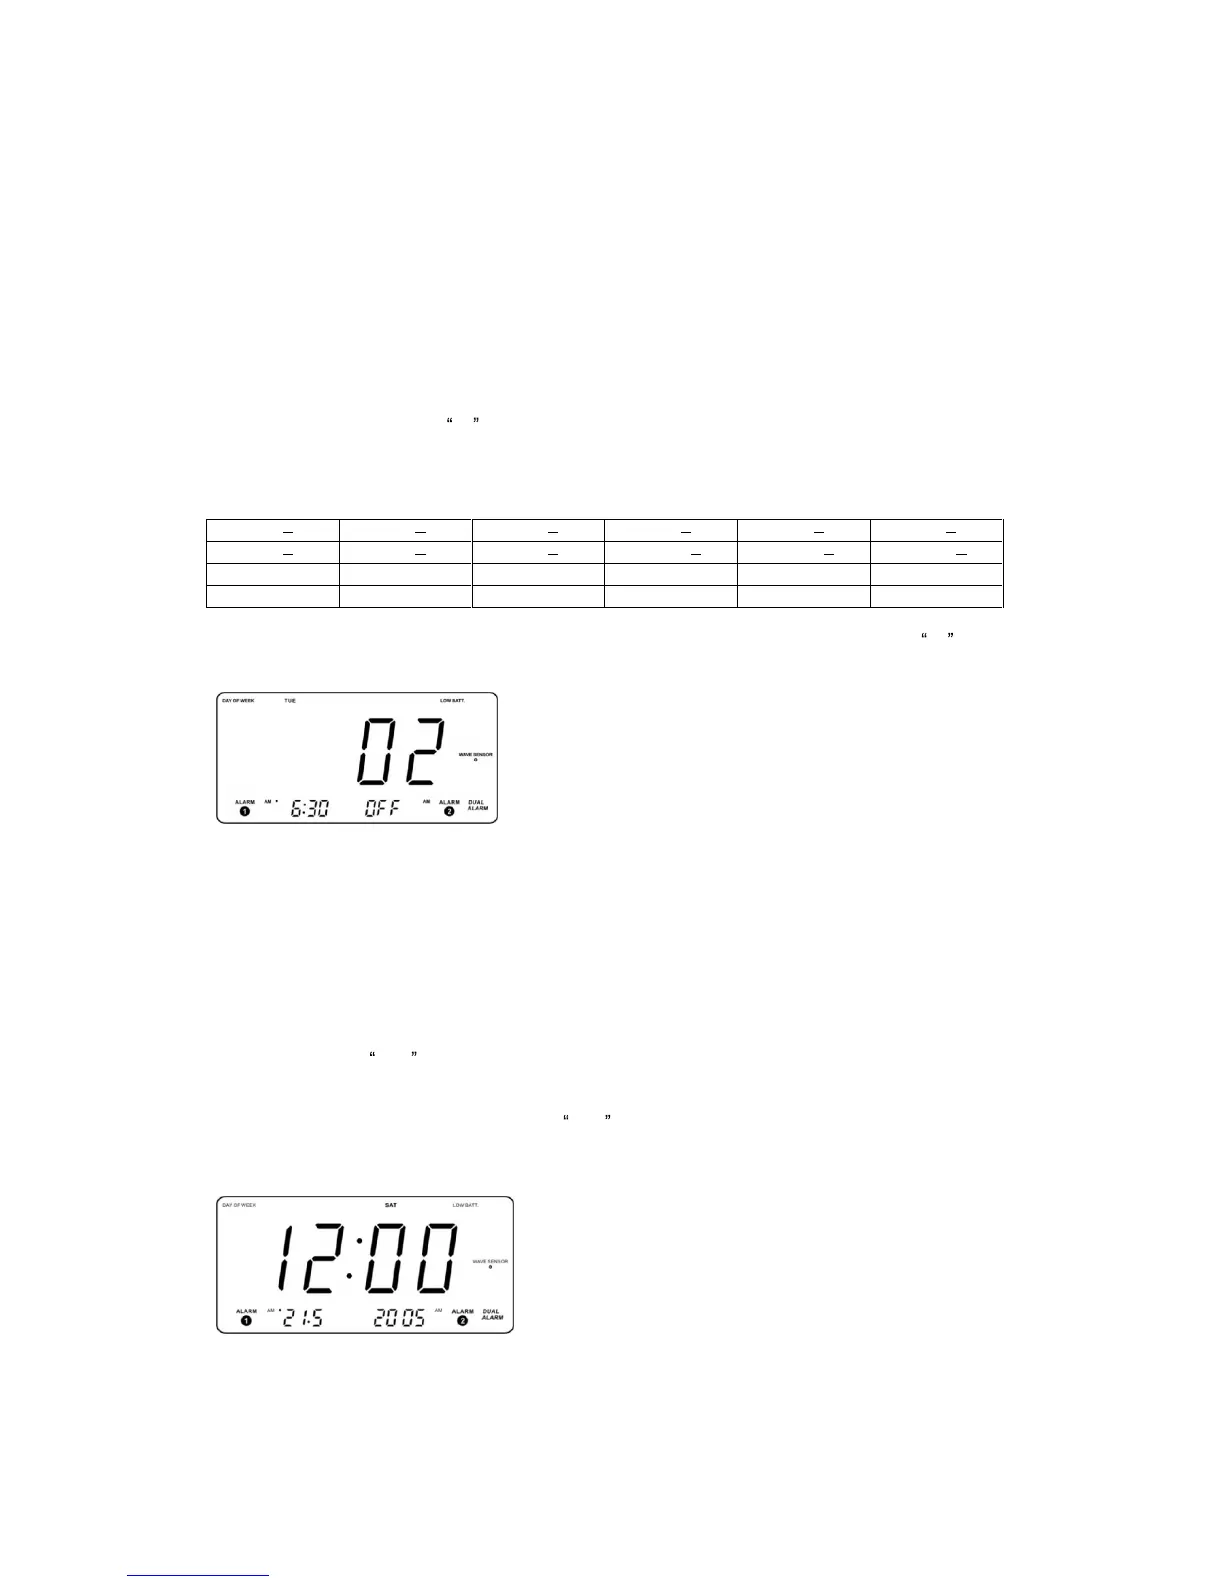
WAVE SENSOR
Month / Date / Year Display
To see the correct date at any time, press the
CALENDAR
button. The correct
month and date will appear in the
ALARM 1
display and the correct year will appear
in the
ALARM 2
display. The month and d
ate is displayed in the
DD
.
MM
format.
For example, May 21
st
will be displayed as
21
.5 . The two small displays will
revert to the Alarm 1/ Alarm 2 indications a few seconds after you release the
CALENDAR
button.
 Loading...