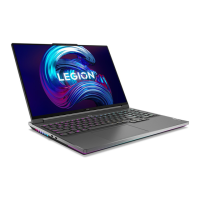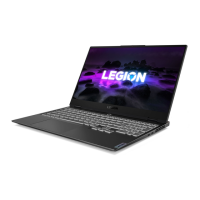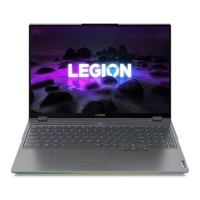
Do you have a question about the Lenovo Legion 7 16ACHg6 and is the answer not in the manual?
| RAM | Up to 32GB DDR4 3200MHz |
|---|---|
| Battery | 80Wh |
| Operating System | Windows 10 Home |
| Processor | AMD Ryzen 7 5800H / Ryzen 9 5900HX |
| Graphics | NVIDIA GeForce RTX 3080 |
| Display | 16" WQXGA (2560 x 1600), IPS, 165Hz |
| Storage | Up to 2TB SSD |
| Weight | 2.5 kg |
| Audio | 2 x 2W Harman speakers, Nahimic Audio |
| Webcam | 720p with E-shutter |
| Keyboard | RGB backlit |
| Ports | HDMI 2.1 |
| Wireless | Wi-Fi 6 (802.11ax), Bluetooth 5.1 |
General rules for safe maintenance and handling of equipment.
Rules to follow when working with electrical equipment.
Procedures to protect against ESD damage.
Information required when returning a FRU for exchange or repair.
Lists Customer Replaceable Units (CRUs) for specific models.
Explains how exploded illustrations help technicians identify parts for replacement.
Lists tools and consumables required for servicing Lenovo computers.
General rules to follow when removing or replacing FRUs.
Step-by-step instructions to remove the computer's lower case.
Procedure for removing the solid-state drive (SSD) from the laptop.
Instructions for safely removing the internal battery pack.
Procedure for removing the CPU/GPU thermal module.
Steps to disconnect and remove the main system board.
Instructions to remove the entire LCD assembly.
