Chapter 2. Get started with your computer
Connect to a network
Connect to a Wi-Fi network
Ensure that you have a secure Wi-Fi network account and the required credentials.
Step 1. Select the network icon
on the bottom right of your display.
Step 2. Select an available network, and then select Connect. If you want to be automatically connected to
this Wi-Fi network the next time you start your computer, select Connect automatically before
selecting Connect.
Step 3. Input your credentials if necessary, and then follow the on-screen instructions to connect to the
desired Wi-Fi network.
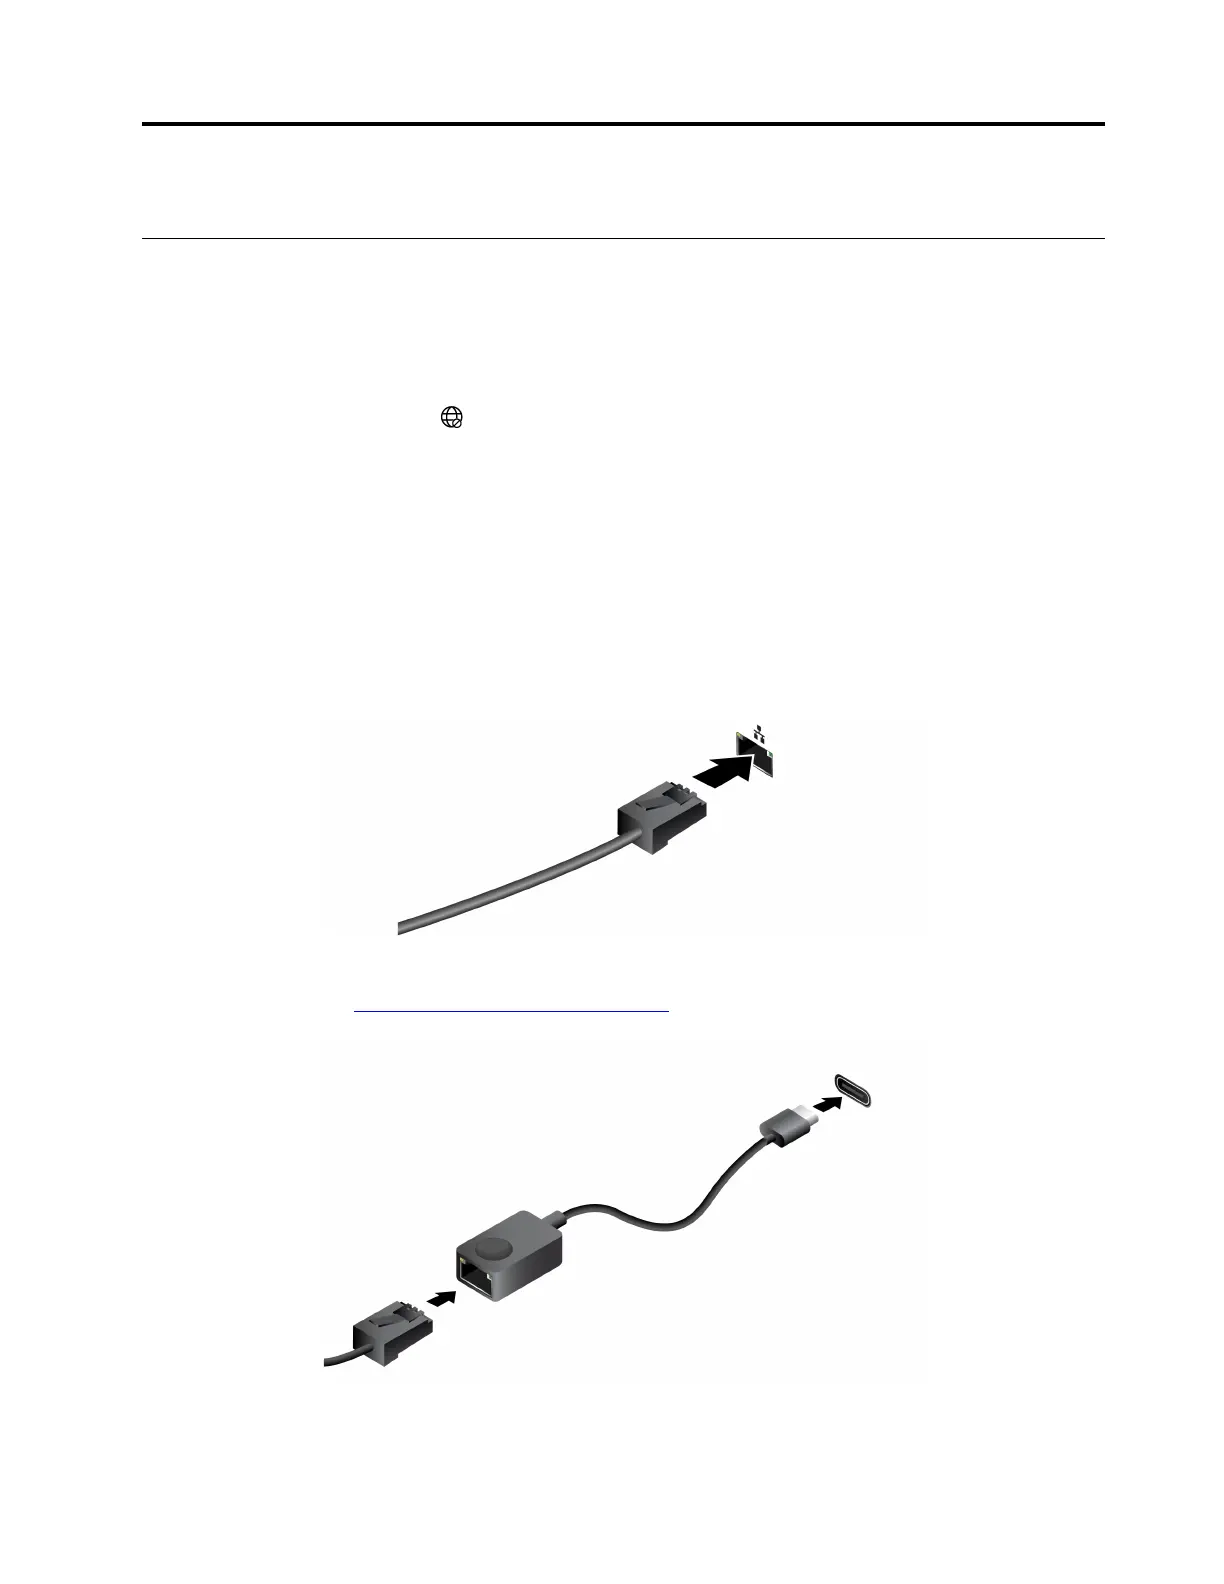
Establish a wired connection
Step 1. Plug an Ethernet cable into the Ethernet connector on your computer.
Step 2. Plug the other end of the Ethernet cable into a network wall jack or a router.
Note: If your computer does not include an Ethernet connector, you can purchase a USB-C to Ethernet
adapter from Lenovo at
https://www.lenovo.com/accessories.
© Copyright Lenovo 2023 15
 Loading...