Setup steps
3.
1. 2.
On
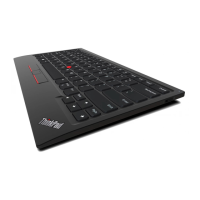
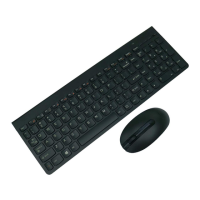
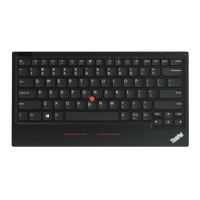
TrackPoint Keyboard II
4.
1s
5.
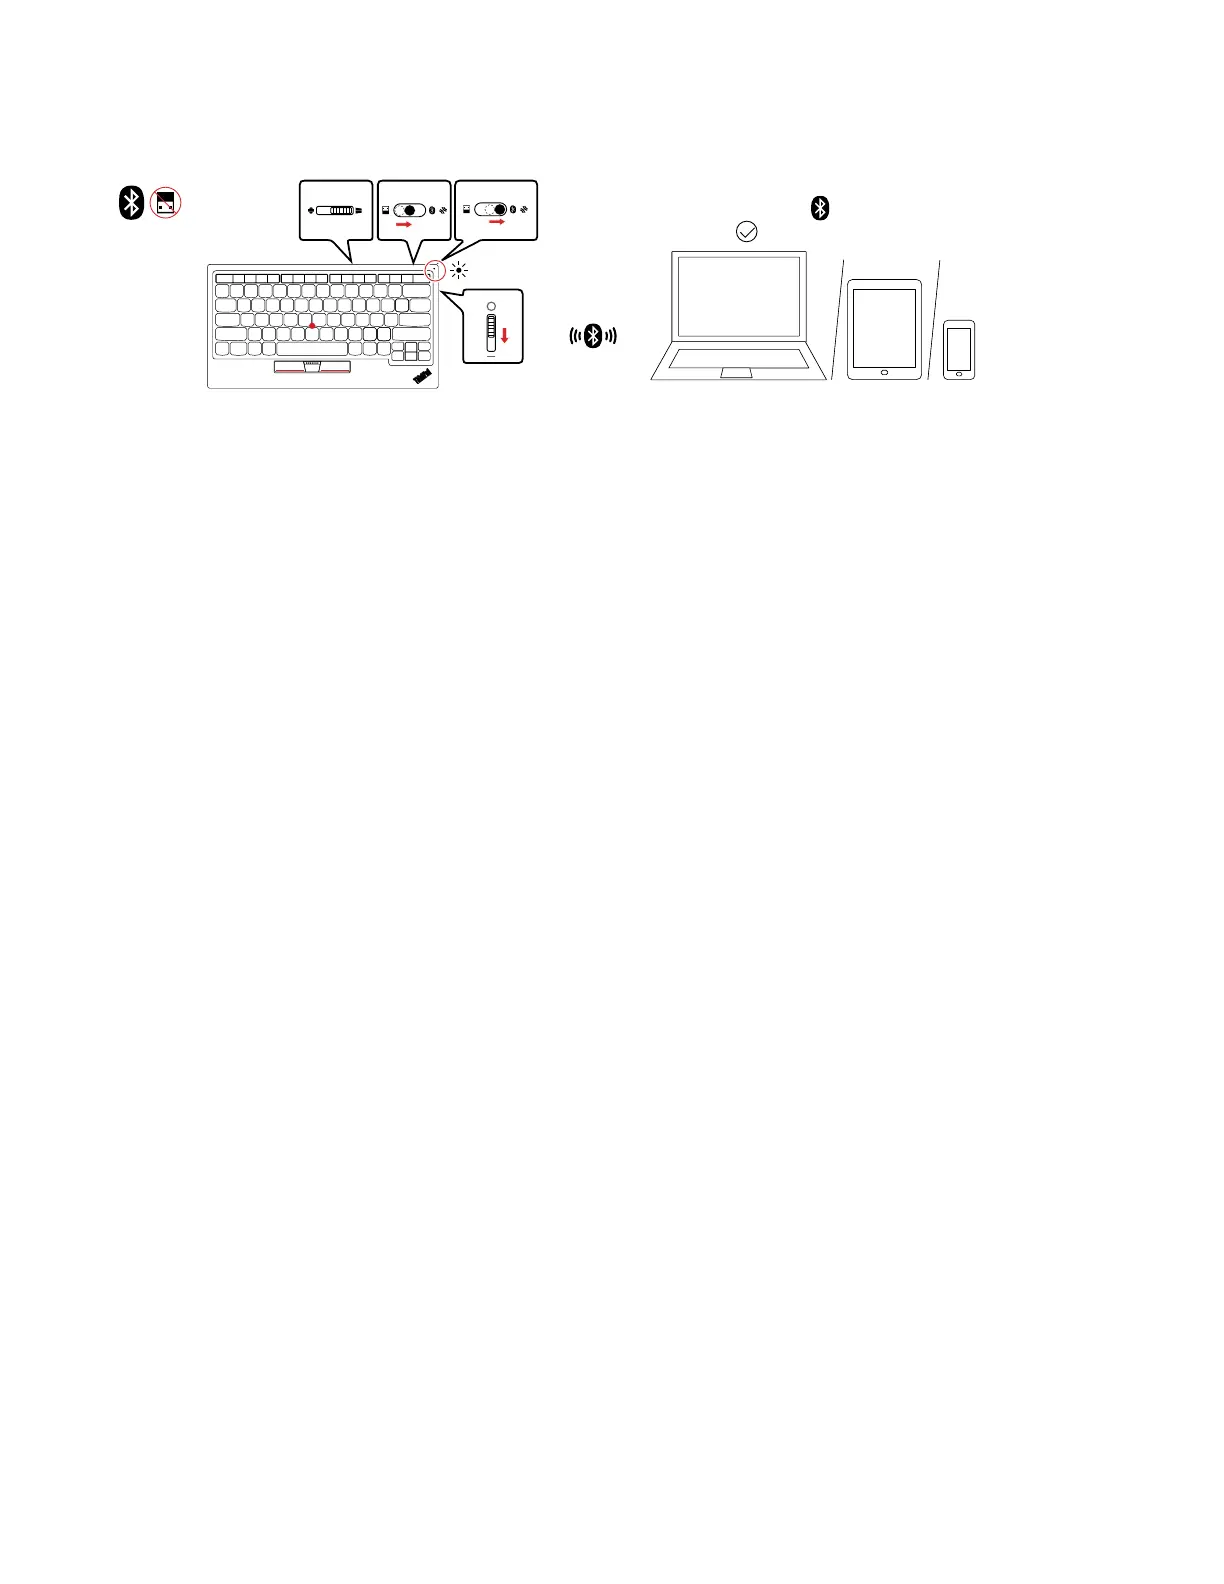
1. Slide the operating-system switch to choose the operating system according to that on your device.
2. Slide the wireless-mode switch to the middle position (Bluetooth mode).
3. Slide the power switch downward to turn on the keyboard. The power/Bluetooth LED turns on for one
second.
4. Slide the wireless-mode switch to the right position (pairing mode) and hold it for one second to enable
Bluetooth pairing. The power/Bluetooth LED blinks white once at one second intervals.
5. Enable Bluetooth on your device and follow the on-screen instructions to pair the keyboard. The
keyboard is discoverable in the name of TrackPoint Keyboard II under Bluetooth & other devices.
Ensure that you enter the PIN code as prompted and press Enter from the keyboard to complete pairing.
Tips
• For Windows 10 (version 1803 or later) enabled device, you can use Swift Pair to pair the keyboard more
quickly. For more information about Swift Pair, see the Windows help information.
Notes:
– Ensure that Show notifications to connect using Swift Pair is selected before using Swift Pair.
– Ensure that you enter the PIN code as prompted and press Enter from the keyboard to complete
pairing.
– The keyboard is discoverable in the name of Bluetooth Keyboard. After successful pairing, it is listed
in the name of TrackPoint Keyboard II under Bluetooth & other devices.
– If the Swift Pair prompt fails to display in the Windows notification area, use the traditional Bluetooth
pairing method to pair the keyboard.
• The keyboard and your device will automatically connect the next time when they are in range of each
other with Bluetooth turned on.
• Each time the keyboard pairs with the same device, the keyboard name TrackPoint Keyboard II repeats
under Bluetooth & other devices. You can either keep all those names, or keep the name that is in use
and remove the rest repeated names.
6
TrackPoint Keyboard II User Guide
 Loading...