2. Equipment Installation
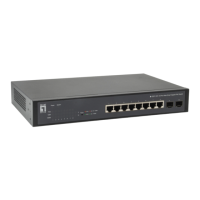
■ Installing the Switch in a Rack
Install the switch on a 19-inch standard rack, and the installation steps are as follows:
1.
Check the grounding and stability of the rack;
2.
Install the two L-shaped brackets in the accessories on both sides of the switch panel, and fix
them with the screws in the accessories;
3.
Place the switch in the appropriate location of the rack, and support itusing a tray;
4.
Secure the L-shaped brackets on the guide slots fixed at both ends of the rack, to ensure that the
switch can be mounted on the rack in astable, horizontal manner;
5.
Use a power cord to connect the switch power connector with the powersocket.
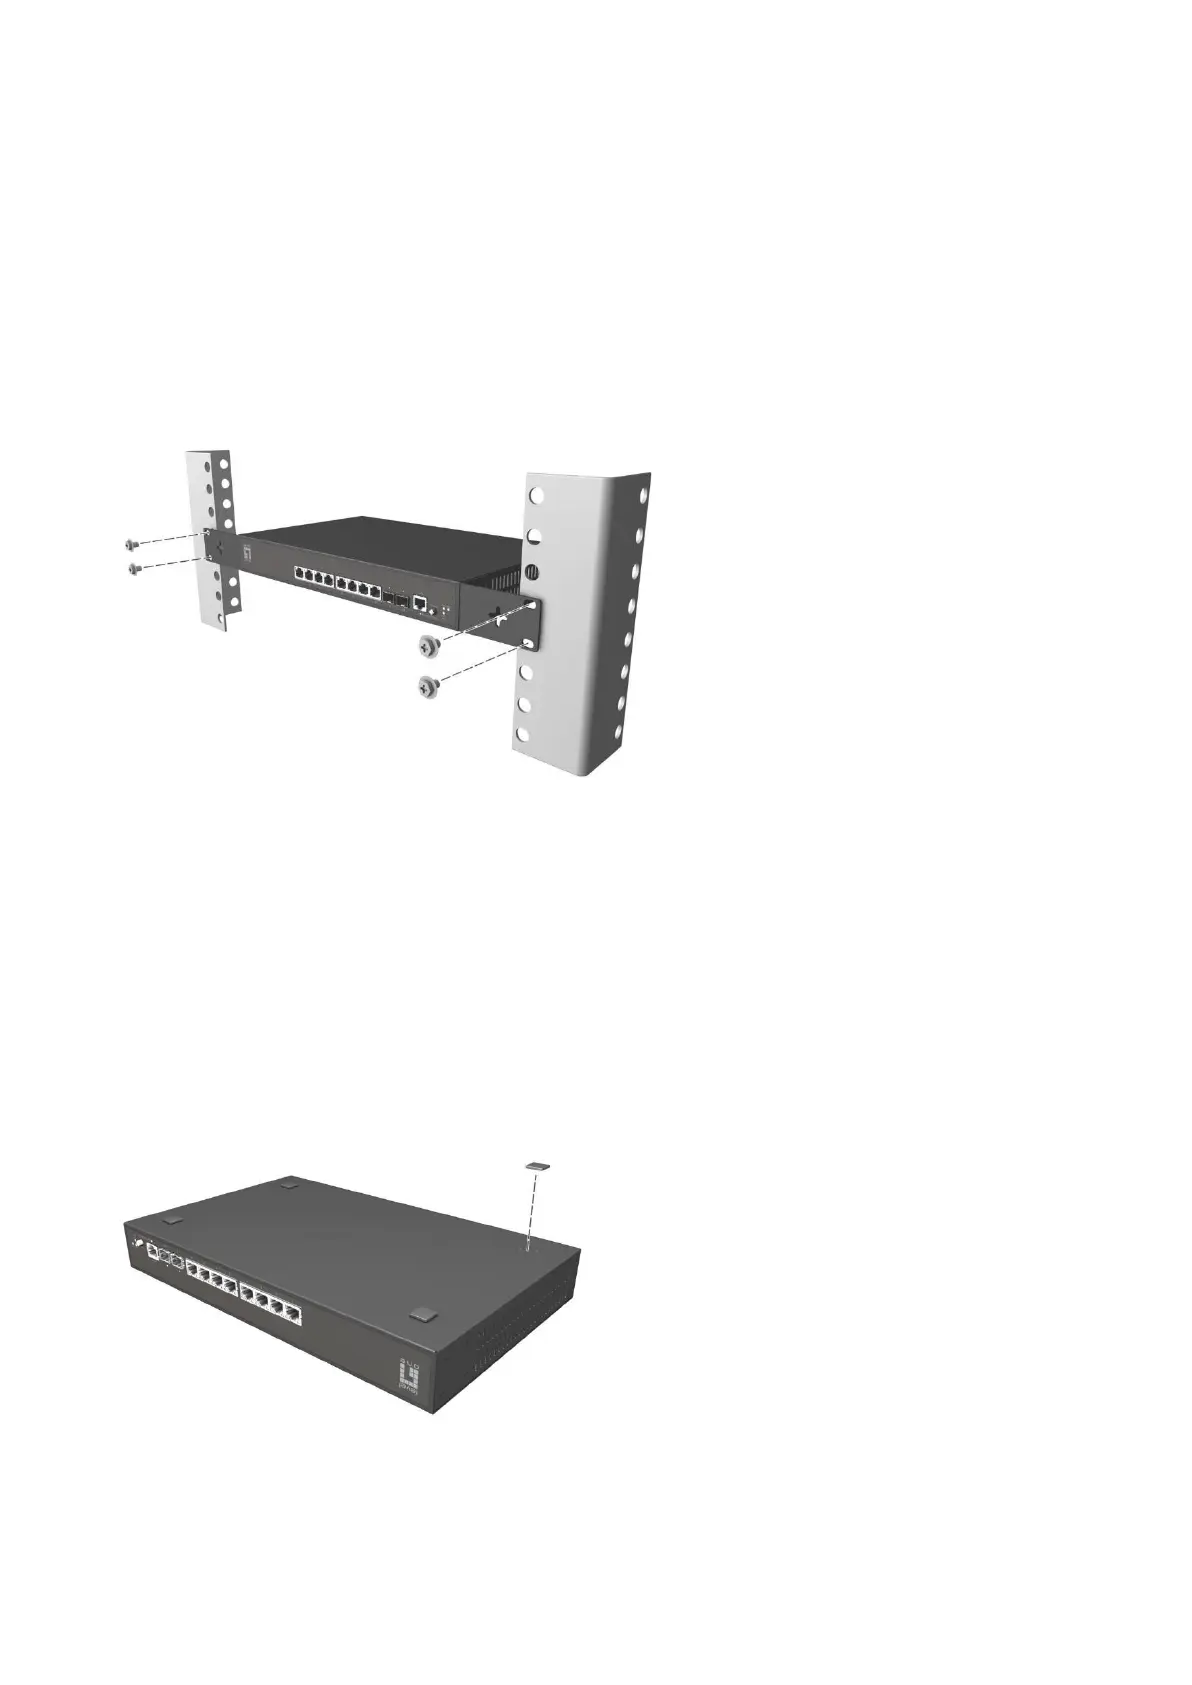
■ Installing the Switch on a Desktop
Install the switch on a desktop, and the installation steps are as follows:
1.
Place the switch with its bottom up on a sufficiently large, stable and properly-grounded working
table;
2.
Remove the adhesive protective paper from the foot pad, and stick the 4 pads in the 4 round slots
at the bottom of the casing respectively;
3.
Flip over the switch, and place it on the working table stably;
4.
Use a power cord to connect the switch power connector with the power socket.