LIMITED 5 YEAR WARRANTY AND EXCLUSIONS
Levitonwarrantsto the originalconsumerpurchaserand not forthebenetof anyone elsethatthis product at the timeofits sale by Levitonis free of defectsinmaterialsand workmanship under normal andproperusefor veyearsfrom the purchase date.Leviton’sonly obligation istocorrectsuch defects byrepairor replacement, at itsoption,ifwithin such veyearperiodthe product is returned prepaid,with
proofofpurchase date, andadescriptionof the problemtoLeviton Manufacturing Co., Inc., Att: Quality Assurance Department, 201 North Service Road, Melville, New York 11747.This warrantyexcludesand there isdisclaimedliability forlaborforremovalofthis product or reinstallation.Thiswarrantyis voidifthis product is installedimproperlyorin an improperenvironment,overloaded, misused,opened,
abused,oralteredinanymanner, or is not used under normal operating conditions or not in accordance with anylabelsorinstructions.There are no other or implied warranties of any kind, including merchantability and fitness for a particular purpose,but if any implied warranty is required by the applicablejurisdiction,thedurationofanysuchimpliedwarranty, including merchantability and tness for
a particular purpose, is limited to veyears. Leviton is not liable for incidental, indirect, special, or consequential damages, including without limitation, damage to, or loss of use of, any equipment, lost sales or profits or delay or failure to perform this warranty obligation.The remedies provided herein are the exclusiveremedies under this warranty, whetherbasedoncontract,tortorotherwise.
PK-93918-10-00-2B©2012LevitonMfg.Co.,Inc.
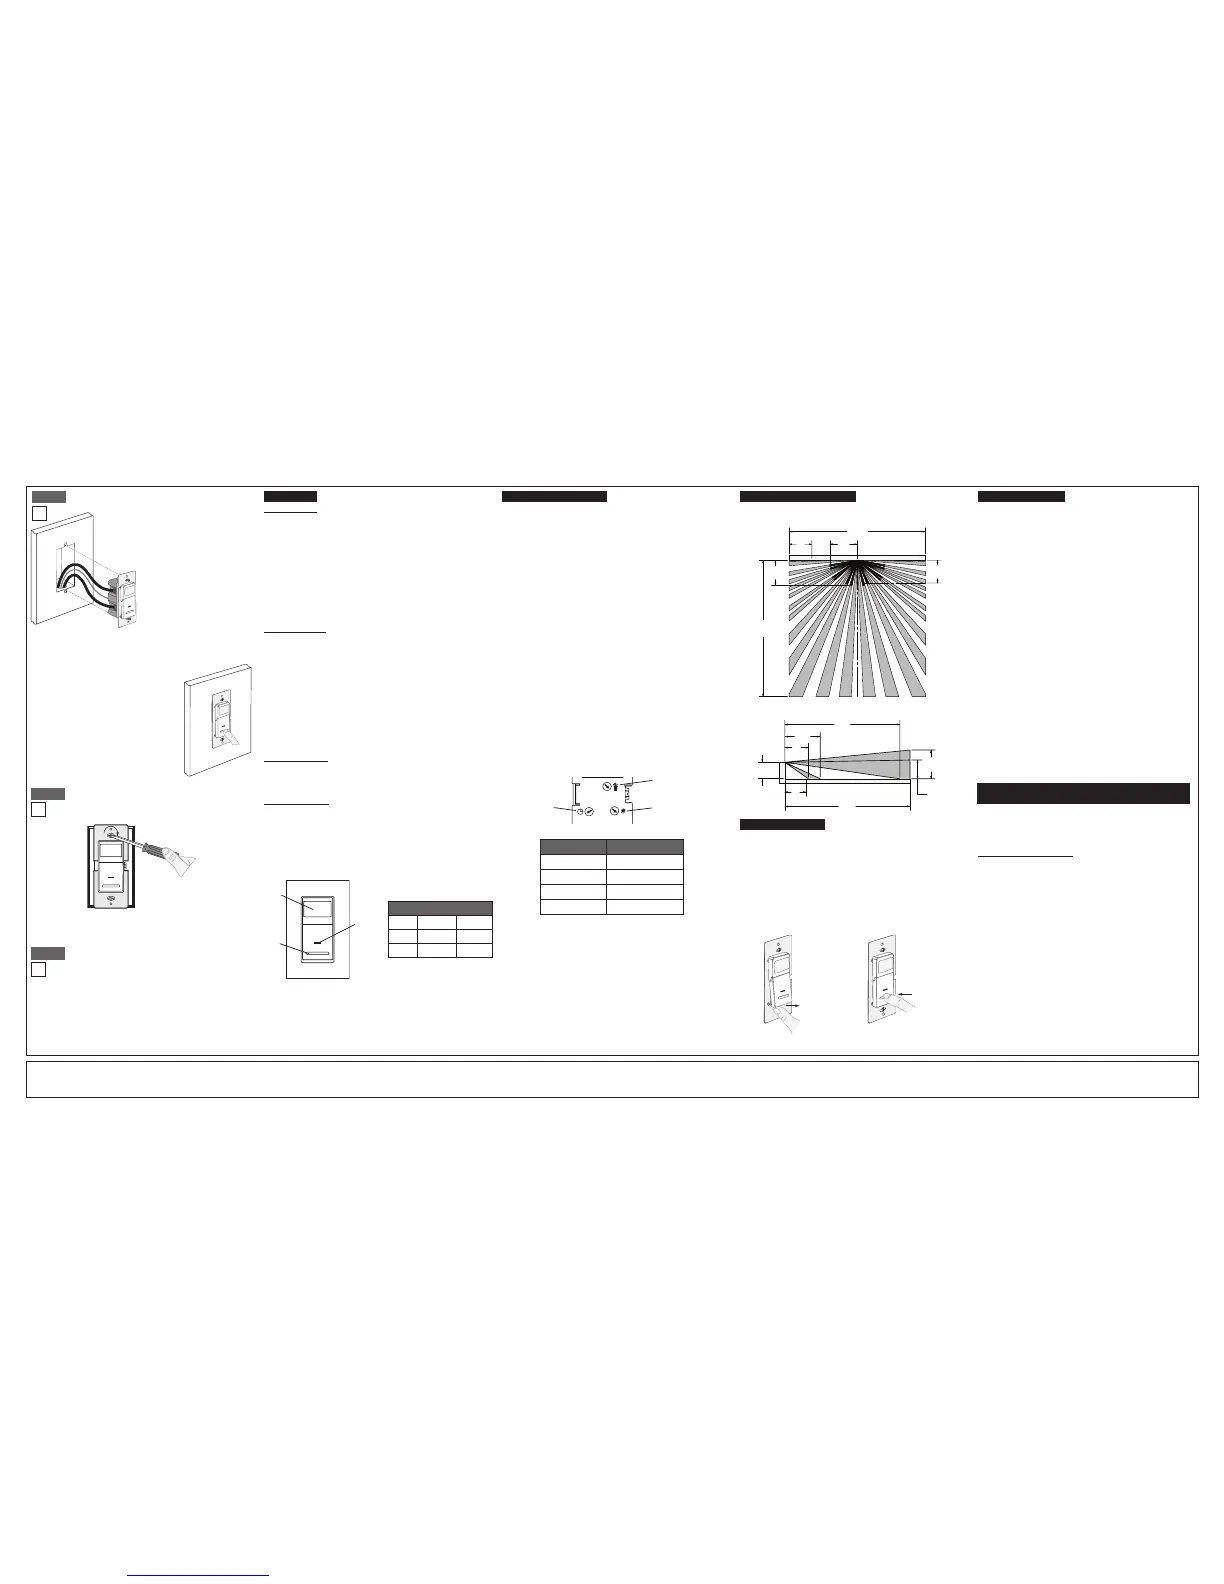
• Positionallwirestoprovideroominoutletwallboxfordevice.
• Ensurethattheword"TOP"isfacingupondevicestrap.
• Partiallyscrewinmountingscrewsinwallboxmountingholes.
• Restorepoweratcircuitbreakerorfuse.
• ForIPSD6lightswillautomaticallyturnON
afterpowerisapplied.
• ForIPVD6,pressandreleasepushpadto
turnthelightsON.
See Locator Light Status chart to
confirm the operational state of the
device.
If lights still do not turn ON, refer to the
TROUBLESHOOTING section.
Testing your Device prior to mounting in
wall box:
Step 5
Restore Power:Restorepoweratcircuitbreaker
orfuse.
Installation is complete.
Step 7
Device Mounting:
TURN OFF POWER AT CIRCUIT BREAKER OR
FUSE.
Step 6
Installationmaynowbecompletedbytighteningmountingscrews
intowallbox.Attachwallplate.
Locator Light LED:
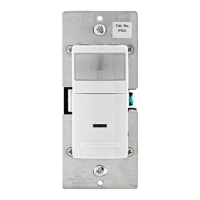
IPSD6:
LEDblinkswhenmotionisdetected.
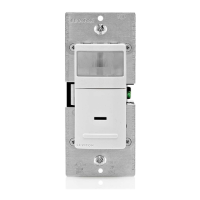
IPVD6: LEDblinkswhenmotionisdetectedandloadisON.
LEDwillremainilluminatedwhenloadisOFF.
Enabling Kick Start
1. Pullthepushpadoutfromthebottom(toactivatetheairgapswitch).
2. Pushthepushpadgentlybackintoplaceuntilthebuttonis
pushedtoo.
3. Keepthebuttonpushedfortenseconds.
4. Devicewillblinkthelocatorledtoindicatesuccessfulprogramming.
a.CFLmode(kickstart): 2blink
b.LED/Incandescentmode: 1blink
NOTE: Dresswireswithabendas
shownindiagraminordertorelieve
stresswhenmountingdevice.
For additional information, contact Leviton’s Techline at
1-800-824-3005 or visit Leviton’s website at www.leviton.com
ThisproductiscoveredbyU.S.Pat.No.7,924,155
andcorrespondingforeignpatents.
©2012LevitonManufacturingCo.,Inc.
AllRightsIncludingTradeDressRightsReserved
TROUBLESHOOTING
Lights do not switch ON - IPSD6:
• Motionisbeyondsensingrange,moveclosertoswitch.
• Adjustthelightleveladjustmenttowardlighterordarker,
dependingonroomconditions.
Lights always stay ON:
• Checktimedelaysettingsandcomparetohowlongthelights
stayON.
• Besurethatnomotionoccursincoverageareafortime
selected.
• Checkthatswitchisnotinstallednearaheatsource
(e.g.,stove,lights,heatvents)ordetectingmotionfroman
adjacentarea(e.g.,hallwaytrafc).Ifso,switchmayhave
toberelocated.
Lights do not turn ON - IPVD6:
• Checkthatswitchisinstalledcorrectly.
• CheckthatpowerisON.
• Checkthatlightbulbisfunctioning.
The LED or CFL bulb flickers or flashes during start up:
• Verifythebulbismarked"dimmable"Thisdeviceisintendedto
operateonlydimmableLEDandCFLbulbs.
Flickering is observed at low dim level:
• SomeLEDandCFLbulbsdonotachievethesameminimum
lightlevelofincandescent.Refertosectiononadjustingthe
minimumbrightnesssettingforLEDandCFLbulbs.
CFL bulb appears to flicker:
• CFLbulbsmayrequireseveralminutesofwarmuptostabilize
thelight.
LED or CFL bulbs do not turn on:
• RefertosectiononenablingkickstartfeatureforCFLandLED
lamps.
NOTE:Ifproblemscontinue,consultanelectrician.
ADJUSTMENT SETTINGS
1. Withpowerrestoredandwallplateremoved,removefaceof
devicetoexposesettingcontrols,seecolorchangeinstructionsin
page1.Useyourngerorasmallscrewdrivertoadjustthelight
sensitivityandtimesettingsonthedeviceasfollows:
Light Level Adjustment:
• Turnthecontrolclockwise.LightswillturnONinlighter
conditions.
• Turnthecontrolcounter-clockwise.LightswillturnONinless
lightingconditions.
•Adjustinglightlevelfullycounterclockwisewillrequiremanual
operationofthesensor.
Time Selection:
• Adjustthetimeselectortothedesiredlengthoftimethelights
aretoremainON.LightswillremainONfrom30secondsto30
minutesaftertheroomisvacated.
• Turnthecontrolclockwise.LightswillremainONupto30
minutes(see table below).
• Turnthecontrolcounter-clockwise.LightswillremainONupto
30seconds(see table below).
CFL & LED dimming:Thedimmerfeaturesauseradjustabledial
forsettingtheminimumlightlevel.Thisfeaturecanbeusedwith
certainlightingloadstoreduceanyickeratlowlightlevels.
Minimum Dim Level Adjustment:
• Turnthecontrolclockwise.Lightswilldimtohigherlightlevel.
• Turnthecontrolcounterclockwise.Lightswilldimtolowerlight
level.
2. Testthatthelightlevel,timeselectionandminimumdimminglevel
aresetasdesired.Ifnot,repeatadjustmentsuntilsatised.
3. Mountwallplate.INSTALLATION IS COMPLETE.
OPERATION
REPLACING LAMPS
Light Level
Adjustment
Minimum Level
Dimming Adjustment
Time Selection
1 2
0 3
1 2
0 3
1 2
0 3
Time Settings Time
0 30Sec
1 5Min
2 15Min
3 30Min
Lens
Push
Pad
Locator
Light
LOCATOR LIGHT STATUS
LOAD
IPSD6 IPVD6
OFF
Blinking Lit
ON
Blinking Blinking
IPSD6: Auto On
Lightswillautomaticallyturnonwhenroomisoccupiedormotionis
detected.TheIPSD6willswitchlightsoffwhennomotionisdetected
inun-occupiedroomafterasetperiodoftime.
Time delay adjustment:refertosectiononAdjustmentsettings.
TheON/OFF/DIMpushpadcanbeusedtomanuallyturnthe
lightingloadONandOFFortodimitUPandDOWN.
Dimming:
OncetheloadhasbeenturnedON,pushandholdthe
ON/OFF/DIMbuttontodimthelightsUPorDOWN.Toreversethe
dimmingdirectionmomentarilyreleasetheON/OFF/DIMbutton,then
pushandholditagain.Onceyouachievethedesiredlightlevelthe
dimmerwillre-callthepre-setdimminglevelwhenturningontheload.
Light level adjustment:Refertosectiononadjustmentsettings.
IPVD6: Manual On
OperationrequirestheusertomanuallyturnthelightsONby
depressingtheON/OFF/DIMpad.LightswillautomaticallyturnOFF
whentheroomisleftun-occupiedforasetperiodoftime.
Time Delay Adjustment:RefertosectiononAdjustmentsettings.
Dimming:O
ncetheloadhasbeenturnedON,pushandholdthe
ON/OFF/DIMbuttontodimthelightsUPorDOWN.Toreversethe
dimmingdirectionmomentarilyreleasetheON/OFF/DIMbutton,then
pushandholditagain.Onceyouachievethedesiredlightlevelthe
dimmerwillre-callthepre-setdimminglevelwhenturningontheload.
NOTE:Ina3-wayapplication,the3-wayswitchprovidestheability
tomanuallyswitchtheloadONfromasecondlocation.Thesensor
willtimeoutandswitchtheloadOFFoncemotionisnolonger
detectedandthetimedelayexpires.
TheIPSD6andtheIPVD6utilizesanAirGapIsolationfeaturewhen
replacingalamp(s)connectedtotheIPSD6ortheIPVD6,forsafety.
1. PullthebottomofthepushpadoutasshownintheFigure A
untilitlocksintoplace.ThisengagestheAirGap,whichstops
electricityfromowingtotheconnectedload.
2. Afterreplacingthelamp(s),presstheAirGapSwitch(pushpad)
sothatitreturnstotheoriginalpositionensuringitisushwith
thesurfaceoftheSensor/Dimmer(Figure B).
3. TheSensor/Dimmerwillreturntoitspre-setconditionandis
readytooperate.
SENSING AREA COVERAGE
Field-of-View (Horizontal)
Side (Vertical) Field-of-View
FCC COMPLIANCE STATEMENT
ThisdevicecomplieswithPart15oftheFCCRules.Operationissubjectto
followingtwoconditions:(1)thisdevicemaynotcauseharmfulinterference,
and(2)thisdevicemustacceptanyinterferencereceived,including
interferencethatmaycauseundesiredoperationofthedevice.
Thisequipmenthasbeentestedandfoundtocomplywiththelimitsfora
ClassBDigitalDevice,pursuanttoPart15oftheFCCRules.Theselimits
aredesignedtoprovidereasonableprotectionagainstharmfulinterference
inaresidentialinstallation.Thisequipmentgenerates,uses,andcanradiate
radiofrequencyenergyand,ifnotinstalledandusedinaccordancewith
theinstructions,maycauseharmfulinterferencetoradiocommunications.
However,thereisnoguaranteethatinterferencewillnotoccurinaparticular
installation.Ifthisequipmentdoescauseharmfulinterferencetoradioor
televisionreception,whichcanbedeterminedbyturningtheequipmentOFF
andON,theuserisencouragedtotrytocorrecttheinterferencebyoneor
moreofthefollowingmeasures:
•ReorientorrelocatethereceivingAntenna.
•Increasetheseparationbetweentheequipmentandthereceiver.
•Connecttheequipmentintoanoutletonacircuitdifferentfromthatto
whichthereceiverisconnected.
•Consultthedealeroranexperiencedradio/tvtechnicianforhelp.
FCC CAUTION
AnychangesormodicationsnotexpresslyapprovedbyLeviton
ManufacturingCo.,Inc.,couldvoidtheuser'sauthoritytooperatethe
equipment.
Engage Air Gap
A) B)
Reset Sensor/Dimmer
1.5m
5ft
 Loading...