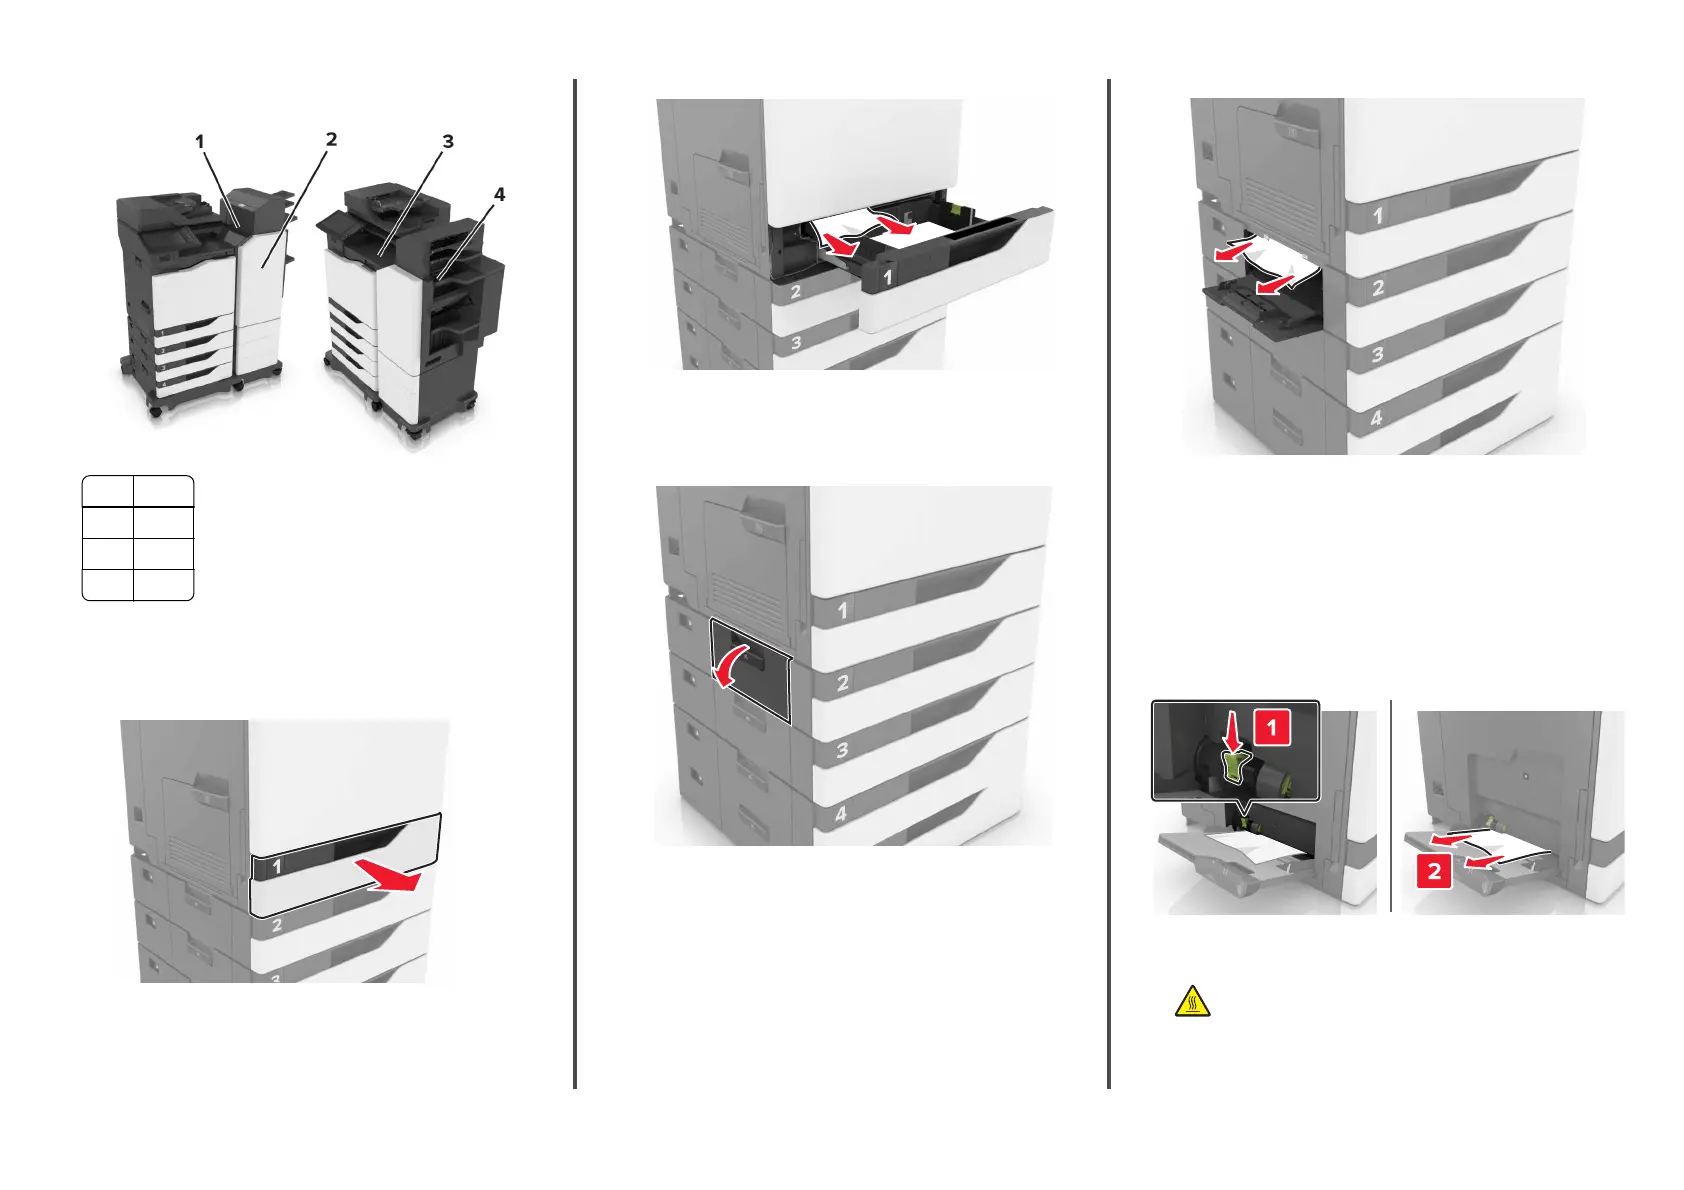
Finisher jam locations
1 Door L
2 Door J
3 Door K
4 Door N
Paper jam in trays
1
Pull out the tray.
2
Remove the jammed paper.
Note: Make sure that all paper fragments are removed.
3
Insert the tray.
4
Open the tray cover.
5
Remove the jammed paper.
Note: Make sure that all paper fragments are removed.
6
Close the tray cover.
Paper jam in the multipurpose feeder
1
Remove paper from the multipurpose feeder.
2
Remove the jammed paper.
Note: Make sure that all paper fragments are removed.
3
Open door B, and then remove any paper fragments.
CAUTION—HOT SURFACE: The inside of the printer
might be hot. To reduce the risk of injury from a hot
component, allow the surface to cool before touching
it.
6
 Loading...