3. Carefully remove the drum. 4. Carefully lift out the PCR. The PCR holders will most likely
come out with the PCR. This is OK. It makes it easier to re-
install it later. Be very careful not to touch the roller with your
skin. As with any PCR, the oils naturally present in your skin will
be absorbed by the roller and cause printing problems (extra
marks on the page).
5. Remove the two screws from the wiper blade. 6. Remove the wiper blade, and clean out any waste toner.
UNINET IMAGING INC. • BROTHER 1240/1650 • ASSEMBLING THE TONER CARTRIDGEUNINET IMAGING INC. • BROTHER 1240/1650 • DISASSEMBLING THE TONER CARTRIDGE
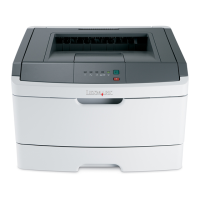
LEXMARK E 250/350/450 DRUM UNIT REMANUFACTURING INSTRUCTIONS
3232 West El Segundo Blvd., Los Angeles, California 90250 USA • Ph +1 310 280 9620 • Fx +1 310 838 7294 • techsupport@uninetimaging.com • www.uninetimaging.com
© 2008 UniNet Imaging Inc. All Trademark names are property of their respective owners. Product brand names mentioned are intended to show compatibility only. UniNet Imaging does not warrant downloaded information.
SU
MMIT
 Loading...
