11. Install the drum axle from the large gear side. 12. Install the E-ring on to the axle.
13. Just to make sure that everything is meshing properly and
lubricated properly, rotate the drum by the large gear in the
proper direction. This is always a good idea for drum units as
a final check before installing the cartridge in your test
machine.
UNINET IMAGING INC. • BROTHER 1240/1650 • ASSEMBLING THE TONER CARTRIDGEUNINET IMAGING INC. • BROTHER 1240/1650 • DISASSEMBLING THE TONER CARTRIDGE
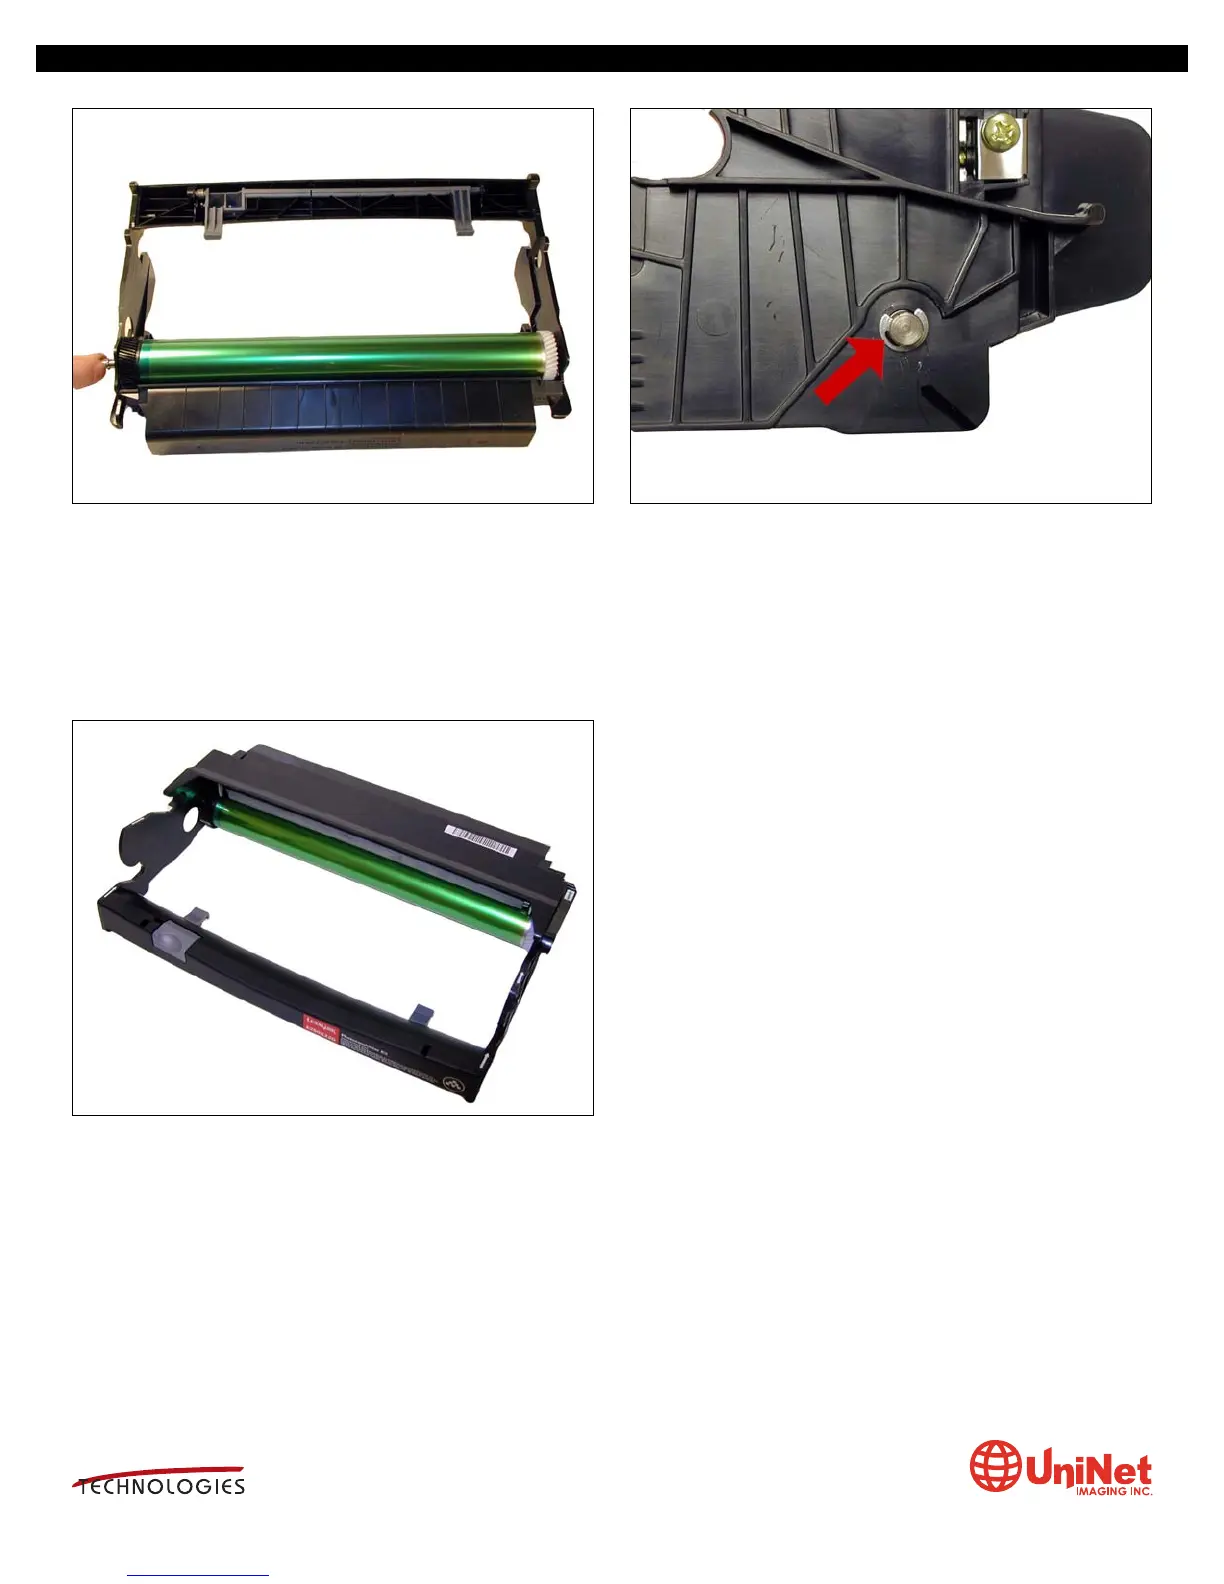
LEXMARK E 250/350/450 DRUM UNIT REMANUFACTURING INSTRUCTIONS
3232 West El Segundo Blvd., Los Angeles, California 90250 USA • Ph +1 310 280 9620 • Fx +1 310 838 7294 • techsupport@uninetimaging.com • www.uninetimaging.com
© 2008 UniNet Imaging Inc. All Trademark names are property of their respective owners. Product brand names mentioned are intended to show compatibility only. UniNet Imaging does not warrant downloaded information.
SU
MMIT