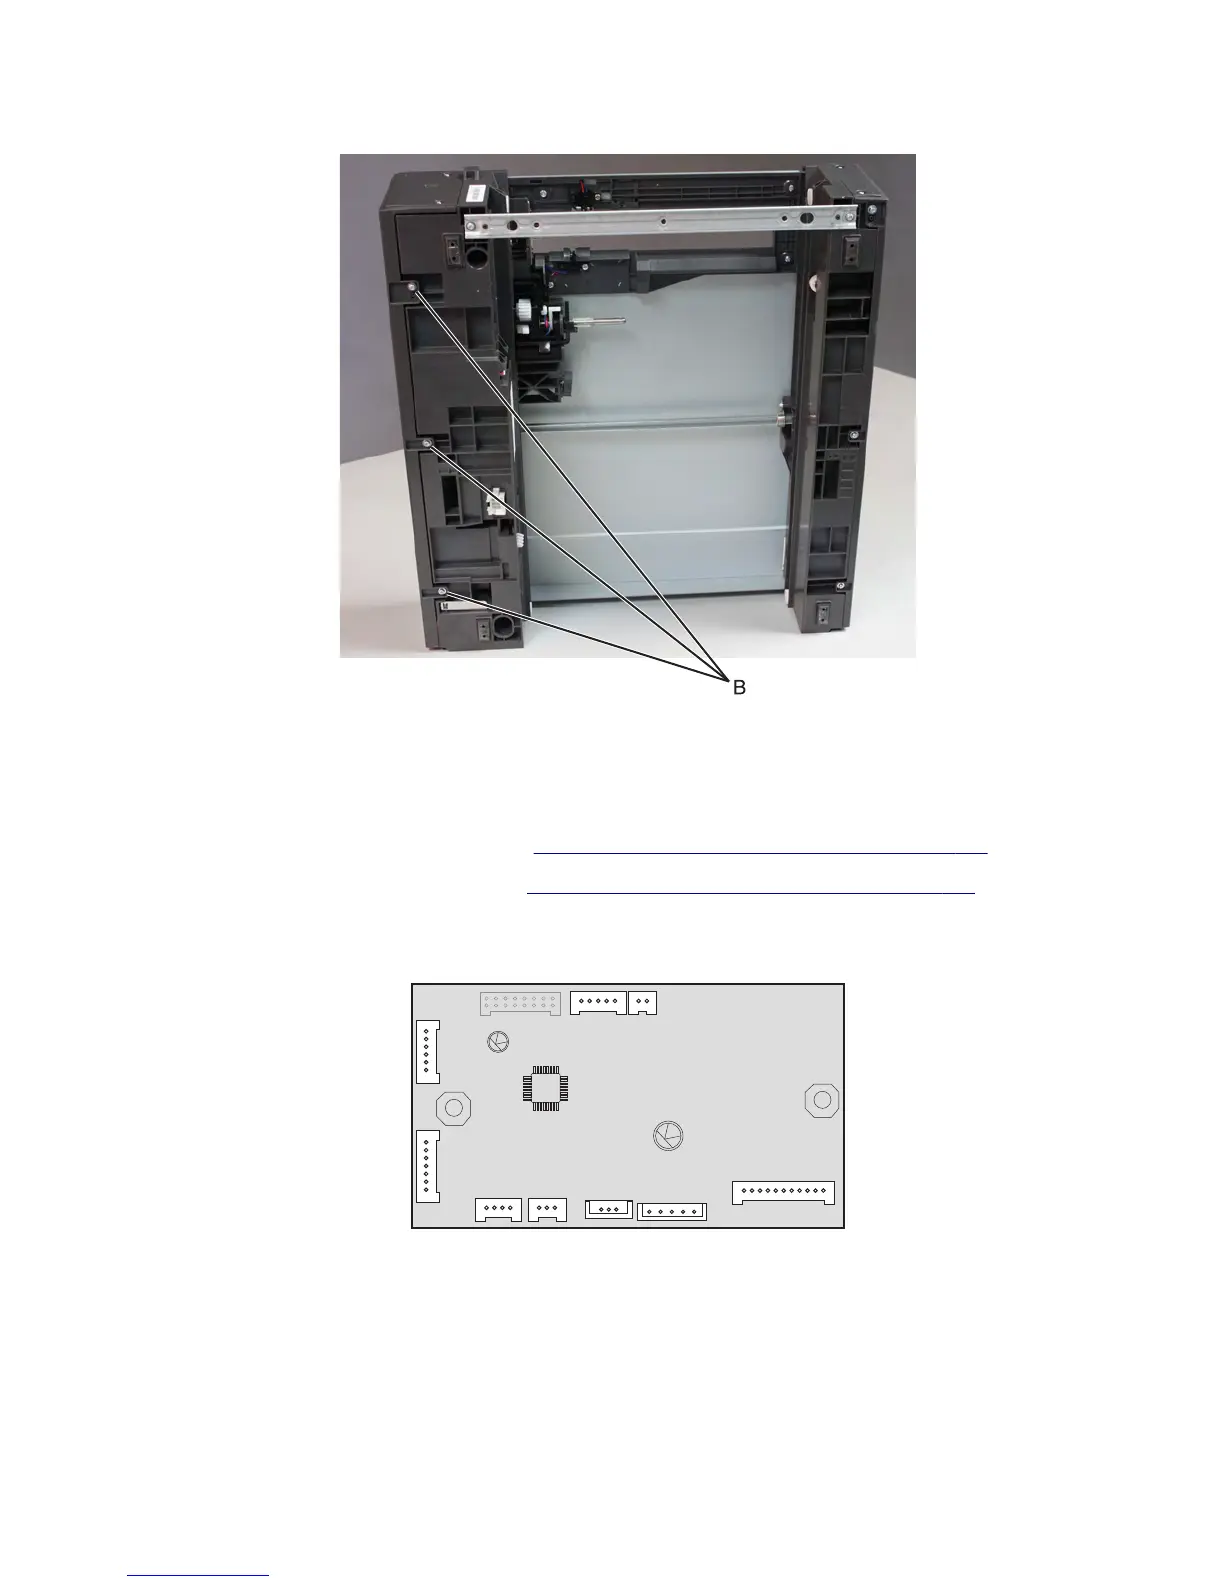
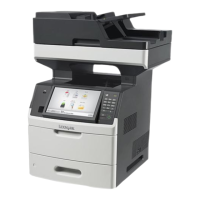
3 Remove the three screws (B) from the bottom of the left cover.
4 Pull the left cover, and remove.
Drawer controller board removal
1 Remove the drawer assembly rear cover. See “Drawer assembly rear cover removal” on page 651.
2 Remove the drawer assembly left cover. See “Drawer assembly left cover removal” on page 652.
3 Disconnect all cables (J3, J4, J11, J10, J9, J8, J7, J6, and J1) from the controller board, then remove the two screws
(A).
7463
Repair information
653


 To Next Page