6 Remove the controller board cooling fan. See “Controller board cooling fan removal” on page 424.
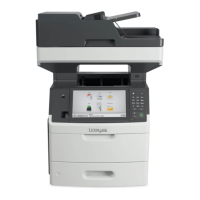
7 Disconnect all cables from the controller board.
8 Remove the seven screws (A) securing the controller board to the machine.
9 Remove the controller board.
Installation note: Make sure you retain the flash card from the original controller board so that you can use it with
the replacement controller board.
Installation note: Make sure to regenerate high frequency defect data after replacing the controller board. See
“Regenerating high frequency defect data” on page 405.
Installation note: After the new controller board is installed, perform printer configuration restoration. See
“Restoring the printer configuration after replacing the controller board” on page 373.
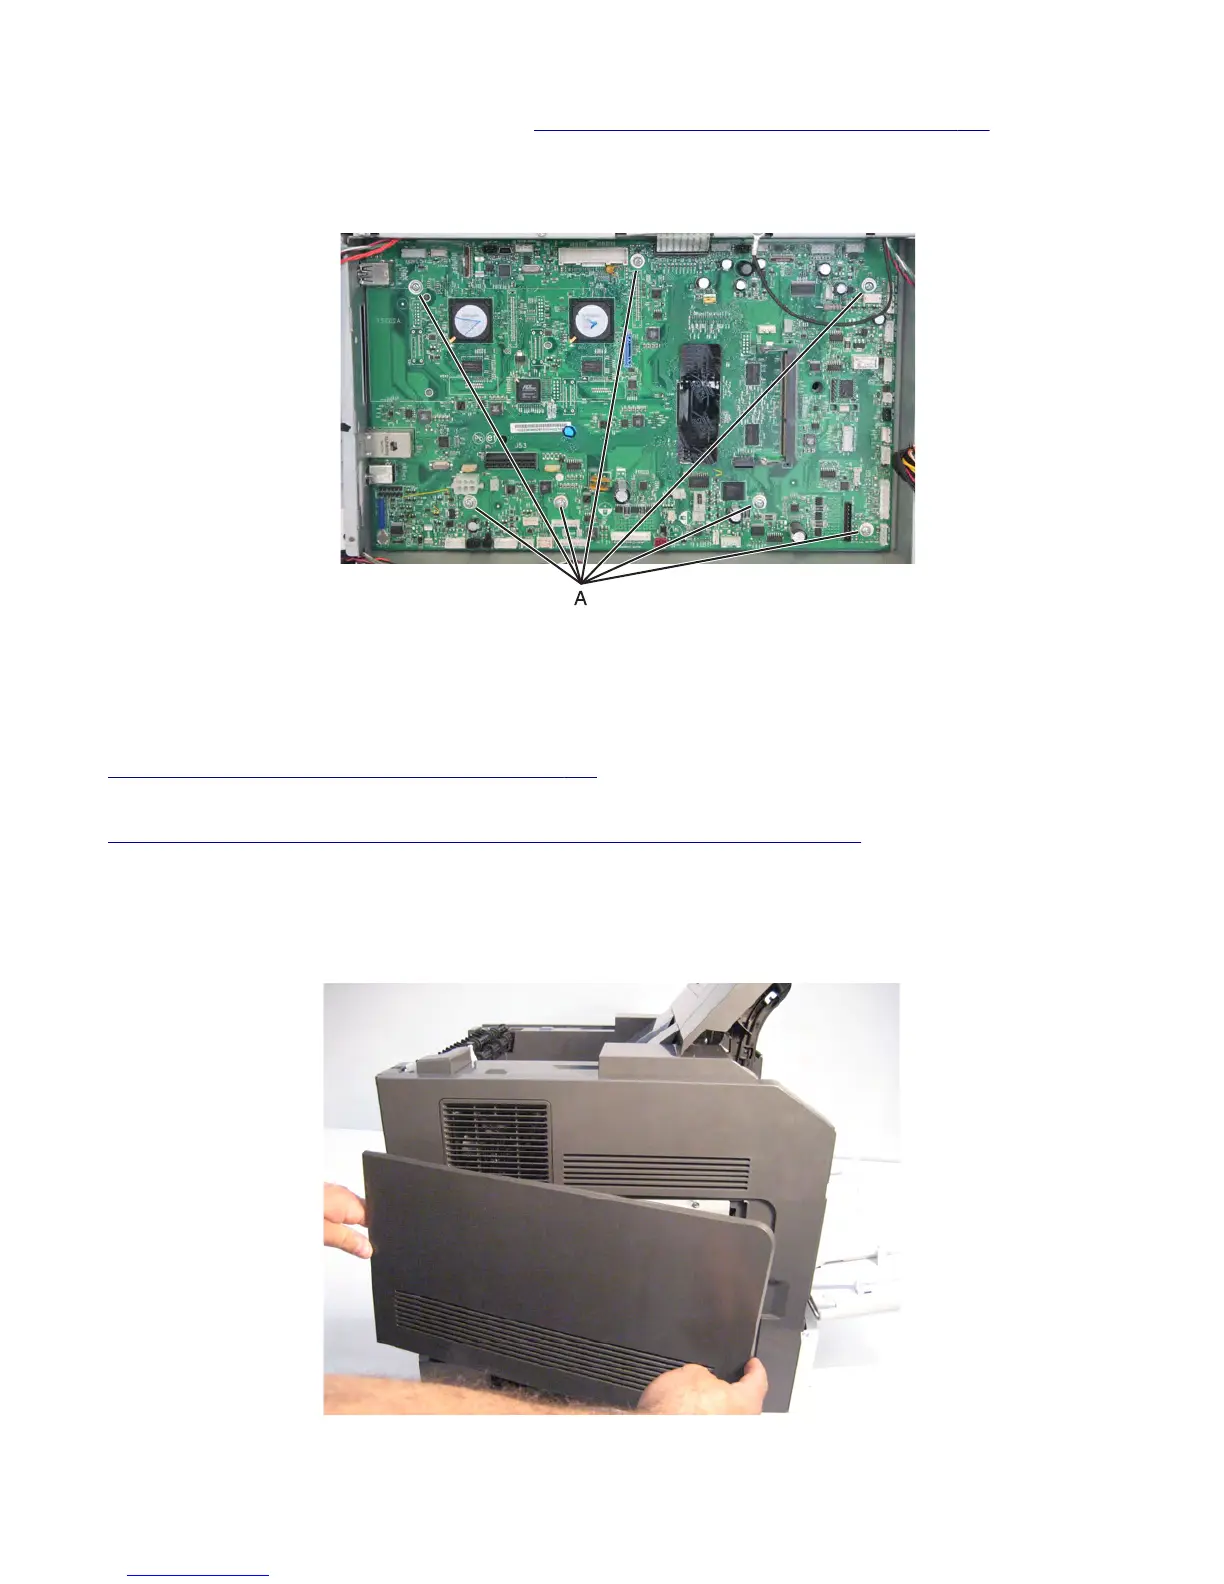
Controller board access cover removal
Detach the controller board access cover from the machine.
7463
Repair information
423