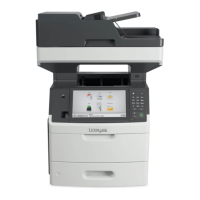
7 Remove the LVPS.
Installation warning: When replacing the LVPS, ensure that the LVPS is perfectly square to the printer, as
opposed to replacing it at an angle. If you try to replace the LVPS at an angle, damage will occur to the controller
board.
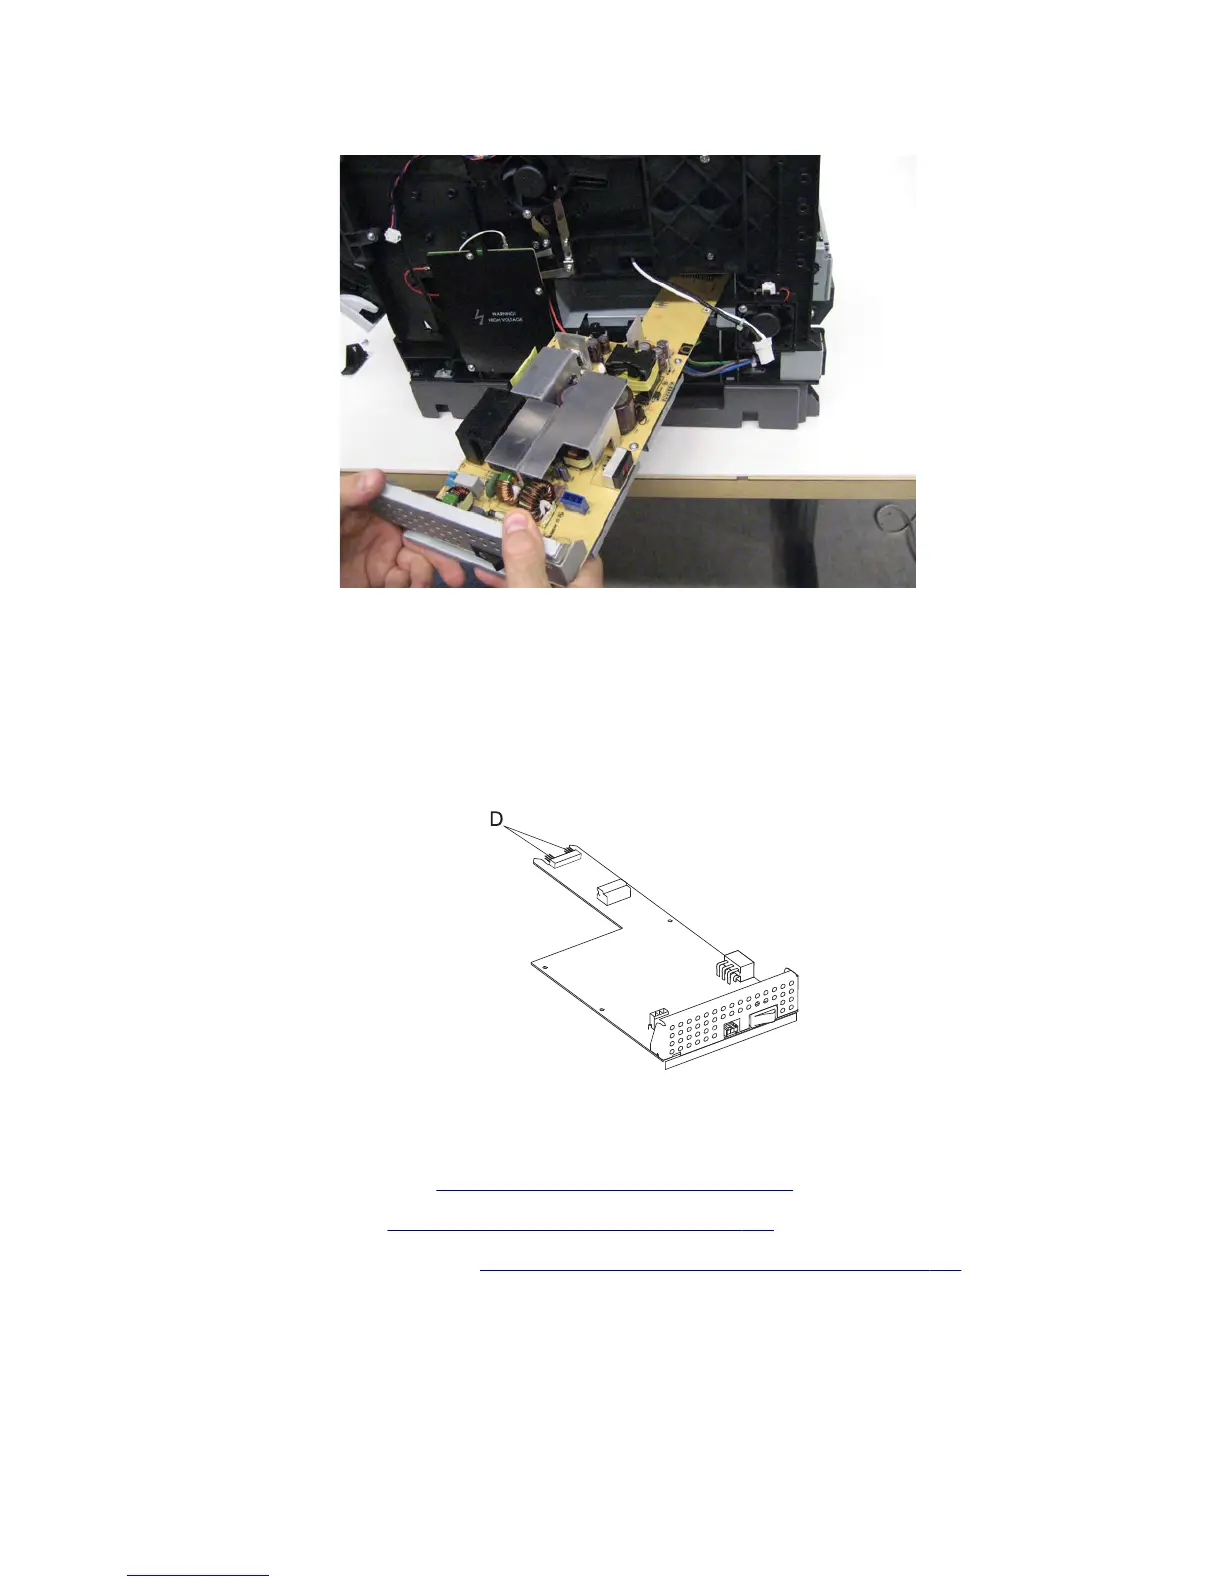
Installation notes:
• When replacing the LVPS, ensure that all connections are replaced.
• When replacing the LVPS, ensure that the connector pins (D) properly engage the controller board.
Power switch removal
1 Remove the rear lower cover. See “Rear lower cover removal” on page 551.
2 Remove the right cover. See “Right cover removal (MX71x)” on page 438.
3 Remove the right frame extension. See “Right frame extension removal (MX81x)” on page 547.
7463
Repair information
448