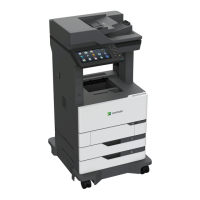
Securing the printer
Locating the security slot
The printer is equipped with a security lock feature. Attach a security lock compatible with most laptop
computers in the location shown to secure the printer in place.
Erasing printer memory
To erase volatile memory or buered data in your printer, turn o the printer.
To er a se no n‑volatile memory or individual settings, device and network settings, security settings, and
embedded solutions, do the following:
1 From the home screen, touch Settings > Device > Maintenance > Out of Service Erase.
2 Select the Sanitize all information on nonvolatile memory check box, and then touch ERASE.
3 Follow the instructions on the display.
Erasing printer hard disk memory
1 From the home screen, touch Settings > Device > Maintenance > Out of Service Erase.
2 Select the Sanitize all information on hard disk check box, and then touch ERASE.
3 Follow the instructions on the display.
Note: This process can take from several minutes to more than an hour, making the printer unavailable
for other tasks.
Encrypting the printer hard disk
This process erases all contents in the hard disk. If necessary, back up important data from the printer before
starting the encryption.
1 From the home screen, touch Settings > Security > Disk Encryption > Start encryption.
2 Follow the instructions on the display.
Securing the printer 148

 Loading...