EasyManua.ls Logo

LF Harbor Breeze KINGSBURY User Manual

LF Harbor Breeze KINGSBURY
21 pages
To Next Page IconTo Next Page
Page #1 background imageLoading...
Page #1 background image
1
Harbor Breeze® is a registered trademark
of LF, LLC. All Rights Reserved.
Questions, problems, missing parts? Before returning to your retailer, call our customer
service department at 1-800-643-0067, 8 a.m. - 6 p.m., EST, Monday - Thursday,
8 a.m. - 5 p.m., EST, Friday.
ATTACH YOUR RECEIPT HERE
Purchase Date _________________________
ITEM #0184428
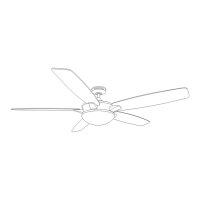
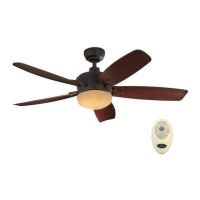
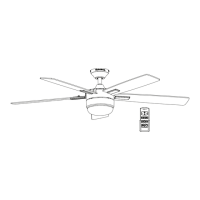
KINGSBURY CEILING FAN
MODEL #40943
Spanish p. 22
BM18037

Questions and Answers:

LF Harbor Breeze KINGSBURY Specifications

General IconGeneral
BrandLF
ModelHarbor Breeze KINGSBURY
CategoryFan
LanguageEnglish

Summary

Package Contents

Hardware Contents

Safety Information

General Safety Warnings

Crucial safety precautions, warnings, and dangers for fan installation and operation.

Preparation and Setup

Assembly Prerequisites

Ensuring all parts are present and listing required tools before assembly.

Initial Installation Steps

Mounting Method Selection

Choosing between standard, angle, and closemount installation methods.

Clearance Requirements

Ensuring minimum blade clearance from floor and obstructions.

Standard or Angle Mounting

Downrod Assembly

Assembling the downrod, canopy, and yoke for standard or angle mounting.

Closemount Installation

Canopy Attachment for Closemount

Attaching the canopy using closemount screws and hanging the fan on the bracket hook.

Wiring the Fan

Connecting Wires and Securing Connections

Connecting supply wires to fan wires using connectors and ensuring secure, safe connections.

Final Installation Steps

Canopy Securing

Aligning and securing the canopy to the mounting bracket using provided screws.

Blade and Light Installation

Blade Attachment

Attaching fan blades to blade arms using screws and washers.

Blade Arm Attachment

Securing blade arms to the motor assembly using motor screws.

Light Pan Installation

Aligning and attaching the light pan to the motor assembly using fitter plate screws.

Light Kit and Bowl Installation

Light Kit Connection

Connecting the light kit wires and securing it to the light pan.

Bulb Installation

Installing the specified bulbs into the light kit sockets.

Glass Bowl Installation

Installing the glass bowl by turning it clockwise into the light pan until it locks.

Remote and Final Power Up

Remote Battery Installation

Inserting the battery into the remote control, ensuring correct polarity.

Operating the Fan

Remote Control Functions

Detailed explanation of each button and mode on the remote control for fan operation.

Remote Control Settings and Maintenance

Information on DIP switches, syncing the remote, and battery replacement.

Wall Bracket Installation

Instructions for mounting the remote control to the wall using the included bracket.

Care and Maintenance

Fan Maintenance and Bulb/Battery Replacement

Routine checks, cleaning, and guidance on replacing bulbs and remote batteries.

Troubleshooting Common Issues

Fan Not Moving

Diagnosing and resolving issues when the fan fails to operate.

Lights Not Working

Troubleshooting steps for when the fan operates but the lights do not.

Excessive Wobbling

Identifying causes and solutions for fan wobbling, including loose parts and balancing.

Remote Control Issues

Resolving problems with the remote control, including syncing and battery issues.

Limited Lifetime Warranty

Replacement Parts List

Related product manuals