17
INSTALLATION
ENGLISH
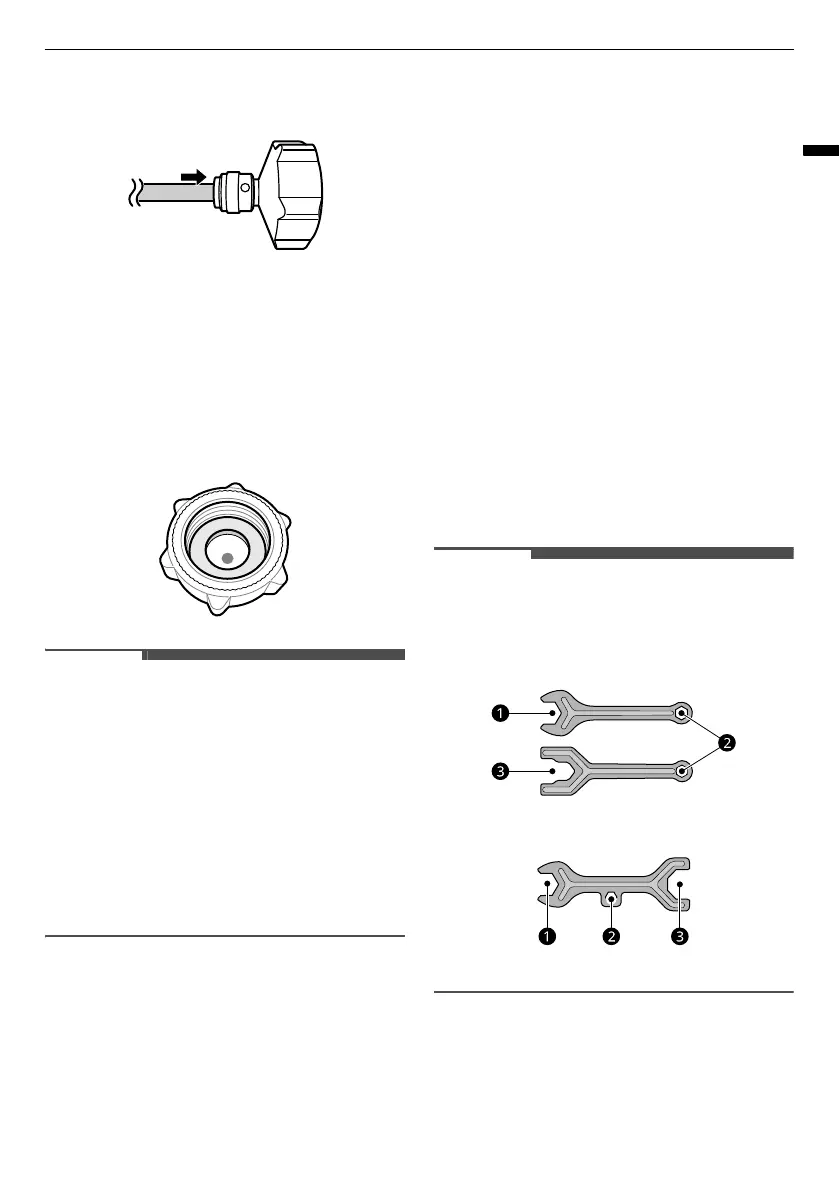
should be held firmly whilst the connector is
pushed onto the pipe.
2
Ensure that the rubber washer is fitted to the
inside of the tap connector before screwing it
onto the tap.
• A separate connector or adaptor may need
to be purchased if your tap fitting does not
match the thread size of the connector
provided.
Only For Germany
• Connect your appliance only to a water tap with
a safety device (according to EN 1717) to avoid
drinking water pollution through water
backflow.
• To be sure, please ask your installer. In case
water tap is without backflow prevention valve
(according to EN 1717), you have to use an extra
backflow prevention valve compliant with
German drinking water ordinance between
water tap and water inlet hose.
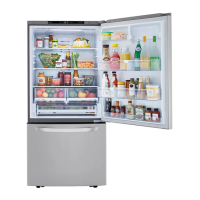
Checking the Water Connection
1
Turn on the water supply and switch on the
appliance. Carefully check all fittings for
possible leaks due to poorly fitted hoses.
2
Press and hold the
Water Filter
button for
three seconds. The new water filter has been
activated.
3
Place a cup under the water dispenser to verify
that water is flowing through the appliance.
4
Check the connecting tube and joints for leaks
once again.
Levelling and Door
Alignment
Before Beginning
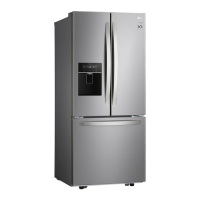
When the appliance doors appear to be uneven,
follow the instructions below to align the doors.
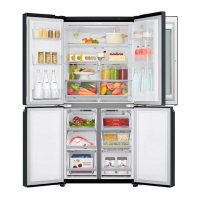
• The spanner may differ depending on the model.
You will be provided with either spanner type A
or B.
- Spanner Type A
- Spanner Type B
Levelling the Appliance
The appliance has two front levelling legs. Adjust
the legs to alter the tilt from front to back or side to
side. If the appliance seems unsteady, or the doors