-40-
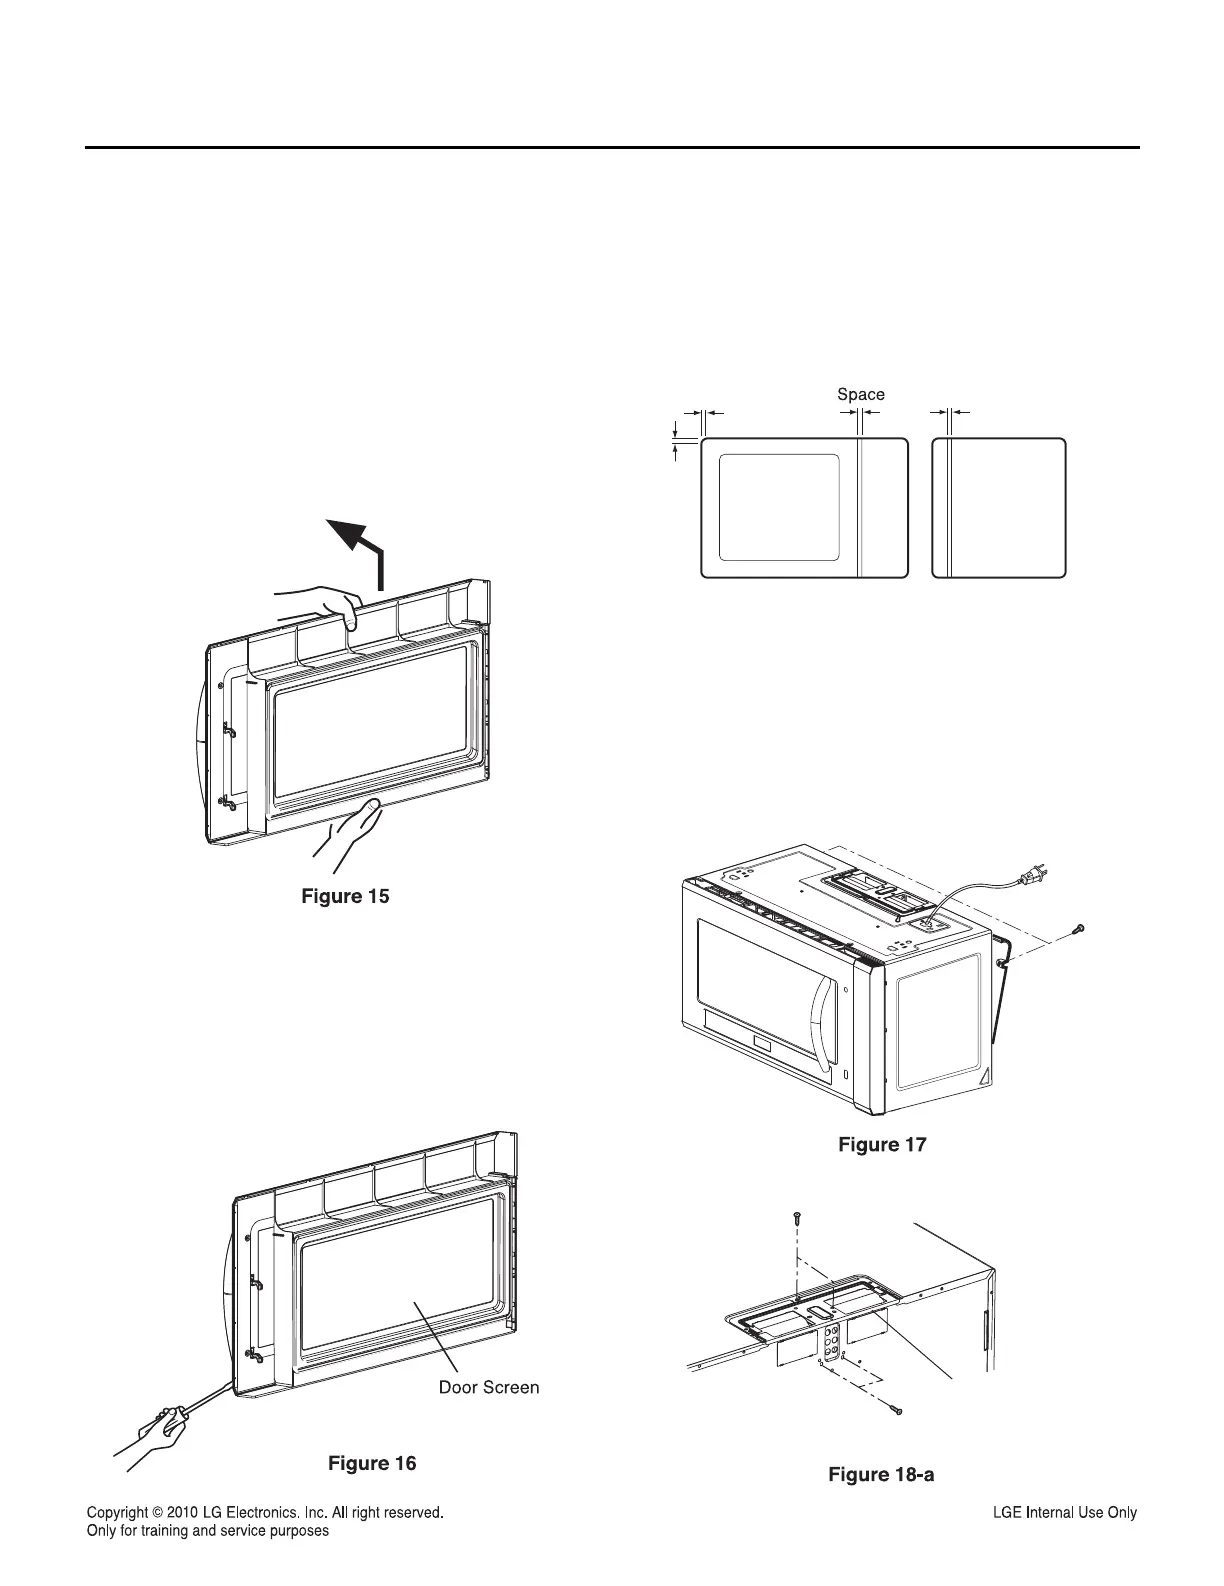
F. REMOVING DOOR (Figure 15)
(1) Remove the vent grille by two screws securing it
to the outcase loosening.
(2) Lift up and draw the door.
NOTES:
• After replacing the door, be sure to check that the
primary interlock switch, the secondary interlock
switch and the interlock monitor switch is in good
operating normally.
• After replacing the door, check for microwave energy
leakage with a survey meter.Microwave energy
leakage must be below the limit of 5mW/cm
2
. (With a
275 ml water load).
G. DISASSEMBLING DOOR (Figure 16)
(1) Remove the dielectric choke by using knife
blade or small screw driver, etc.
(2) Remove two screws securing it to the door handle.
CAUTION: Be careful not to damage door seal
plate with the screwdriver.
H. ASSEMBLING DOOR
(1) When mounting the door assembly to the oven
assembly, be sure to adjust the door assembly parallel
to the chassis. Also adjust so the door has no
play between the inner door surface and oven frame
assembly. If the door assembly is not mounted
properly, microwaves may leak from the clearance
between the door and the oven.
I. REMOVING THE VENTILATION MOTOR
(1) Remove the mounting plate by loosening
mounting plate screws (1 or 2 screws)
securing it to the back plate.
(See Figure 17)
(2) Remove the fan bracket loosening two screw
loosening two screw securing the ventilation motor
and back plate. (See Figure 18-a)
 Loading...