

E
Elizabeth HernandezSep 10, 2025
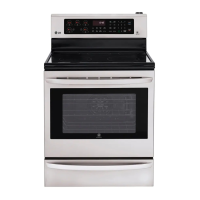
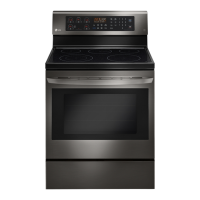
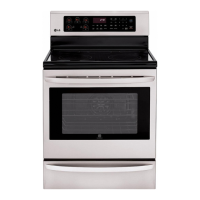
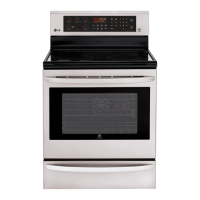
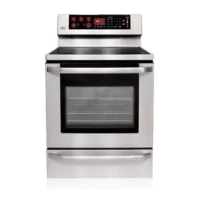
What causes an LG LRE3061BD Ranges oven door to be difficult to open?
- JJamie FernandezSep 10, 2025
If the oven door on your LG Ranges is difficult to open, it may be due to a worn or broken broil stop roller. Consider replacing the oven door hinge.