Endurance Training Collection 11 10 PacerMini Pro User Manual Lifepro
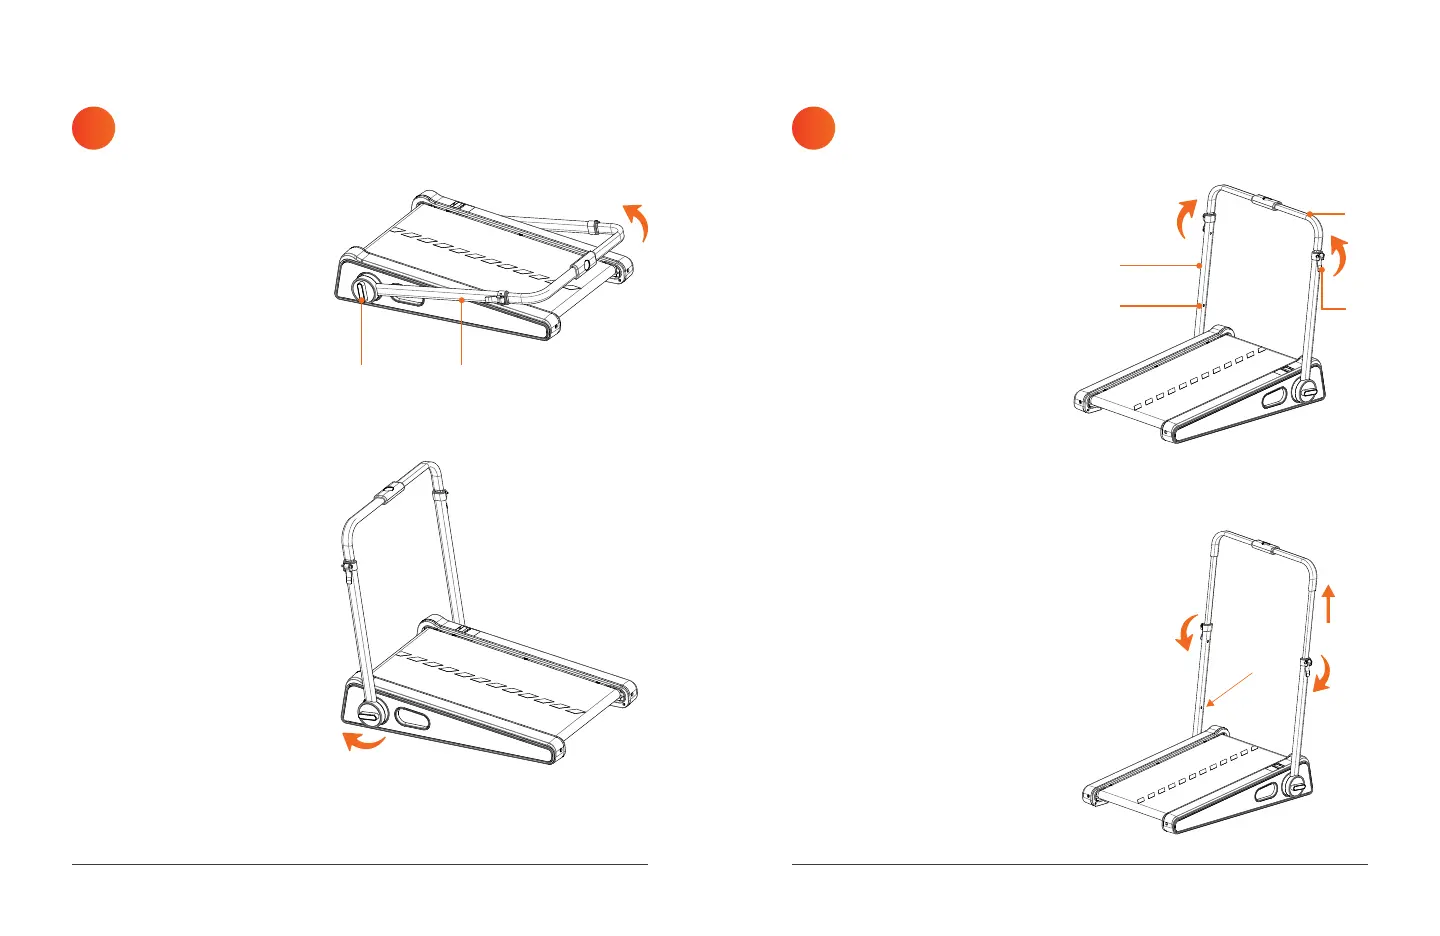
RAISE THE
HANDLEBAR FRAME
ADJUST THE HANDLEBAR HEIGHT
TO THE LOW OR HIGH POSITION
2 3
The PacerMini Pro has two
height-adjustment holes (J)
on each side of the handlebar
frame (I) which allow the
handlebar to be adjusted to two
heights: low and high.
1. Lift the right and left
latching levers (K). See
Figure 4.
2. Pull the handlebar (L) up
until you hear a click. The
handlebar is now in the low
position.
3. If you wish to raise the
handlebar to the high
position: press the metal
adjustment buttons into the
height-adjustment holes (J)
and pull the handlebar (L)
up until you hear a click. The
handlebar is now in the high
position. See Figure 5.
4. Ensure both adjustment
buttons are engaged in the
adjustment holes (J).
5. Press down the latching
levers (K) to lock the
handlebar height. See
Figure 5.
Figure 5
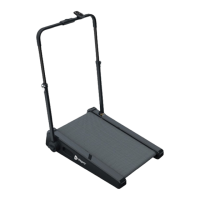
1. Rotate the left and
right locking knobs (H)
counterclockwise at the
same time to allow the
handlebar frame (I) to
rotate. See Figure 2.
2. With both locking knobs
loosened, pull the
handlebar frame (I) up and
towards the front of the
treadmill.
3. Once the correct position
is achieved, tighten the
locking knobs (H) by
turning them clockwise.
See Figure 3.
Figure 3
FRONT
IH
Figure 2
K
FRONT
J
L
I
Figure 4