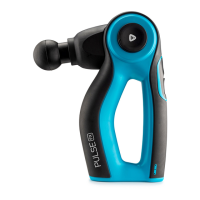
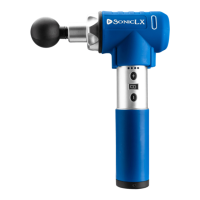
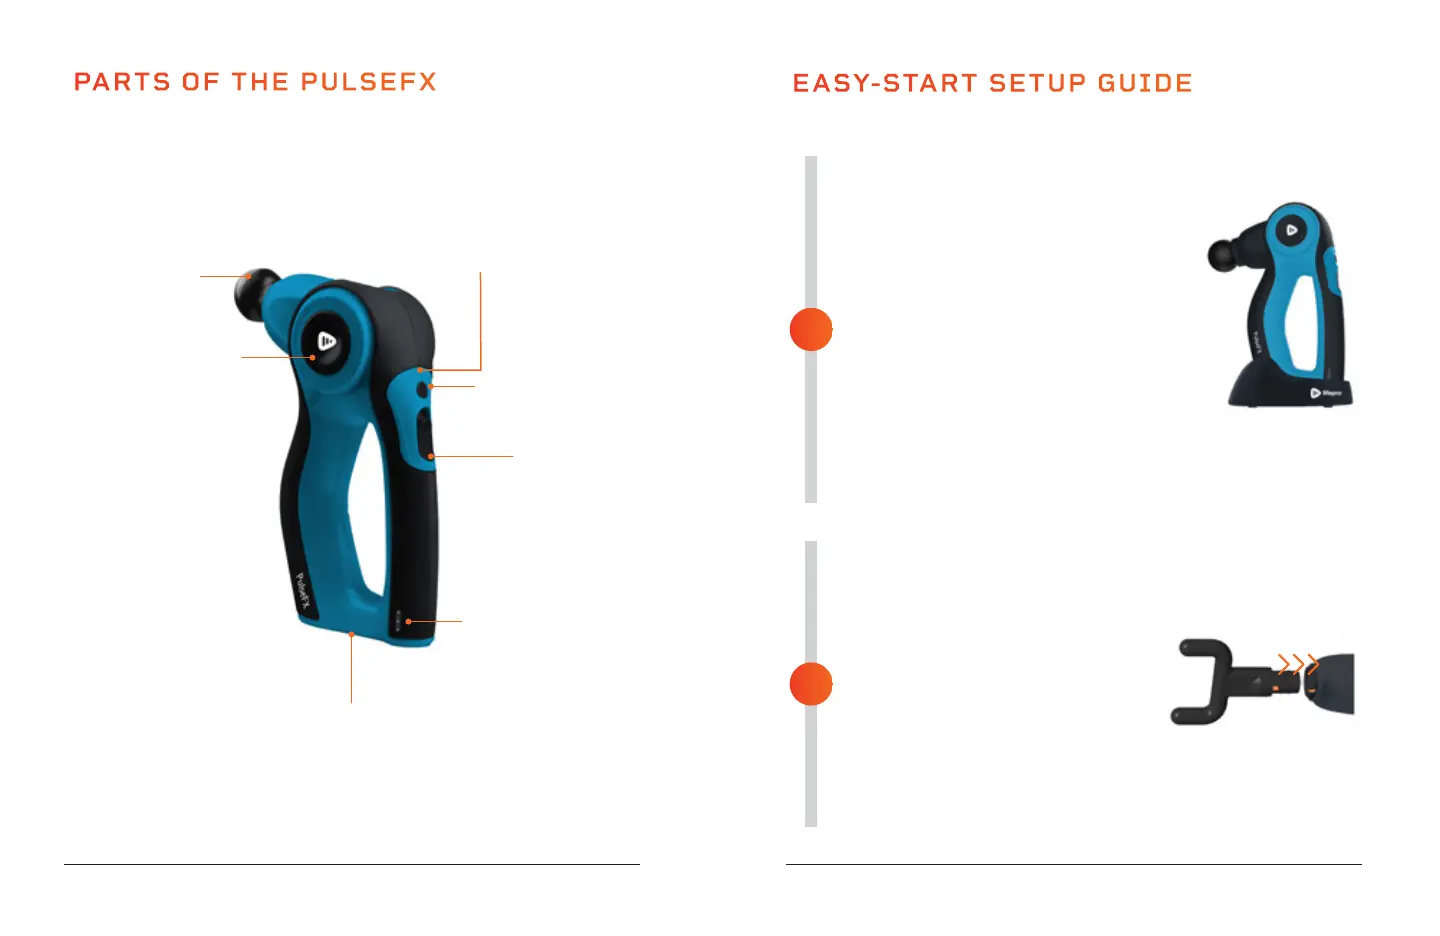
PARTS OF THE PULSEFX
Massage
Attachment
(1 of 4)
SoarFX Collection 9 8 PulseFX User Manual Lifepro
EASY-START SETUP GUIDE
2
1
Speed Selection Button
Press to toggle through
the 3 speed levels.
Arm Rotator Button
Press and hold the button
while rotating the massage
arm to 1 of 3 positions.
Speed LED Indicators
The 3 LEDs indicate which
speed level is selected (1-3).
Battery Indicator LEDs
LEDs indicate the current
battery level.
Battery AC Power
Adapter Charging Port
Power Switch
Slide up to power ON
the PulseFX.
FULLY CHARGE THE BATTERY
• Ensure the PulseFX is OFF before
charging.
• Charge the battery fully (for up to
3 hours) before using your PulseFX
for the first time.
• There are two charging options for your
PulseFX:
1. Connect the AC adapter to the
charging port at the base of the
PulseFX. Then plug the adapter into
a wall outlet.
2. Insert the unit into the charging
cradle. Plug the AC adapter into the
rear of the charging cradle and plug
the adapter into a wall outlet.
INSERT A MASSAGE ATTACHMENT
• Make sure the PulseFX is fully charged
and powered OFF.
• Select the desired massage
attachment.
• Insert the stem of the attachment into
the nozzle of the unit and press it in
firmly to secure it.
• The spinal massage attachment has a
small raised notch which must line up
with the cutout on the nozzle.
• See ATTACHMENT & SPEED
OPTIONS on page 12.