The LifeSafer FC100 with
Camera System Handset is
controlled by the Camera.
The Camera must detect your
image and “see” the target on
the back of the Handset before
it will allow you to take a test.
Hold the Handset 4-8 inches
from the front of the Camera
module in order to get the
Camera to release the Handset
for the test.
In bright light it may be necessary to slowly wave the target on the back
of the Handset around in front of the Camera to get the target in clear view.
Once the Camera nds the Handset the “BLAP-BLAP” sound will stop.
The BLOW light will ash and the Handset will make a higher pitched
“BEEP-BEEP” indicating you may start a test.
5 6
HOW DOES THE DEVICE WORK?
LIFESAFER FC100 CAMERA
TIP: If the Handset stays stuck in WAIT make sure your hand is not covering
the target. Grip the Handset towards the bottom as shown in the photo.
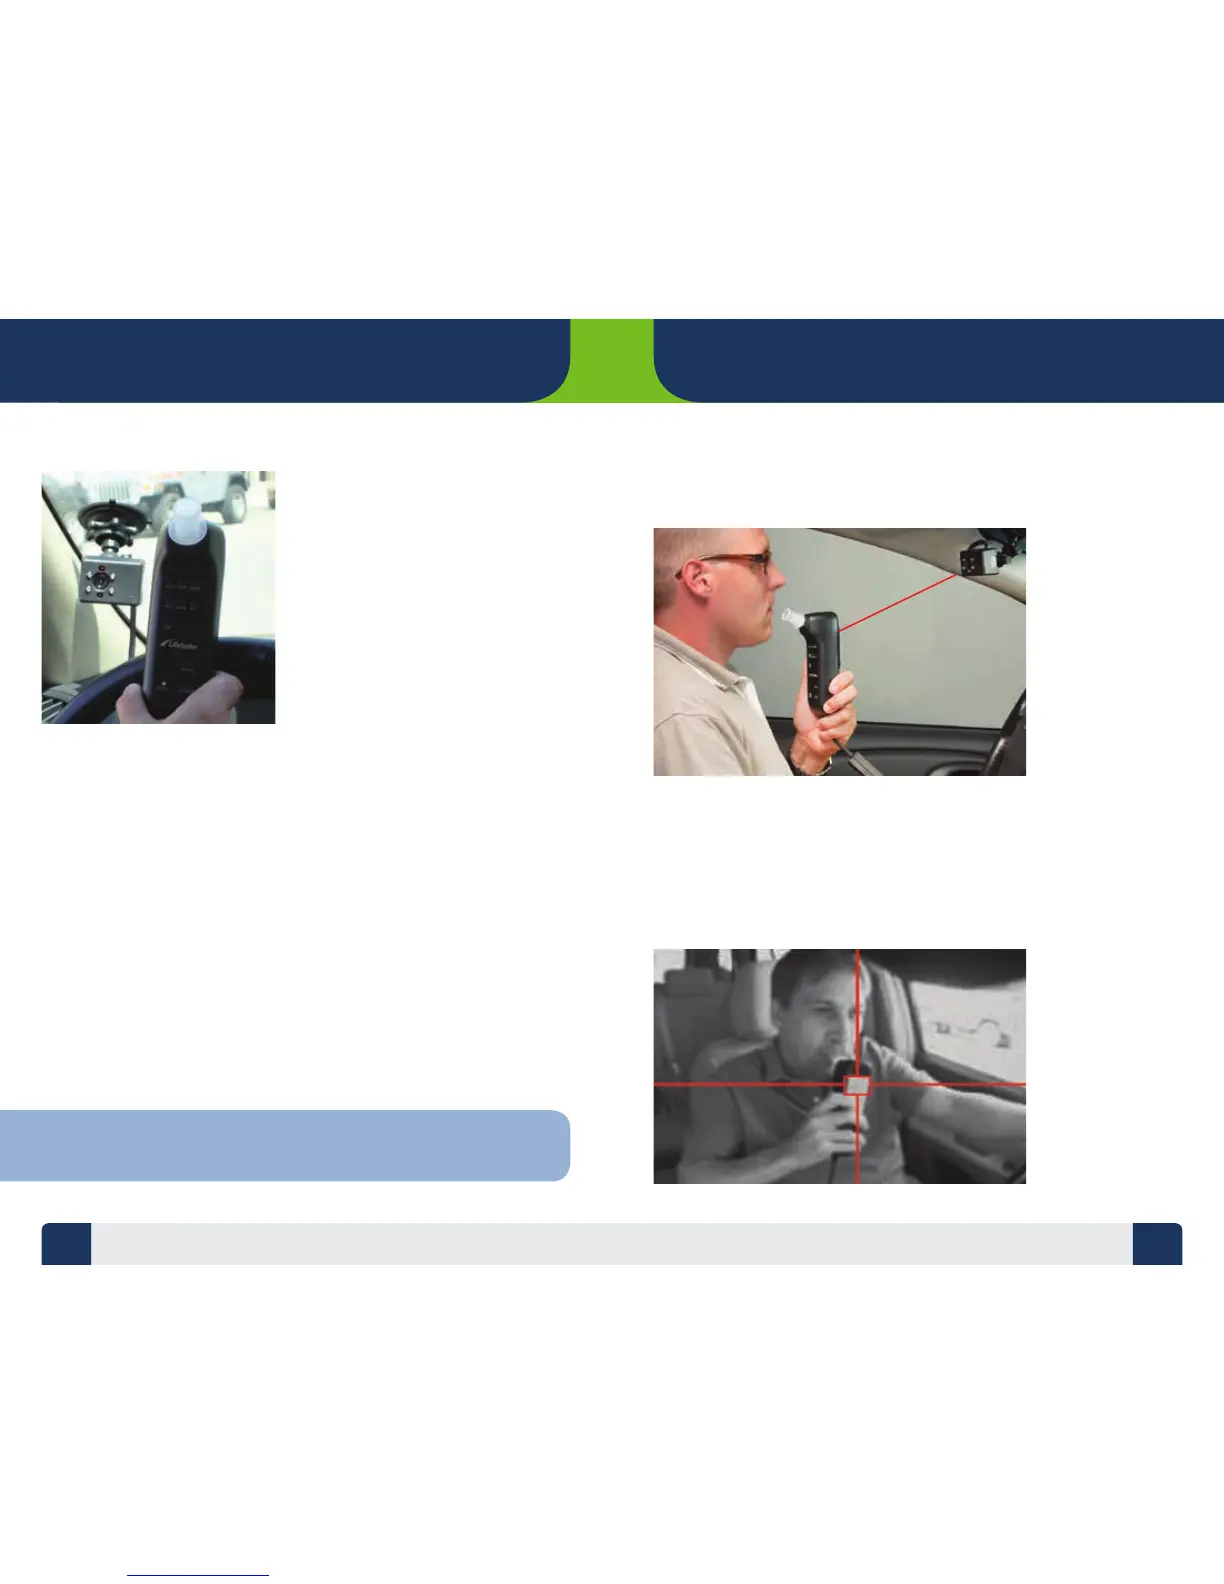
TARGET TRACKING
Target tracking requires that you keep your image and the Handset in full
view of the Camera throughout the test in order to obtain valid photographic
identication of the tester.
TESTING/TRACKING POSITION
After the Handset has been detected and released to allow a test, it is time to
blow into the device. While taking the test the best area to hold the Handset is
18-24 inches from the front of the Camera module. The Camera module is placed
on a swivel mount to allow adjustment. Adjust the Camera so it is pointing
towards where you will hold the Handset while sitting in the driver’s seat.
18 - 24 Inches
TARGET TRACKING AND TESTING POSITION