Add Glassbreak Sensor (if included)
11
A
B
Remove the Glassbreak Sensor and related components from the box and physically install the device according to the
manufacturer’s printed instructions.
NOTE: It is important to follow the manufacturer’s printed instructions regarding (a) connecting the batteries, (b) adjusting the
sensitivity, (c) selecting the location and (d) mounting the device prior to moving on to the next step involving integration of
this device with your LifeShield system. Please note that it is not necessary to “Enroll” the device at this time.
Mount the Glassbreak Sensor to a flat surface and close the front cover.
INSTALL GLASSBREAK SENSOR
13
NOTE: A LifeShield system (including a Base and at least one Handset or Console) must be installed before a Glassbreak
Sensor can be added.
On the Handset or Console, press MENU.
Scroll to Security Setup, press SELECT and enter the Master Code.*
Scroll to Sensors, press SELECT.
Scroll to <Add New>, press SELECT.
Scroll to Glassbreak, press SELECT.
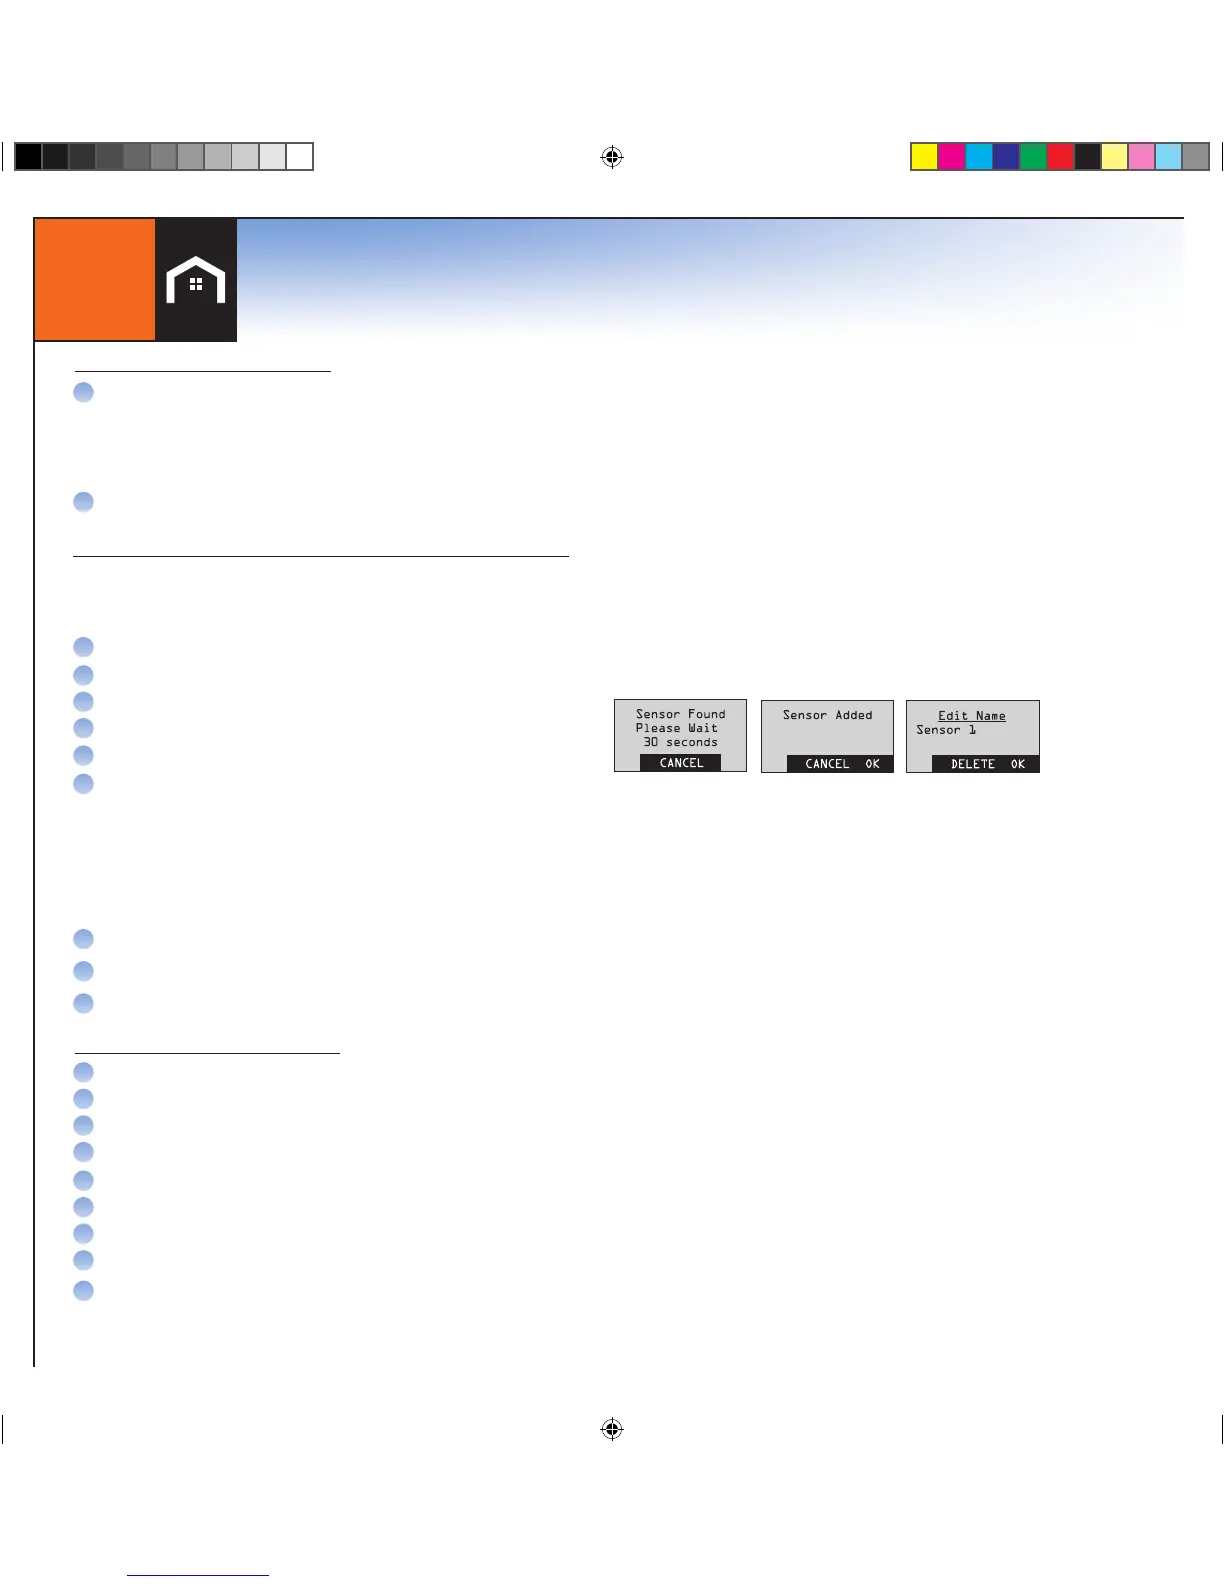
Following the instructions displayed on the LCD screen:
NOTE: WAIT 5 SECONDS THEN OPEN THE FRONT COVER OF THE GLASSBREAK SENSOR (“UN-CLIP SENSOR FROM
BRACKET”). (YOU WILL HAVE 30 SECONDS TO COMPLETE THIS STEP.)
When the Glassbreak Sensor has successfully been added you will hear 4 fast confirmation beeps from the LifeShield system.
If there are no confirmation beeps, check to make sure that the battery insulator tab has been removed and repeat the steps above.
Use the Edit feature to rename the device (if desired). (Press DELETE to erase text and the keypad keys to type new ones).
Press OK, then press BACK until the Main Menu is displayed.
Shut the front cover of the Glassbreak Sensor
ADD THE GLASSBREAK SENSOR TO THE LIFESHIELD SYSTEM
A
B
C
D
E
F
G
H
I
A
B
On the Handset or Console, press MENU.
Scroll to Utilities, press SELECT
Scroll to Test, press SELECT
Enter your Master Code*
Select System Test
Press the SKIP soft key to skip the Siren Test
Press the OK soft key on next screen for Starting Comm Test
Scroll to the name of the Sensor that you would like to test, and press SELECT
Tap strongly on the front cover of the Glassbreak Sensor
If the Glassbreak Sensor test is successful, the LCD screen will display “Sensor xxx Passed”. If these
words do not appear, return to “Add the Glassbreak Sensor to the LifeShield System”.
TEST THE GLASSBREAK SENSOR
Starting with the Glassbreak Sensor mounted to a flat surfacewith the front cover closed:
C
D
E
F
G
H
I
*NOTE: WHEREVER MASTER CODE IS SHOWN PLEASE USE YOUR UNIQUE MASTER CODE FOUND IN THE FRONT COVER OF THIS BOOK
Once the Glassbreak Sensor has been added to the LifeShield system:
 Loading...