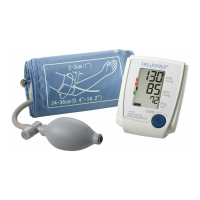
☞ IMPORTANT: Measure pressure at the same time each day.
4. Press the POWER button.
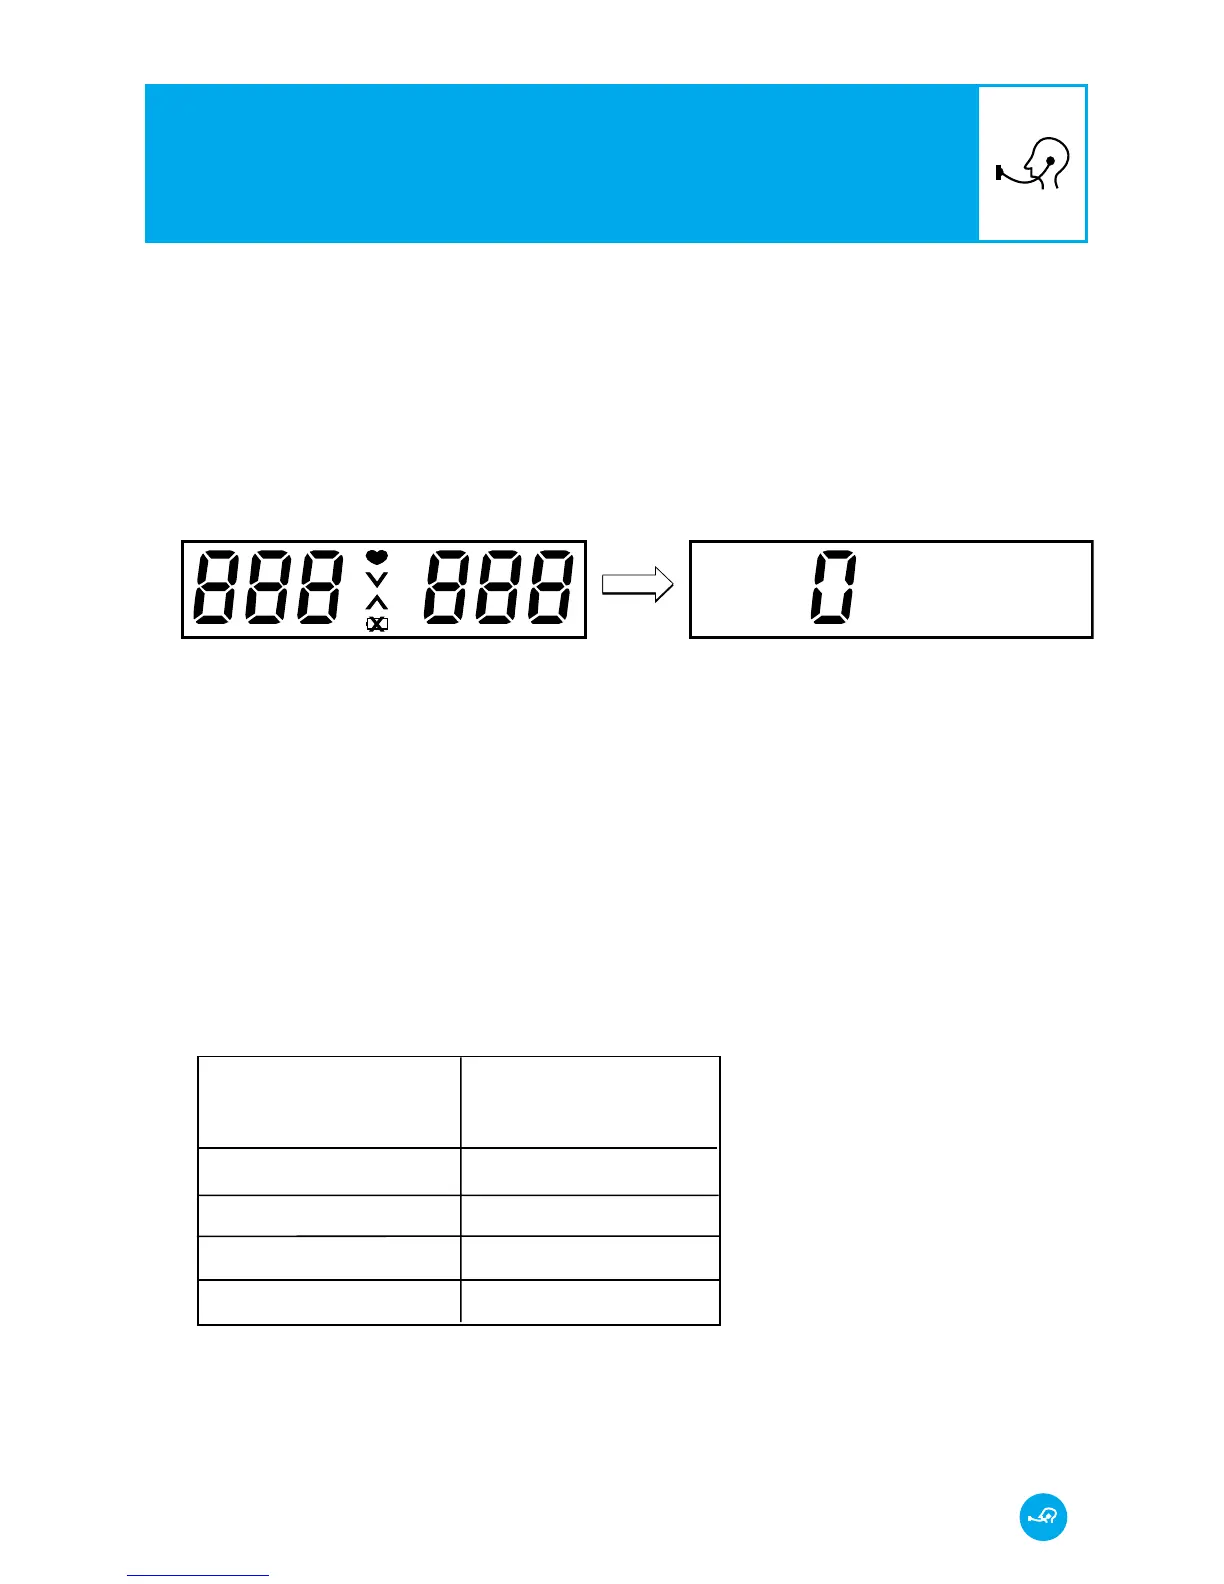
5. Watch for all display symbols to appear briefly, followed by a
zero, indicating that monitor is ready for measurement.
6. Watch the display and squeeze the bulb quickly until cuff
pressure reaches about 30 mmHg to 40 mmHg above expected
systolic pressure. To help you determine the correct inflation
level, the monitor is programmed to beep quickly three times
at each of the four preset pressure levels (160, 200, 240, and
280). We recommend using the chart shown below to
determine which preset measurement to use. If the
“re-measure“ symbol appears, pressure is not sufficient for
reading and measurement must be taken again.
NOTE: Beeping sound may be difficult to hear due to its pitch.
Watch the display for the correct inflation level.
Be sure to completely deflate the cuff before use.
Usual Systolic
Inflate to
Up to 130
131-170
171-210
211-250
160
200
240
280
TAKING YOUR BLOOD PRESSURE
8
LifeSource Health Line (Toll-Free): 1-888-726-9966