Handlebar Support Post Assembly
Note: During the handlebar assembly process it is best to wait to tighten all screws until after the
handlebars are assembled.
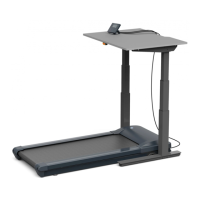
1. (a.) Locate the right side handlebar support post, remove the three Button-Head screws at
the bottom of the post, and lay the post on the treadmill deck with the bottom of the post next
to the top of the post coming up from the base. Push together each of the two connectors on
the bottom of the support post. (see illustration a).
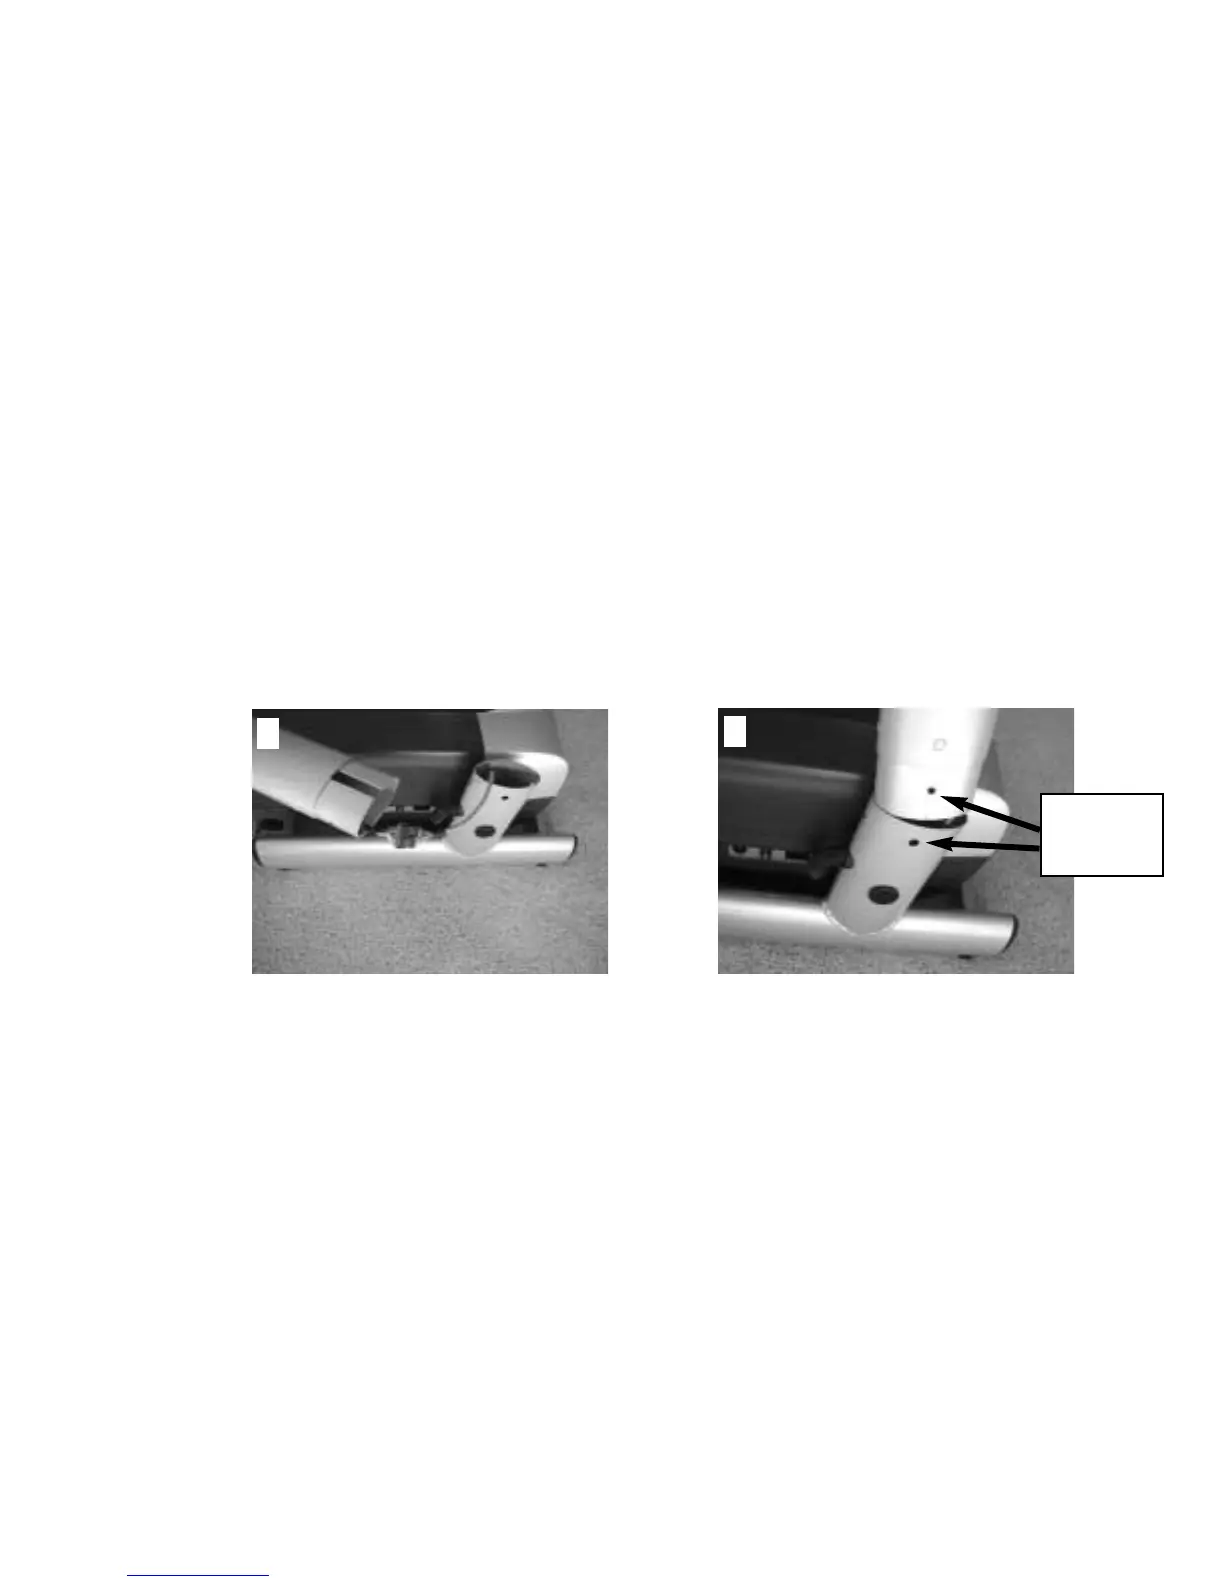
(b.) Push the handlebar support post into the base frame. Be careful not to pinch the wiring
when you slide the top support post into the base tube.
Make sure that you align the 3 holes on the bottom of the tube with the 3 holes in the base
tube (see illustration b).
2. Take the left side oval support post and slide it into the oval tube on the left side of the base.
Make sure that you align the 3 holes on the bottom of the tube with the 3 holes in the base
tube (see illustration b).
Note: The left oval support post does "not" have wire connectors coming out of the bottom.
8
ba
Align the
holes on the
outside of
the frame
 Loading...