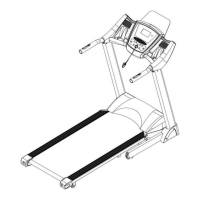
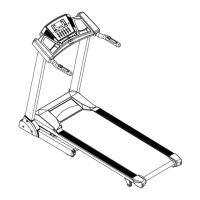
Before assembly, please take out all the parts from the package and align them on the
floor.
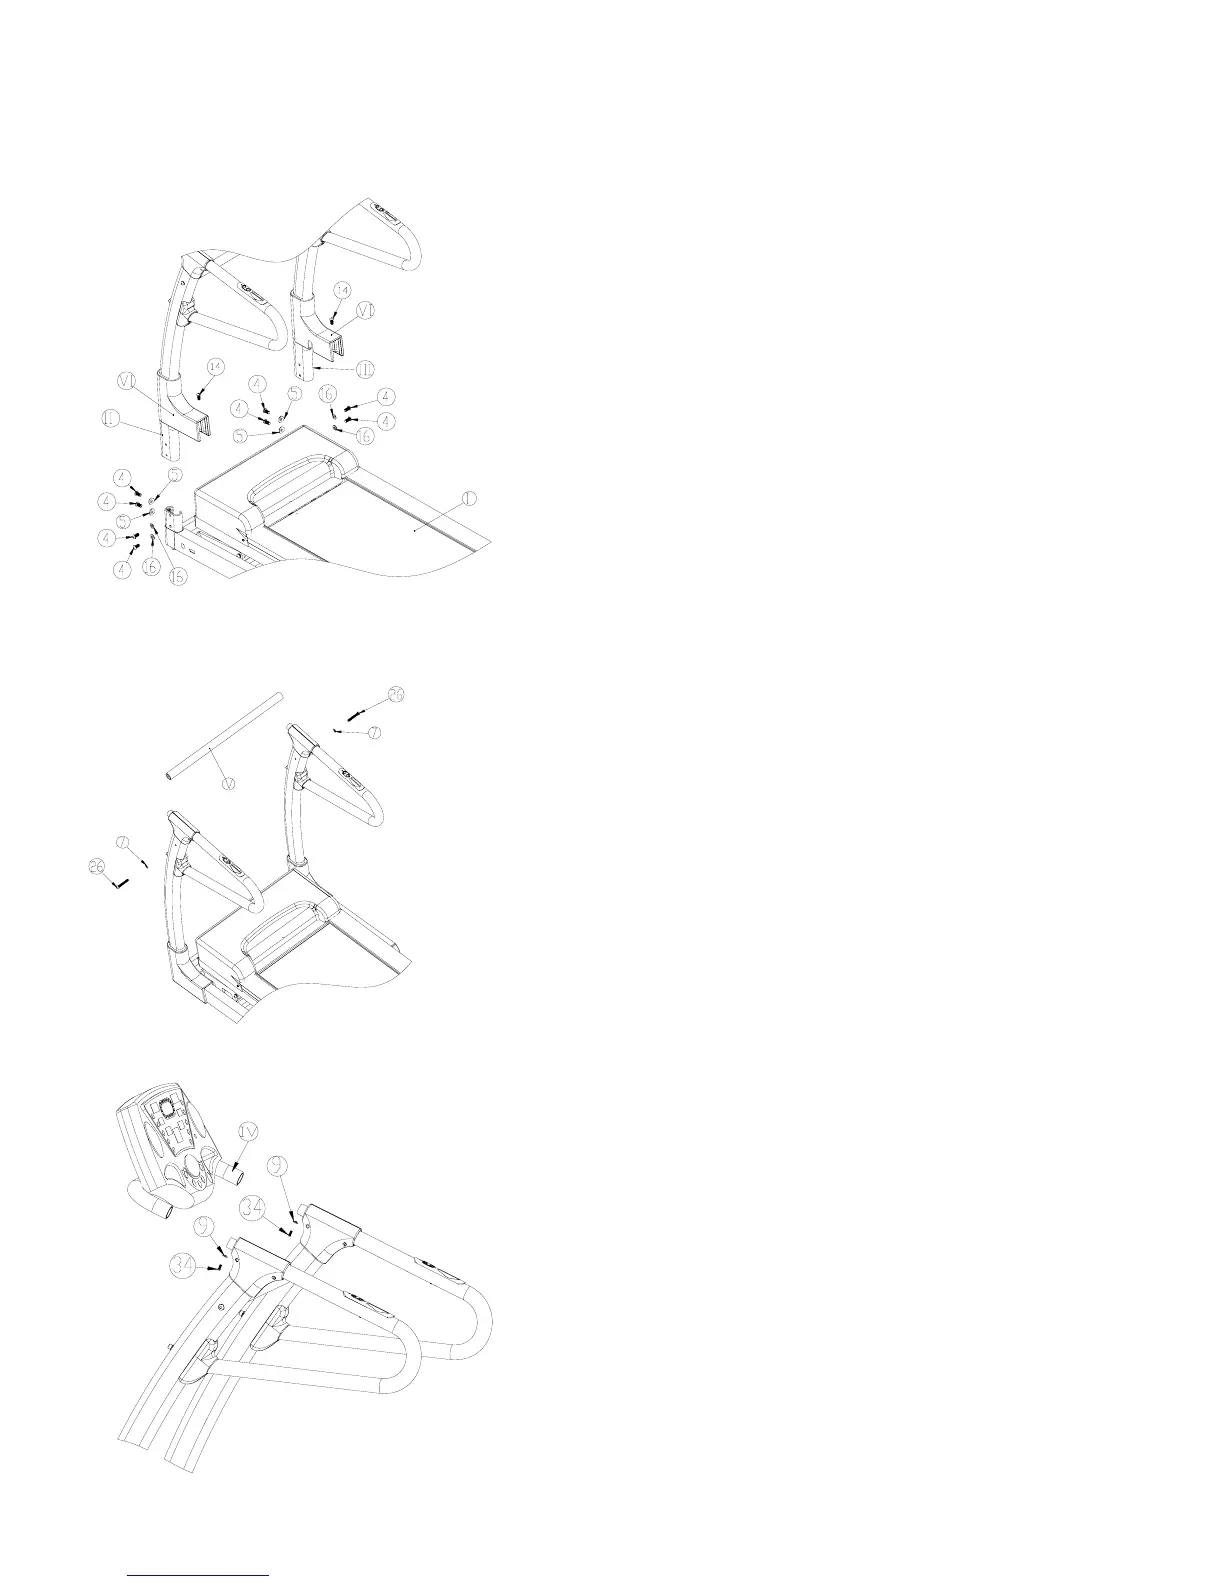
LIFESPAN SPRINTER Page6
STEP (1):
1. Connect the wire cable from the
right upright to wire cable coming out
of the main frame firstly; Insert right
and left uprights into main frame, and
then connect them with bolts (4) and
flat washers (16)and
Spring washer(5) by an Allen key
(S6).Then hitch the cover(VI) which is
between left handle(II) and right
handle(III) on the main frame and the
bottom parts(I) ,tighten the cover(VI)
on the main frame with cross-pan self-
locked screw(ST4.2*15 head ¢8)
CAUTION:
Please don’t damage the wires
while assembling the treadmill.
STEP (2):
2. Tighten the vertical support(V) on
the handle(L&R) with pan inner
six-angle screw(M8*55,26) and
D8 flat washer(7).
STEP (3):
3. connect the link line in the
handle bar to the link line in the
computer tube, insert the
computer tube into the L&R
handle, tighten the computer on
the L&R handle with the
screw(M6*12,No.34), D6 spring
washer(9).
 Loading...