20
TOOLS AND HARDWARE REQUIRED / OUTILS ET QUINCAILLERIE REQUIS / INSTRUMENTAL Y HERRAJE REQUERIDOS
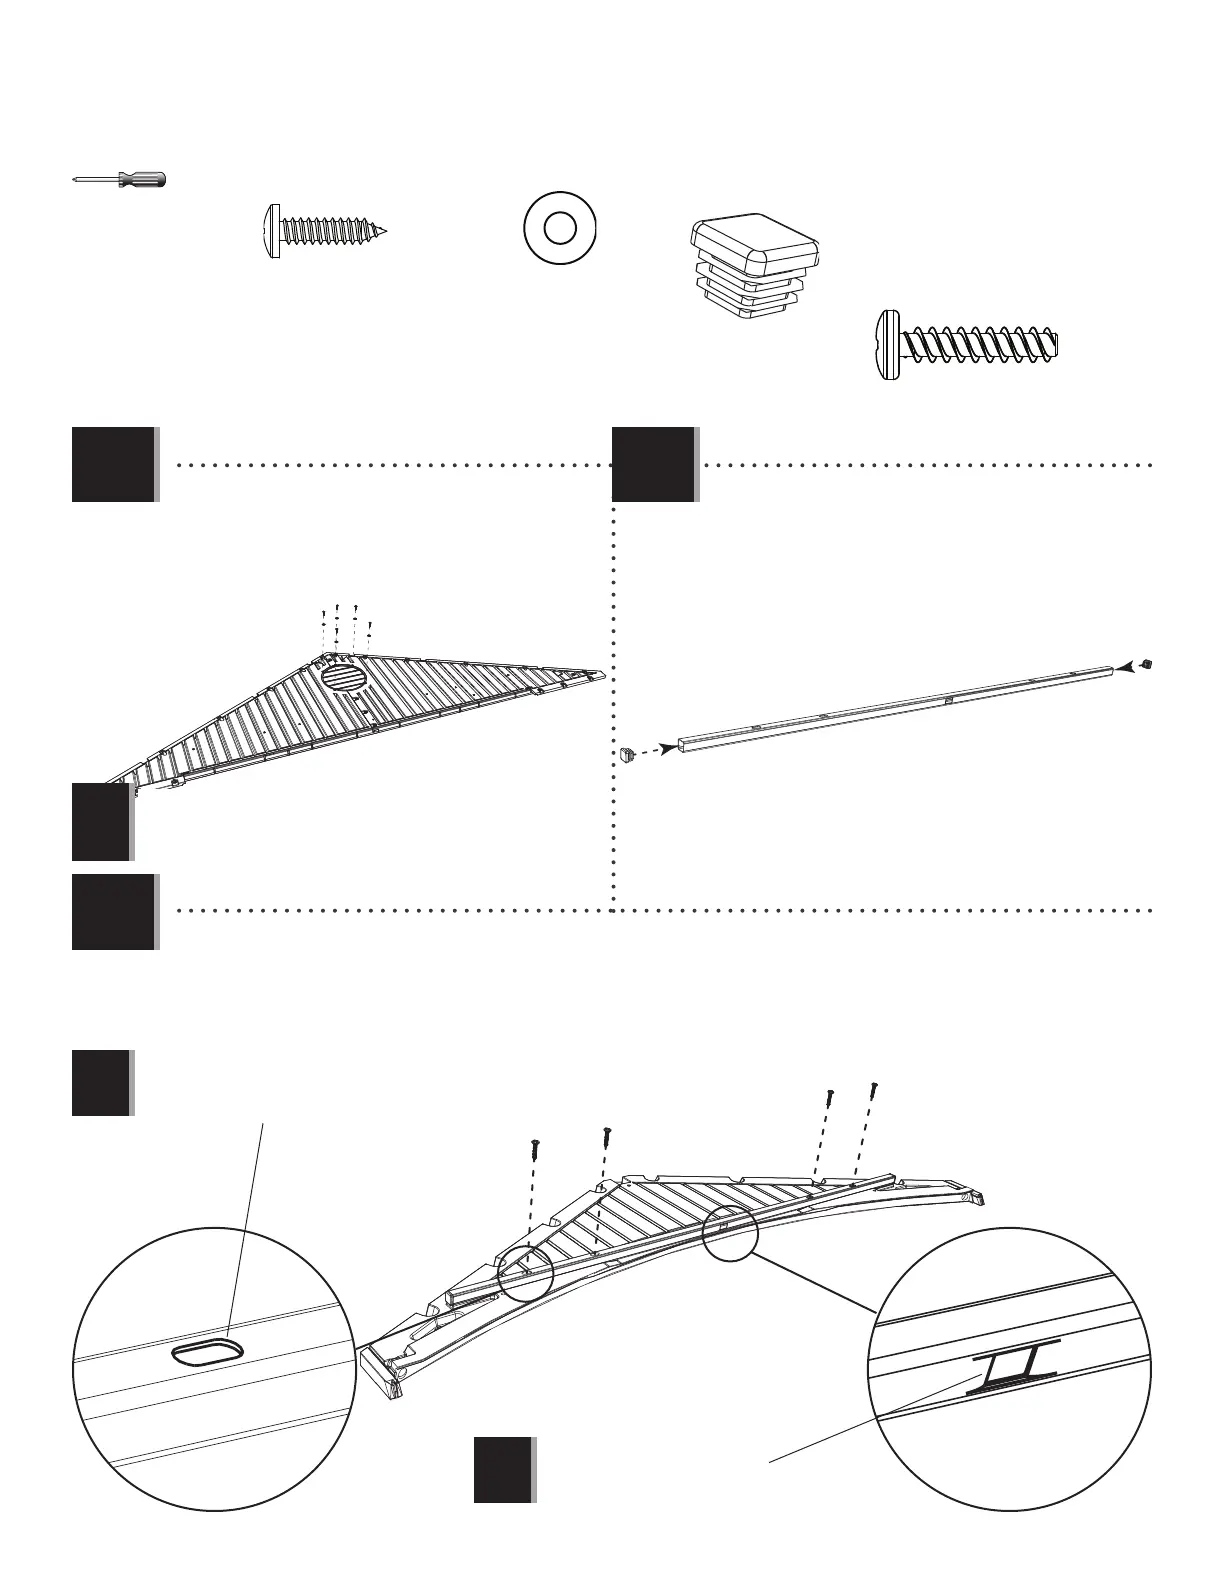
X SECTION 3 (CONTINUED) / SECTION 3 (SUITE) / SECCIÓN 3 (CONTINUACIÓN)
ADW
AEE
ADV (x4)
AHS (x2)
AHS
AHS
BDC
BDD
• Align the holes in the Header with those in the Entry Gable (BDC). Secure with the hardware provided.
• Aligner les trous dans le linteau avec ceux du pignon d’entrée (BDC). Attacher les uns aux autres de la quincaillerie
incluse.
• Alinear los agujeros en el dintel con ellos en la fachada de entrada (BDC). Sujetar los unos a los otros usando el
herraje incluido.
ADV
ADV
• Secure with the hardware provided.
• Attacher les uns aux autres de la quincaillerie
incluse.
• Sujetar los unos a los otros usando el herraje
incluido.
ADW (x10)
AEE (x10)
• Insert an End Cap (AHS) into each end of the Header
(BDD).
• Insérer un capuchon dans chaque extrémité du
linteau (BDD).
• Insertar un tapón (AHS) en los dos extremos del
dintel (BDD).
• Repeat the previous steps for the second Vent.
• Répéter les étapes précédentes pour la deuxième évent.
• Repetir los pasos anteriores para la segunda rejilla.
• The fl at holes face away from the Gable.
• Les trous plats doivent être face à l’écart du pignon.
• Los agujeros planos dan hacia afuera.
• The dented hole faces downward.
• Orienter le trou fendu vers le bas.
• Orientar el agujero abollado hacia abajo.
!
!
!
3.4
3.5
3.6
 Loading...