69
TOOLS AND PARTS REQUIRED / OUTILS ET PIÈCES REQUIS / INSTRUMENTAL Y HERRAJE REQUERIDOS
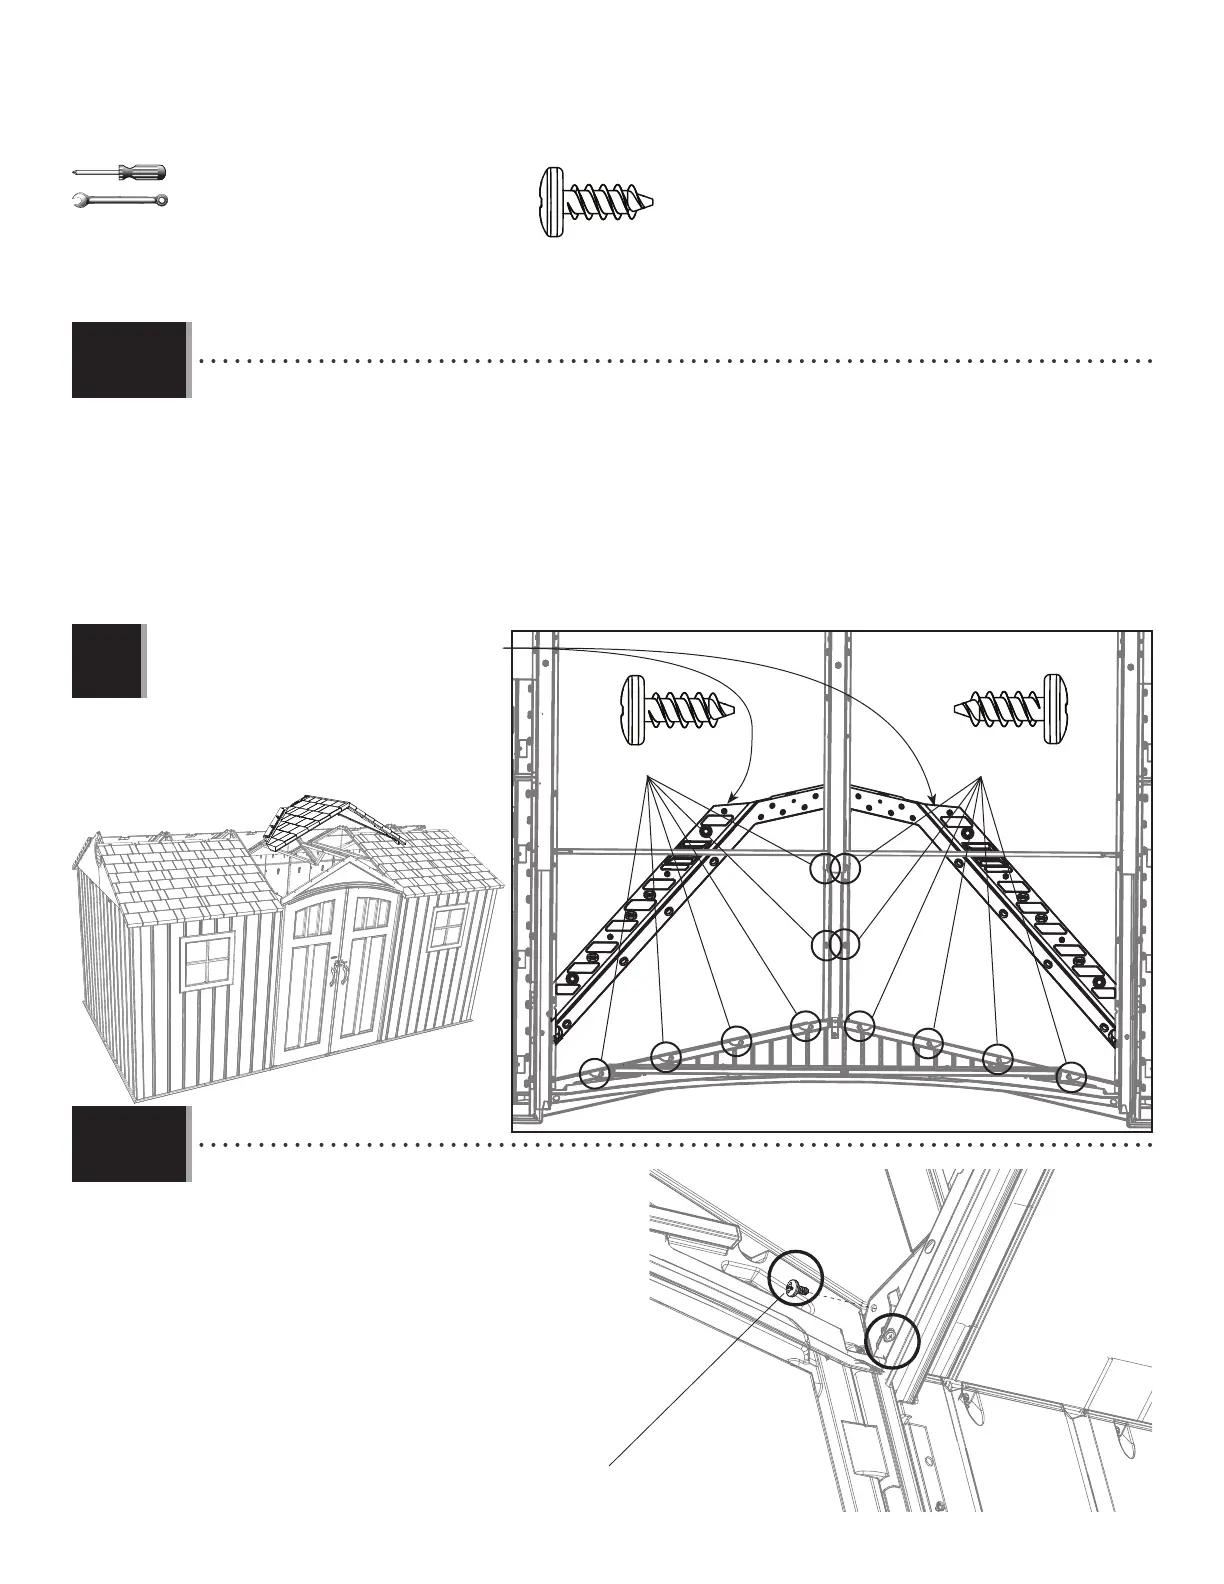
X SECTION 9 (CONTINUED) / SECTION 9 (SUITE) / SECCIÓN 9 (CONTINUACIÓN)
DRA
ADZ (x6)ADZ (x6)
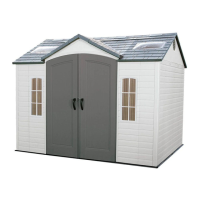
• Fold the ends of the large angled roof panel (DRA) and set it down onto the shed as shown. Secure the panel to the
entry gable and center truss with twelve (12) screws (ADZ) at the locations shown.
• Pliez les extrémités du panneau de toit angulaire grand (DRA) et mettez-le sur l’abri comme illustré. Attachez-le bien au
pignon et à la ferme centrale à l’aide de douze (12) vis (ADZ) aux emplacements indiqués.
• Doble los extremos del panel de tejado angular grande (DRA) y colóquelo en la caseta como se muestra. Sujételo a la
fachada y la cercha central usando doce (12) tornillos (ADZ) a las ubicaciones ilustradas.
• Fold these ends upward before installing.
• Pliez ces rabats en haut avant d’installer.
• Doble estas solapas hacia arriba antes de instalar.
!
ADZ (x14)
9.21
9.22
• Secure the drainiage plate from step 10.26 to
the roof at the location shown. Tighten the nut on the
drainage plate now. Repeat this step for the second drainage plate.
• Attachez les plaques de drainage de l’étape
10.26 au toit à l’emplacement illustré. Serrez l’écrou
dans la plaque de drainage maintenant. Répétez cette étape pour
l’autre plaque de drainage.
• Sujete la placa de drenaje del paso 10.26 al
tejado a la ubicación ilustrada. Apriete la tuerca en la
placa de drenaje ahora. Repita este paso para la otra placa de drenaje.
3/8 in/po
(≈10 mm)
ADZ