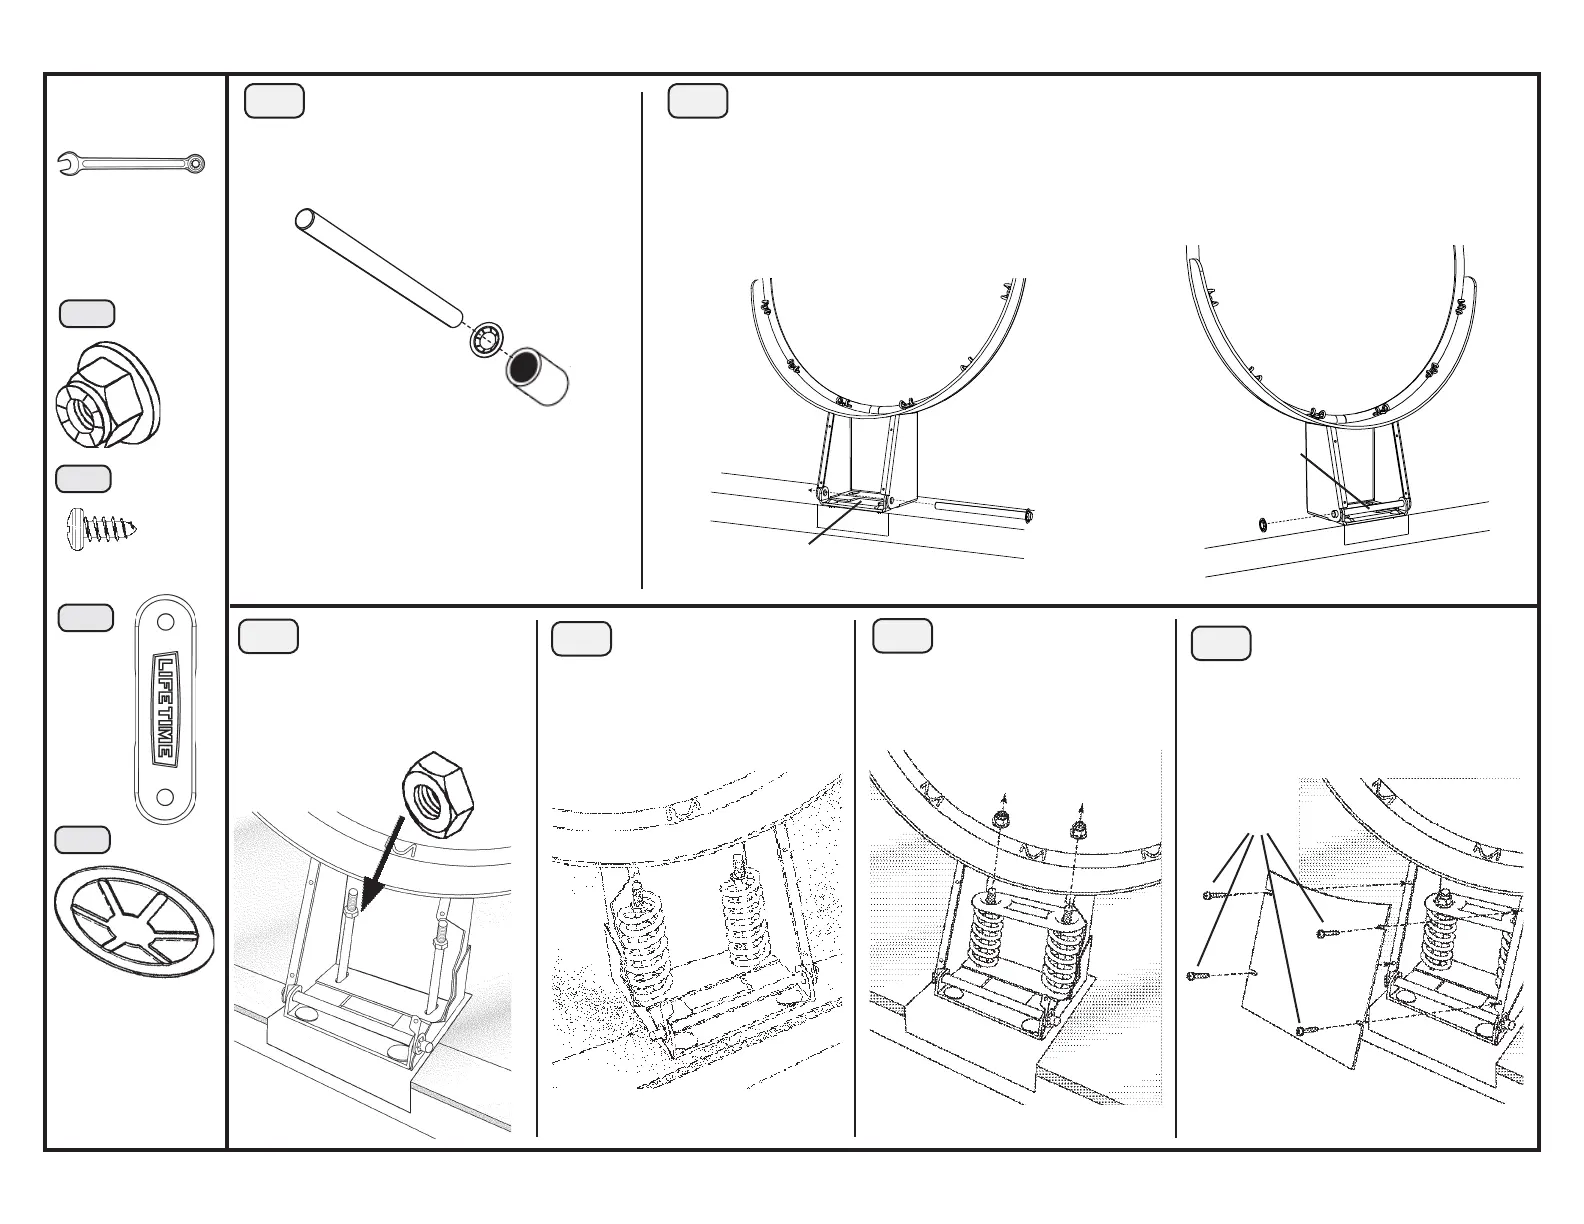
6
Required For
This Page:
1/2” Wrench
3
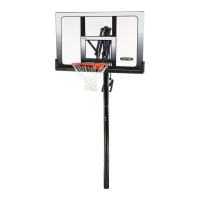
3.1 Turn the Backboard over so it faces up.
RI
JN
JN
4
5
RH
RH
RL
5.1 Slide the Compression
Springs (RI) onto the
legs of the U-Bolt or Hex
Bolts.
6
6.1 Tighten the Nylock
Flange Nuts (RH) until
the Rim is under the desired
tension.
7
RA
AE
RH
(2)
RA
(4)
RL
(Not
actual
size)
(1)
HD9136B
Screwdriver
4.1 If the unit with the
U-Bolt includes Jam Nuts
(pictured actual size below) they
are to be secured onto the ends of
the U-Bolt or Hex Bolts here.
JN
RD
(2)
7.1 Fasten the Rim Cover
Plate (AE) to the Rim (AA)
using the #7 x 3/8” Screws (RA).
1/2” Socket
Wrench
2.1 Use the 1/2” socket head
from the socket head wrench to
press one Push Nut (RD) onto one end
of the Axle (RJ).
2
RD
RJ
Note: The Push Nut should rest about 1/4”
from the end of the Axle. If the Push Nut
slips on too far, continue sliding it to the
other end of the Axle to remove it and try
again.
RD
RJ
RK
AA
RJ
3.1 Slide the end of the Axle (RJ) through the Rim (AA) and the Rim Pivot Bracket (RK).
Press the Push Nut (RD) onto the end of the Axle. Use the 1/2” socket head to secure the
Push Nut if needed.