EasyManua.ls Logo

Lifetime 80421 User Manual

Lifetime 80421
36 pages
To Next Page IconTo Next Page
Page #1 background imageLoading...
Page #1 background image
7/16" (11 mm)
7/16" (11 mm)
1/8" (3 mm)
1/4" (6 mm)
DBD (Included)
CONTACT LIFETIME CUSTOMER SERVICE:
Icon Legend...............................4
Warnings & Notices.....................5
Parts Identifi er............................6
Frame Assembly..........................7
Wall Mounting..........................13
Tabletop & Leg Assembly............18
Final Assembly..........................26
Additional Warnings..................30
Cleaning & Care........................31
Registration.........................32
Warranty..............................33
Call: 1-800-225-3865
7:00 am–5:00 pm (Monday–Friday) MST
and 9:00 am–1:00 pm Saturday MST
Live Chat: www.lifetime.com
(click on “Ask An Expert” tab)
Video Instructions: www.youtube.com/lifetimeproducts
QUESTIONS?
MODEL# AND PRODUCT ID (you will need both when contacting us)
Model Number: 80421 / 80578
Product ID:
BEFORE ASSEMBLY:
Assemble on a level surface
• Enlist the help of a friend or family member
Assembly should take 2 adults abour 2 hours
• Videos and help guides available
Scan the code below to see the assembly
http://go.lifetime.com/worktableplaylist
TOOLS REQUIRED TABLE OF CONTENTS
Pour le français, voir la page 2. Para el español, ver la página 3.
ASSEMBLY INSTRUCTIONS
MODEL #60091
WALL-MOUNTED
FOLDING WORK TABLE
MODEL 80421 / 80578
Copy
Question and Answer IconNeed help?

Do you have a question about the Lifetime 80421 and is the answer not in the manual?

Lifetime 80421 Specifications

General IconGeneral
Product TypeFolding Table
ShapeRectangular
Seating Capacity8
Tabletop MaterialHigh-Density Polyethylene
Frame MaterialSteel
Tabletop ColorWhite Granite
CategoryIndoor Furnishing
ColorWhite Granite
Assembly RequiredNo
Open Dimensions96" L x 30" W x 29" H
Product NameLifetime 80421
MaterialHigh-Density Polyethylene

Summary

Icon Legend

Warnings and Notices

Parts Identifier

Frame Assembly

Frame Assembly - Step 1.1

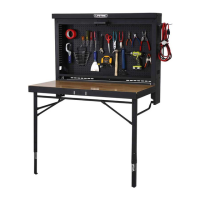
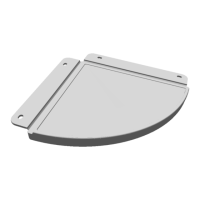
Attaches the latch/cross brace assembly to the top shelf.

Frame Assembly - Step 1.2

Attaches the right side/leg assembly to the top shelf.

Frame Assembly - Step 1.5

Inserts the bottom shelf into the assembly.

Wall Mounting

Wall Mounting - Step 2.1

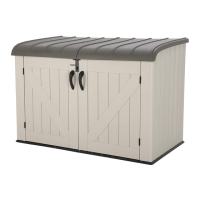
Drills holes into the wall and secures the mounting bracket using lag screws.

Wall Mounting - Step 2.3

Secures the work table frame to the wall studs.

Tabletop & Leg Assembly

Tabletop & Leg Assembly - Step 3.1

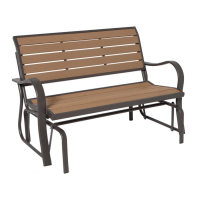
Unfolds the frame and secures the legs to it.

Tabletop & Leg Assembly - Step 3.2

Sets the tabletop into the frame and secures it with screws.

Tabletop & Leg Assembly - Step 3.5

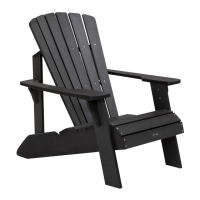
Attaches angle brackets to the frame.

Final Assembly

Final Assembly - Step 4.1

Inserts cord minders into the holes in the lower shelf.

Final Assembly - Step 4.2

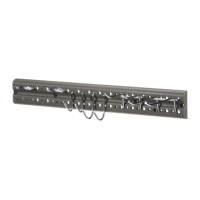
Inserts various hooks into the pegboards for tool organization.
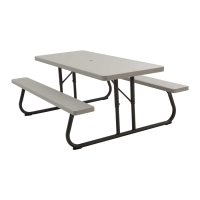
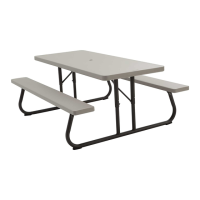
Additional Warnings

Cleaning & Care

Register Product Online

Warranty Information

Related product manuals