9
TOOLS AND HARDWARE REQUIRED / OUTILS ET QUINCAILLERIE REQUIS / INSTRUMENTAL Y HERRAJE REQUERIDOS
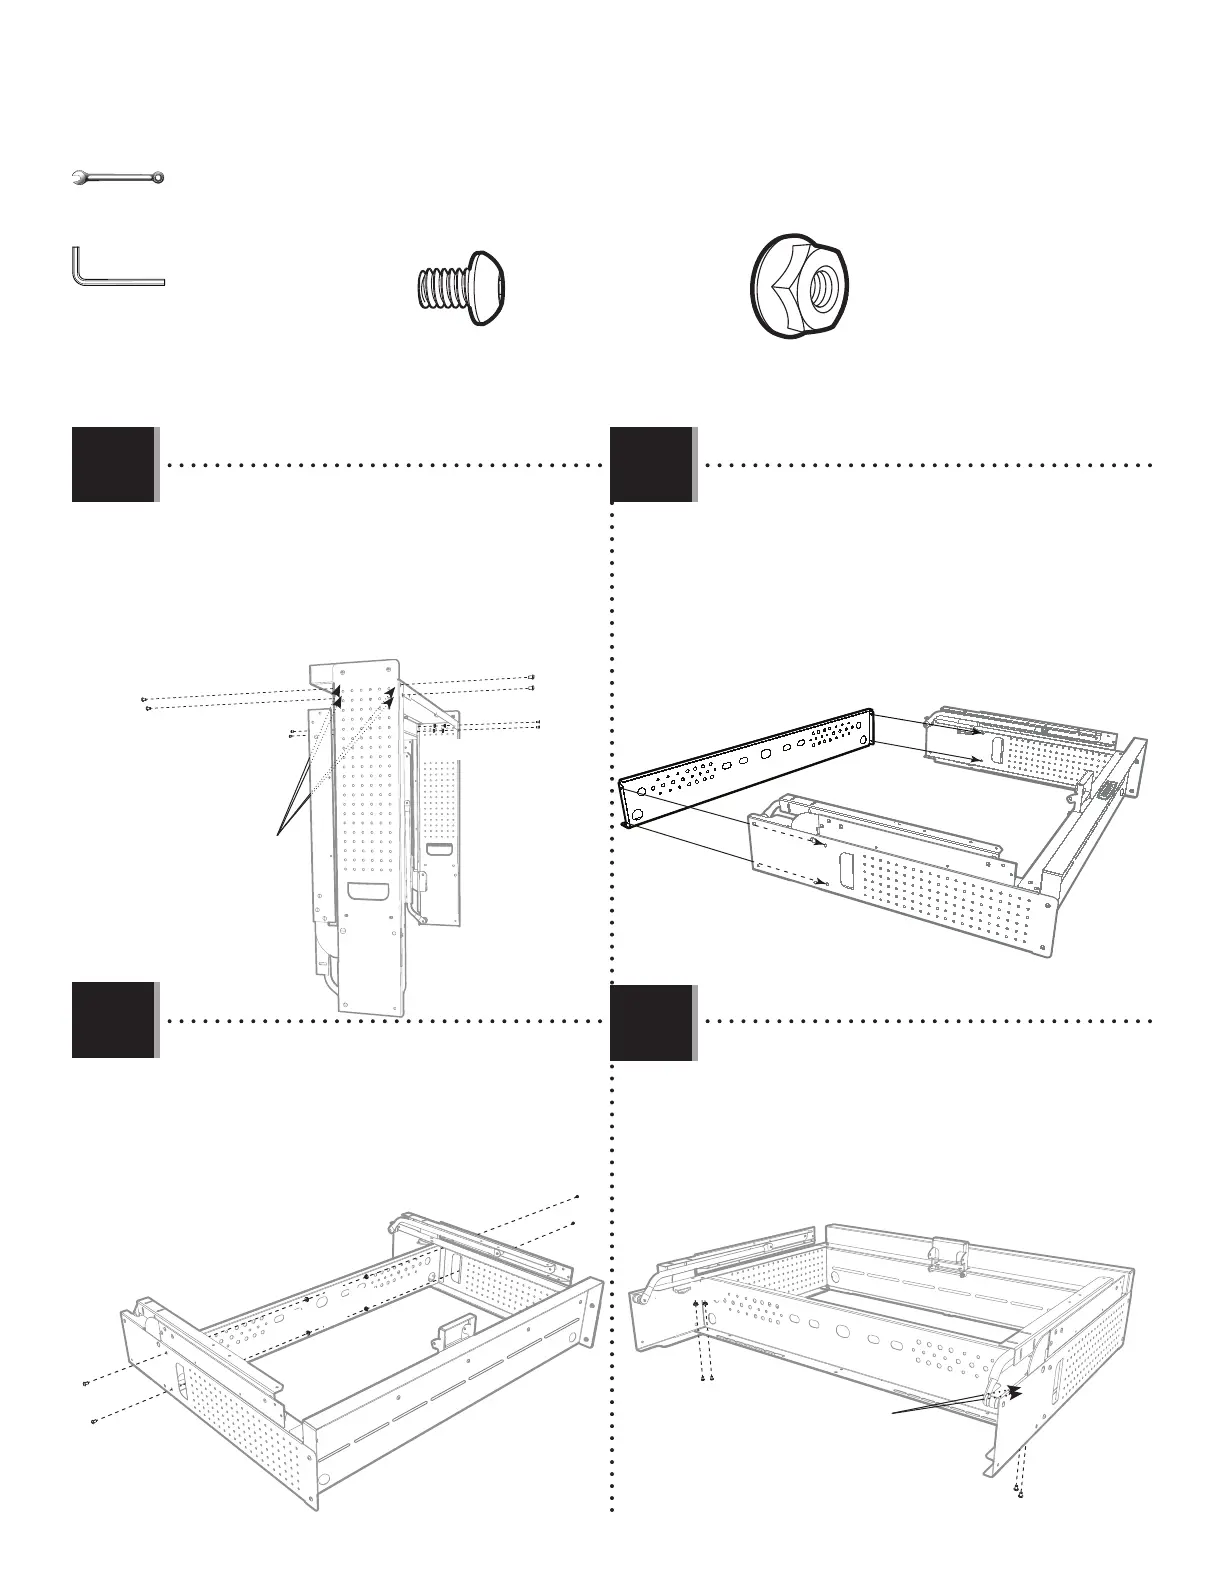
u SECTION 1 (CONTINUED) / SECTION 1 (SUITE) / SECCIÓN 1 (CONTINUACIÓN)
1.4 1.5
1.6
1.7
• Attach the Bottom Shelf to the Assembly at these
locations as well. Do not completely tighten the Nuts yet.
• Attachez bien l’étagère inférieure à l’assemblage aussi
à ces emplacements. Ne serrez les écrous qu’à la main en
ce moment.
• Sujete bien el estante inferior al ensamble también a
estas ubicaciones. No apriete por completo las tuercas.
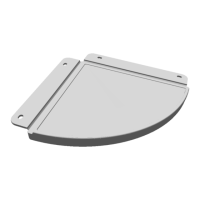
• Insert the Bottom Shelf (EMS) at an angle inside
the Assembly and align the holes in the Shelf with
those in the Sides.
• Insérez l’étagère inférieure (EMS) à un angle dedans
l’assemblage et alignez les trous dans l’étagère
avec ceux dans les deux côtés.
• Inserte el estante inferior (EMS) a un ángulo dentro
del ensamble y alinee los agujeros en el estante
con ellos en los dos costados.
• Attach the Bottom Shelf to the Assembly using the
hardware indicated. Do not completely tighten the Nuts yet.
• Attachez bien l’étagère inférieure à l’assemblage à
l’aide de la quincailerie indiquée. Ne serrez les écrous
qu’à la main en ce moment.
• Sujete bien el estante inferior al ensamble usando el
herraje indicado. No apriete por completo las tuercas.
ENC (x16)
EMS
ENA (x16)
ENC
ENC
ENA
ENA
ENC
ENC
ENA
ENA
7/16 in/po
(11 mm)
DBD
• Secure the two Assemblies to the Top Shelf at
these points, too. Do not completely tighten the Nuts yet.
• De plus, attachez bien les deux assemblages à
l’étagère supérieur à ces emplacements. Ne serrez
les écrous qu’à la main en ce moment.
• Además, sujete los dos ensambles al estante
superior a estas ubicaciones. No apriete por completo
las tuercas.
ENA (x4)
ENC
ENC
ENC
ENC
ENA (x4)
ENC
ENC
ENC
ENC