TOOLS AND HARDWARE REQUIRED / OUTILS ET QUINCAILLERIE REQUIS / INSTRUMENTAL Y HERRAJE REQUERIDOS
u SECTION 3 (CONTINUED) / SECTION 3 (SUITE) / SECCIÓN 3 (CONTINUACIÓN)
21
3.3
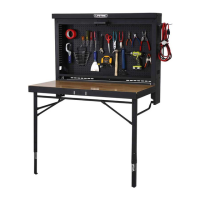
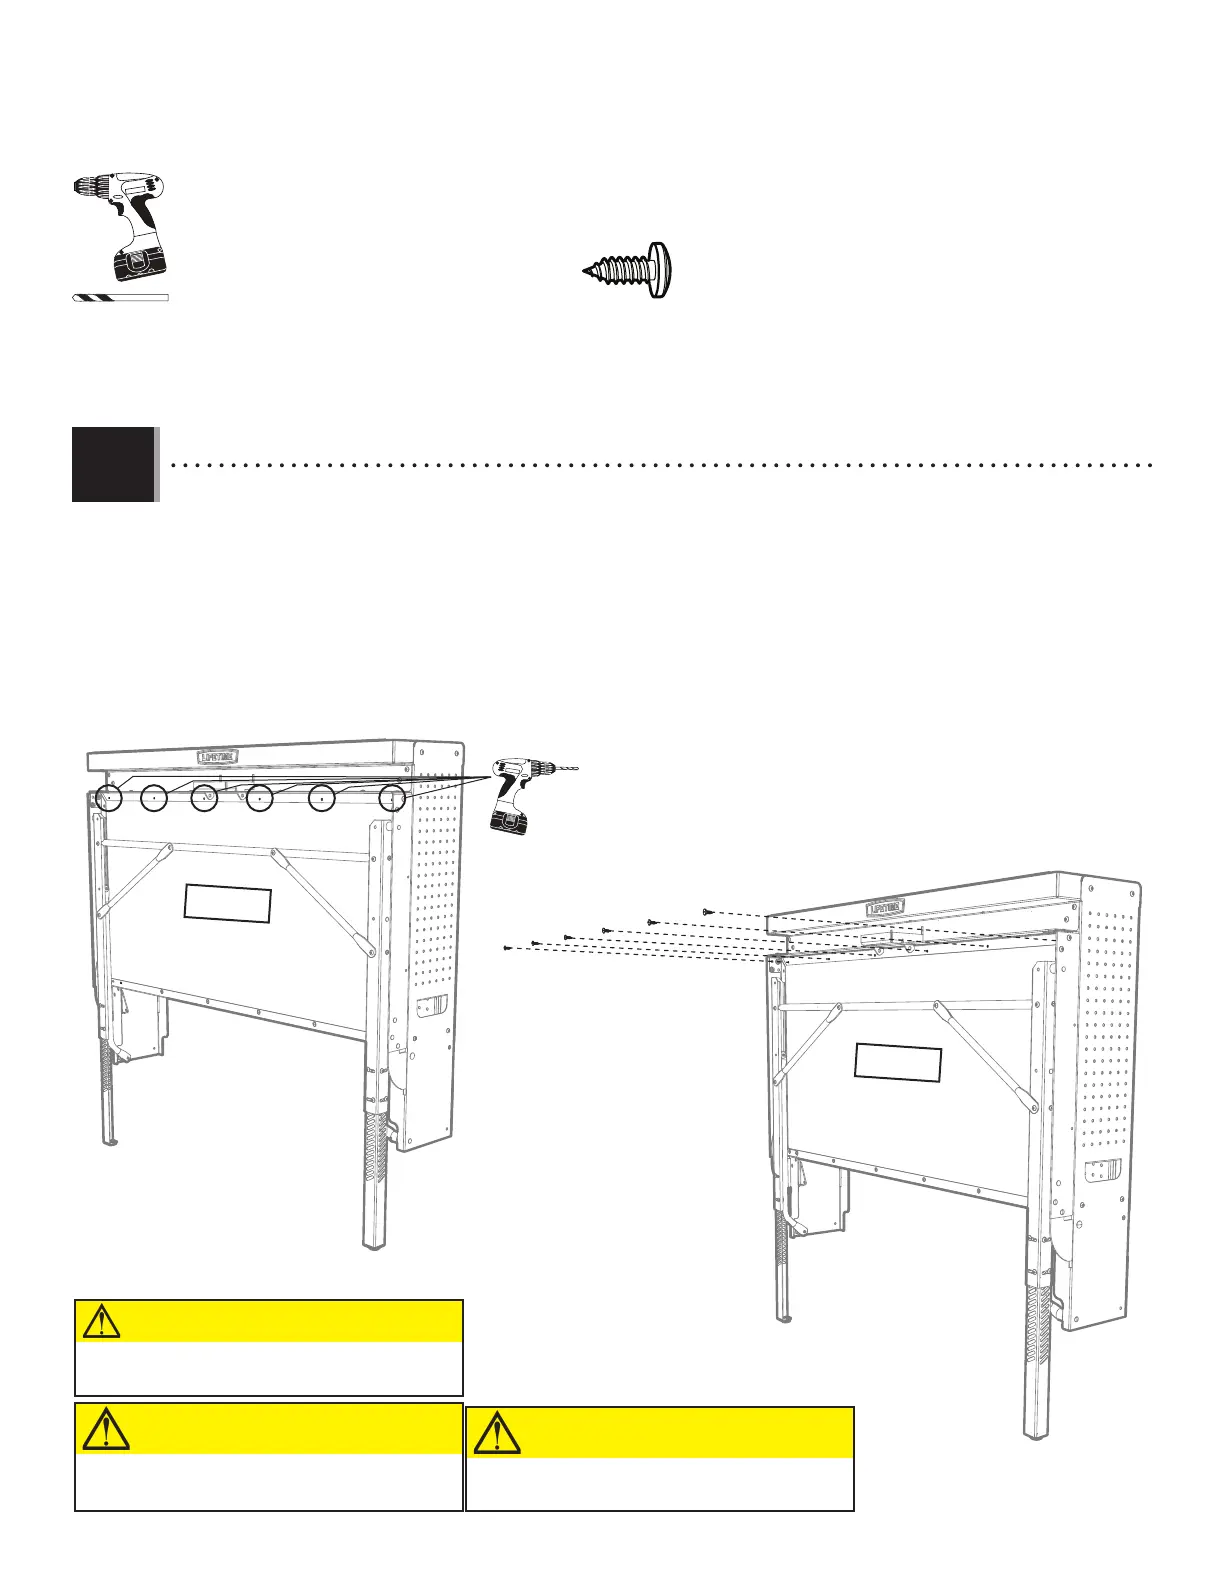
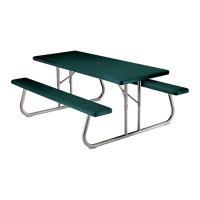
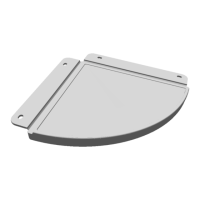
• Set the Tabletop (EMV) into the Frame and close the Latch. While another adult holds the Table closed, pre-drill the six
holes indicated, and then secure with six (6) Screws (ADX). Do not overtighten the Screws. The Screws are only 1/2" (13 mm) in
length—do not drill completely through the Tabletop.
• Mettez le tableau (EMV) dans la charpente et fermer le loquet. Pendant qu’un autre adulte maintient le tableau fermé,
percer les trous indiqués, et, ensuite, attachez-le à l’aide de six (6) vis (ADX). Ne serrez pas excessivement les vis. La longueur des
vis ne sont que 13 mm (12") — ne percez pas à travers le tableau entière.
• Meta el tablero (EMV) en el armazón y eche el pestillo. Mientras que otro adulto mantiene cerrado la mesa, taladre los
agujeros indicados, y, entonces, sujételo usando seis (6) tornillos (ADX). No apriete demasiado los tornillos. Los tornillos son de 13
mm (12") de longitud, no taladre por completo a través del tablero.
1/8 in/po
(3 mm)
ADX
ADX
ADX
ADX
ADX
ADX
ADX (x6)
• Drill these six holes before inserting the Screws.
• Percez ces six trous avant d’insérer les vis.
• Taladre estos seis agujeros antes de insertar los tornillos.
CAUTION
Do not drill all the way through the
Table Top.
No taladre por completo el tablero con la
broca.
PRECAUCIÓN
Ne pas percer complètement à travers le
tableau.
ATTENTION