12
CLEANING AND CARE
• You need to make sure the device is not electried before cleaning it.
Power off the device and unplug the cord.
• For external cleaning, please use a damp cloth or sponge, gently dry off the device.
• Avoid getting the particle lter wet.
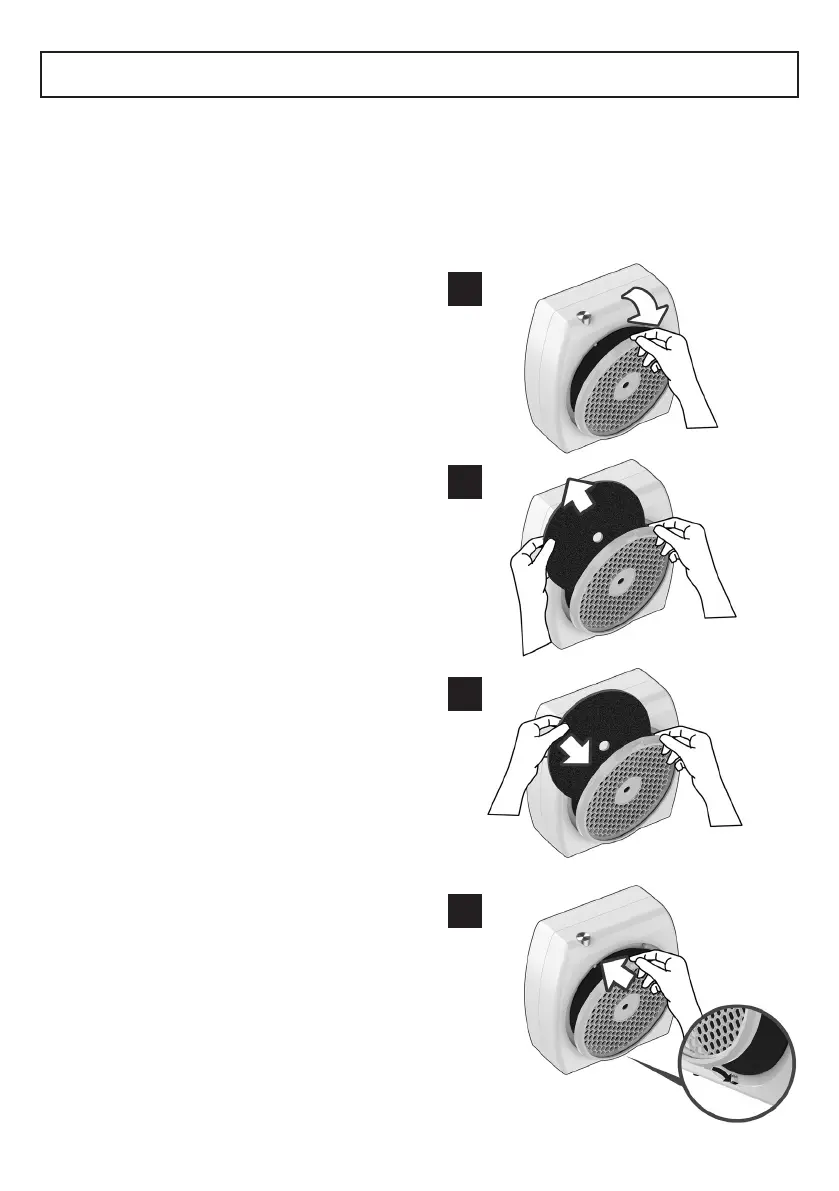
Step-by-step cleaning of the pre-lter
1. Remove the front grille
• Use your thumb and forenger.
• Grab the plastic tab.
• The grille is attached using magnets.
Remove the grille by pulling outward.
• Take off the grille and set it to one side.
2. Remove the pre-lter
• Grab around the pre-lter, pulling straight
outward, be careful not to damage the
carbon brush which is at the centre of
the device.
• Wash the pre-lter in running water, or let it
soak. A gentle degreasing agent can be used.
3. Attach the pre-lter
Please note:
The pre-lter must be 100% dry before
being reattached.
• Remove the front grille.
• Centre the hole of the pre-lter on
the device hub in the middle.
• The pre-lter is tted into its slot.
4. Reattach the front grille
• The bottom of the front grille has a guiding
element.
• Align the guide with the corresponding hole
in the device.
• Angle the front grille until the power from
the magnets takes over and the grille
automatically falls into place (with a click).
1.
2.
3.
4.
ENGLISH