Compatibility & Lamps
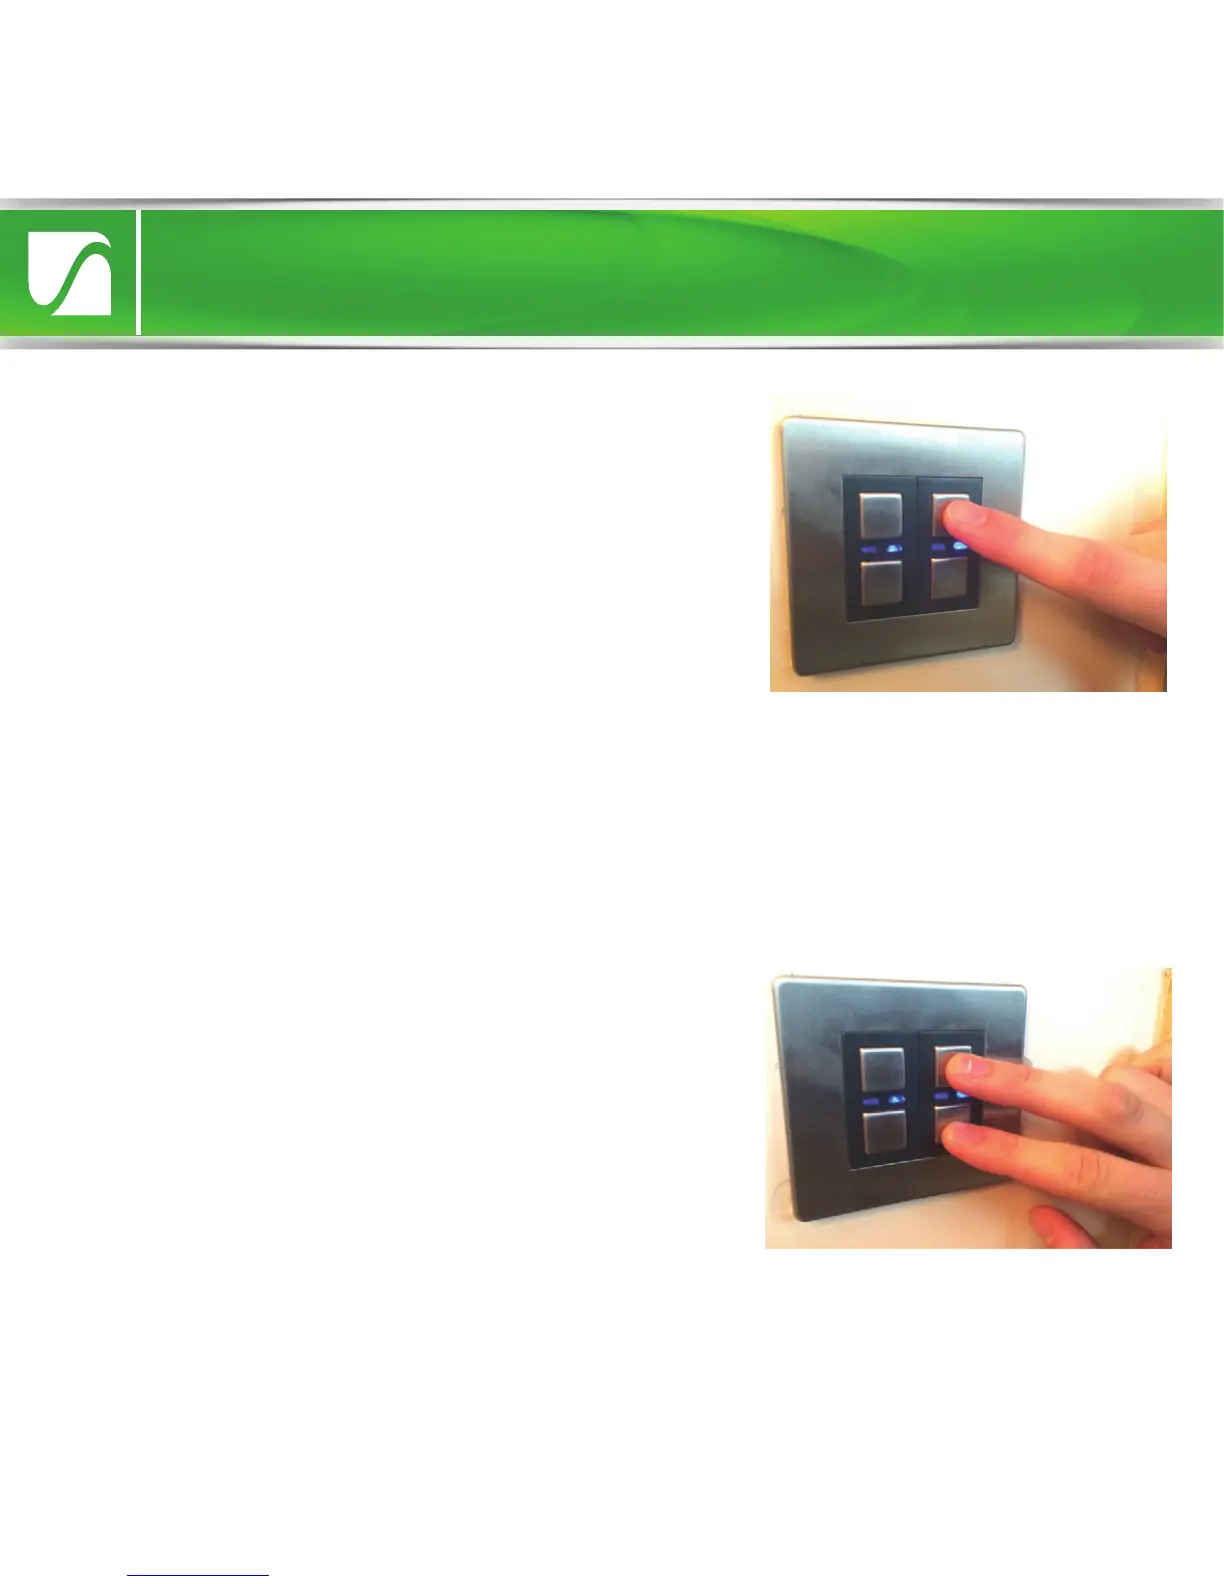
2. Tap the (top) ‘on’ button twice to enter
Dimming Range Setup. The blue LED will flash
to indicate that the setup menu has been
accessed. The dimmer will automatically
turn
on at a high level of brightness. This
indicates
that the smallest (most stable)
dimming
range is currently selected.
3. Tap the ‘o’ button to gradually increase
the dimming range (indicated by the
incremental decrease in lamp light level).
Keep going until flicker is observed. At this
point, return to the previous stable increment
(optimum level) by pressing the ‘on’ button.
Dimming Range Setup allows the dimmer’s range to be adjusted to one of
five presets. If the dimmable LED lamps on the circuit perform properly at
the initial setting (smallest range), then the range can be increased, one
stage at a time, until flickering (if any) is observed. The optimum setting is
the one which provides the greatest dimming range without any flicker.
4. Once the optimum level has been achieved, save the setting and leave
setup by holding the on & o buttons until the blue LED flashes quickly.
 Loading...