ASSEMBLING YOUR LILLIPAD DIVING BOARD
WARNING: Do not install on a boat that does not meet the minimum specifications outlined in the Manual or on any boat
with soft or deteriorated floor boards. Your LilliPad Diving Board should be solid, without movement in the base, when
mounted properly. If you have any questions contact LilliPad, LLC.
INSTALLING UNDERFLOOR MOUNTING PLATES
Step 1:
Determine an appropriate and approved (see pages 6 & 7) mounting location which is
free of obstructions for mounting hardware and provides for safe use of your assembled
diving board.
Inspect floor where board is to be mounted. Flooring material must be ¾” Marine Grade
Plywood in excellent condition. It is also recommended to confirm clearance of frame
members, cables, wires and lines.
Step 2:
Place your assembled Diving Board on the deck in your
mounting location. (See Daily Assembly)
Step 3:
With the diving platform in the lowered position and the frame perpendicular (90°) to the
deck, determine the appropriate frame position:
When possible, position a frame cross member between two
of the three mount plates. Place the frame mount on one
side of a cross member and a ladder mount on the other
side. (This utilizes the frame cross member strength and
prevents movement.)
Aft decks or other open areas:
Align the lowered platform to be positioned slightly recessed
from the gunnel or side railing. Proper installation allows for
docking or rafting without exposing the diving platform
outside of the vessels perimeter.
Over railing or side gate:
Align the platform to lay perfectly flat against the outside of
the railing or gate. (Silicone stick on buttons are provided in the mount hardware kit to
prevent direct contact)
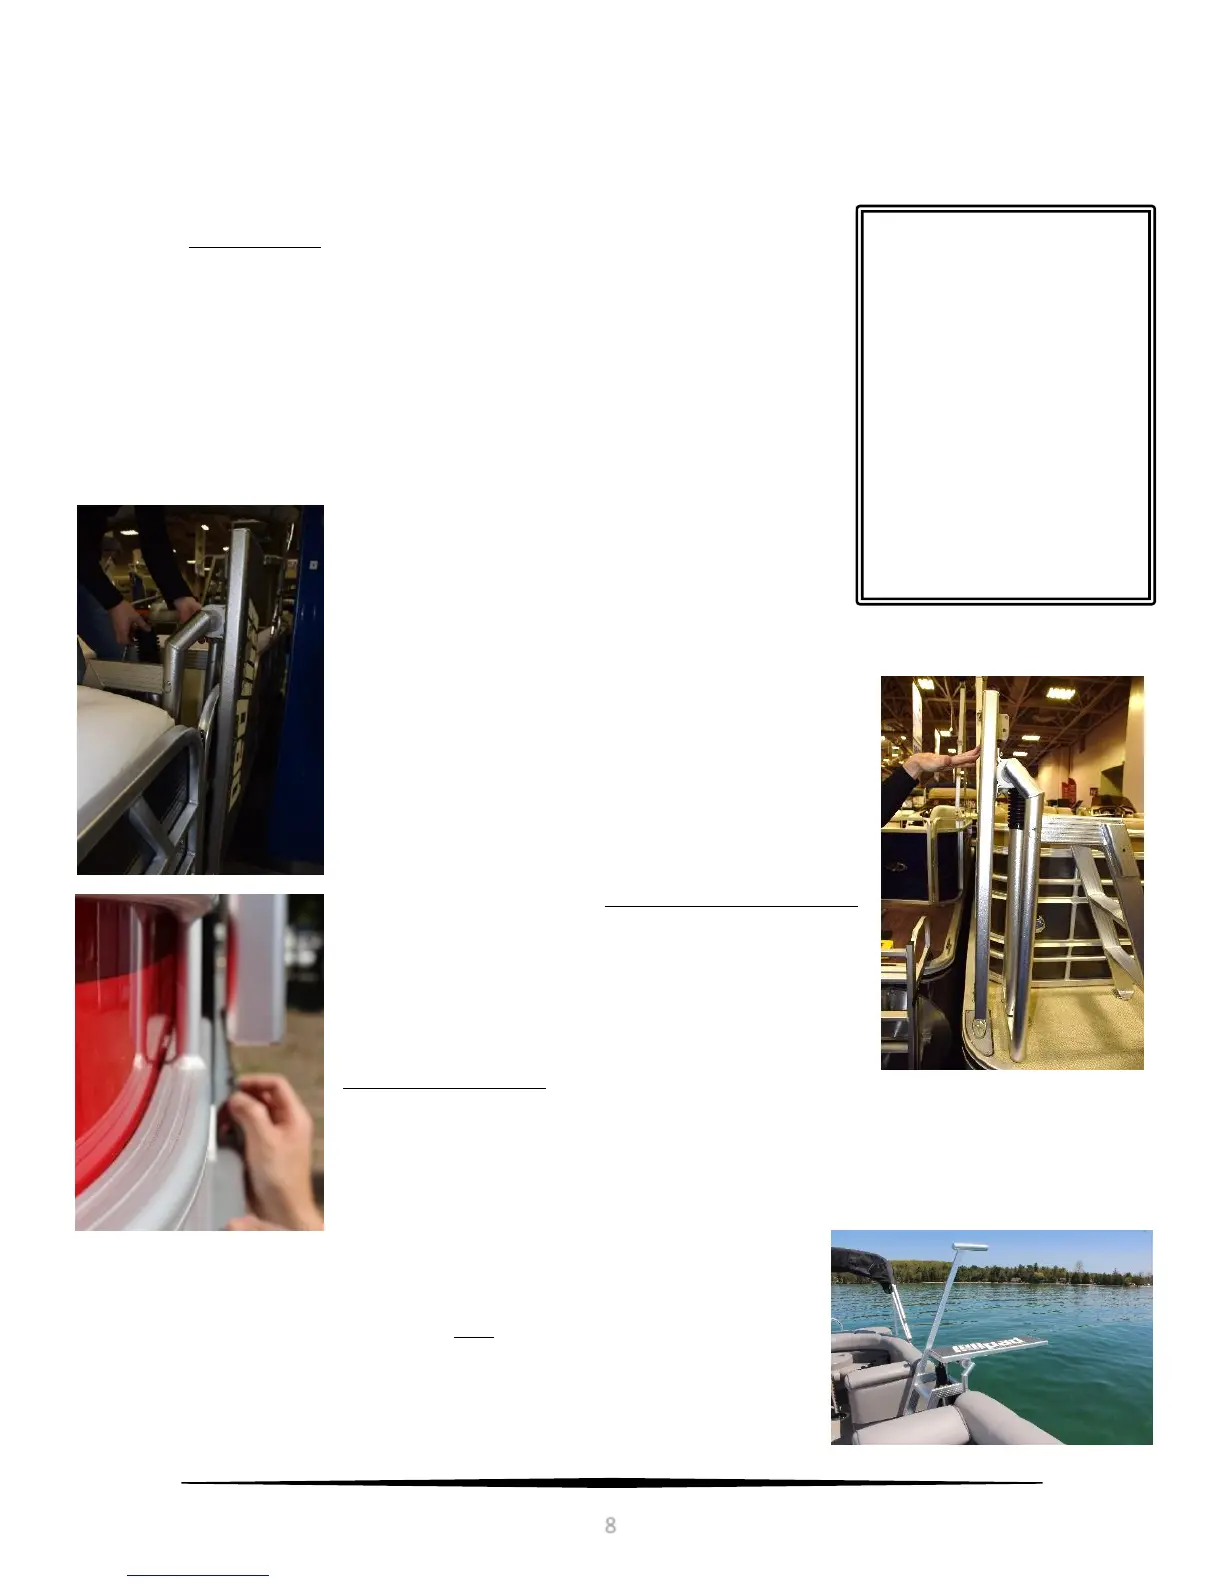
Step 4:
Determine the appropriate ladder position by raising your diving platform and
installing the button lock pin. Move the ladder forward or backward until your diving
platform is level with the flooring surface of the boat.
TOOLS NEEDED FOR
INSTALLATION
3/16” Drill Bit
5/16” Drill Bit
1/2” Drill Bit
11/64 Drill Bit
#3 Screw Driver
Aluminum Yard Stick
Level