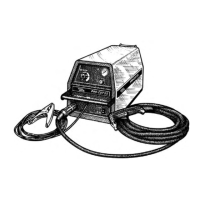
Do you have a question about the Lincoln Electric PRO-CUT 55 SVM140-A and is the answer not in the manual?
| Input Frequency | 50/60 Hz |
|---|---|
| Power Factor Corrected | Yes |
| Thermal Overload Protection | Yes |
| Pilot Arc Starting | Yes |
| Work Cable Included | Yes |
| Input Power Cord Included | Yes |
| Rated Output | 55 A |
| Maximum Open Circuit Voltage | 300 V |
| Torch Included | Yes |
Details dangers and precautions related to electric shock.
Explains risks from fumes and gases during operation.
Warns about fire/explosion risks from cutting sparks.
Key safety warnings for installation procedures.
Read and understand operating instructions before use.
Overarching safety guidelines for operation.
Step-by-step guide for performing cutting operations.
Regular cleaning and inspection tasks.
Explanation of precharge and voltage monitoring circuits.
How the control and display boards manage machine operations.
How the machine protects against current and voltage issues.
How thermostats prevent overheating.
Explanation of how IGBTs work in passive and active modes.
Description of how PWM controls output power.
Steps for effectively using the troubleshooting guide.
Steps for troubleshooting and replacing PC boards.
Troubleshooting steps when the machine has no output.
Steps for diagnosing no output with fans running.
Diagnosing issues when all status lights blink.
Steps when the machine powers up but trigger does not respond.
Steps for when the pilot arc is normal but does not transfer.
Visual guide to diagnosing machine issues.
Safety steps to discharge capacitors before maintenance.
Tests for shorts/leaks and capacitor charging.
Verifies torch cable, consumables, and solenoid function.
Procedure to diagnose faults in the trigger circuit.
Verifies correct DC voltages applied to PC boards.
Step-by-step guide for replacing the control board.
Procedure for removing and replacing the display board.
Steps for removing and replacing the output power board.
Procedures for removing and replacing the primary power board and capacitors.
Steps for removing and replacing the input rectifier bridge.
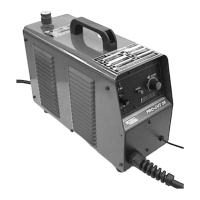
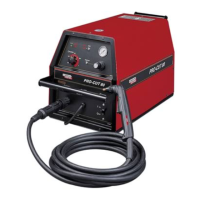
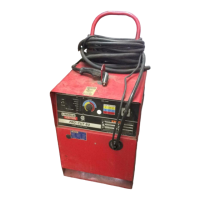




 Loading...