Page Number - 4
Form 403238
To prevent premature power spring failure, spring tension
should be adjusted so that it requires at least two full
turns of the reel sheave before the spring is wound tight.
Should less spring tension be desired, pull hose out from
roller outlet to provide slack and latch reel.
Unwind one loop of hose from reel. Pull excess hose out
through roller outlet and unlatch reel to retract hose.
Check tension and repeat above procedure until desired
tension is obtained.
Reattach/assemble outboard support to reel. (See Page 2,
Steps Q thru S).
ATTACHING CONNECTING HOSES
To prevent damage to connecting hose when installing hose
to reel, sufficient clearance must be provided from outside
edge of sheave.
Slide ball stop over free end of hose and position slightly below
roller outlet. Tighten screws to secure ball stop to hose.
Power spring is now set to maximum tension.
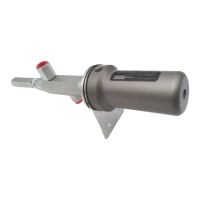
ADJUSTING SPRING TENSION
See Figure (2). Remove U-keeper and inlet adapter from
swivel body.
If O-Ring (261187) is damaged, replace at this time.
Assemble swivel adapter to connecting hose.
Reconnect inlet adapter to swivel body and replace U-keeper.
Connect other end of connecting hose to material supply line
source or connection.
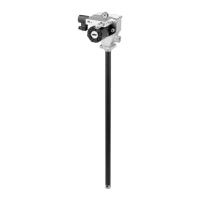
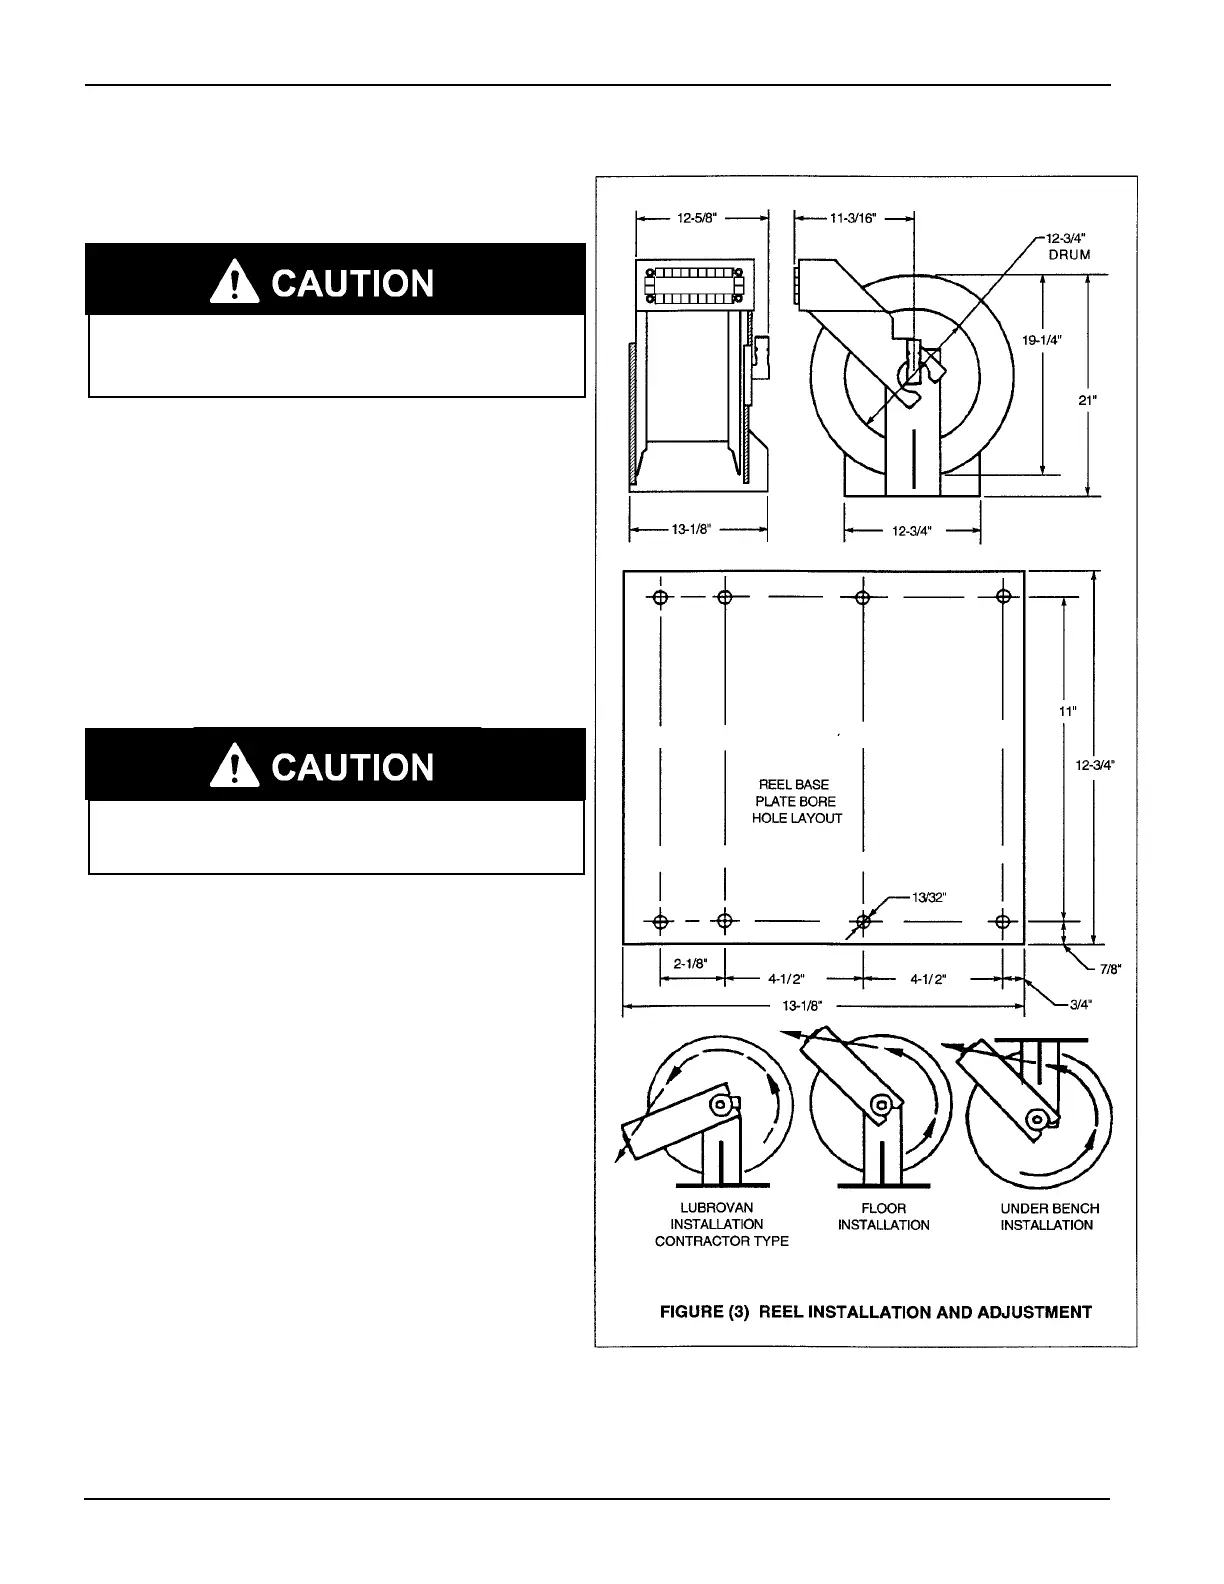
REEL INSTALLATION AND
ADJUSTMENT
See Figure (3). The guide arm may be positioned in 22-1/2
degree increments. For ease of operation and increased
hose life, the guide arm should be positioned to minimize
hose strain as the delivery hose is pulled through the roller
outlet.
Three studs must be used to securely attach the guide arm.
It may be necessary to change the position of the hex head
screw and one stud in order to obtain the desired guide arm
position.
The hose clamp must be relocated if the guide arm is
repositioned.
 Loading...