Page Number - 14
FlowMaster™ Rotary Driven Electric Pump
Maintenance and Repair
Form 402753
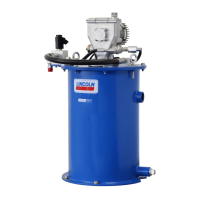
39. Loosen plunger tube (Item
10). (Reassembly torque:
100-110 in. lbs. (11.3 - 12.4
Nm).)
40. Remove plunger tube (Item 10) and associated parts.
(Reassembly recommendations: replace O-ring (Item 10c) on
bushing (Item 10a). Use Loctite 242 or equivalent on plunger
tube threads.)
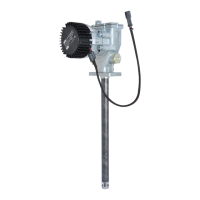
41. View of bushing assembly (Items 10 through 10d) removed.
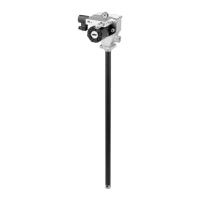
42. View of wrist pin anchor (Item 13a) showing upper cup seal
(Item 15) and nylon back up washer (Item 14).
43. Pull cup seal (Item 15) out of wrist pin anchor (Item 13a).
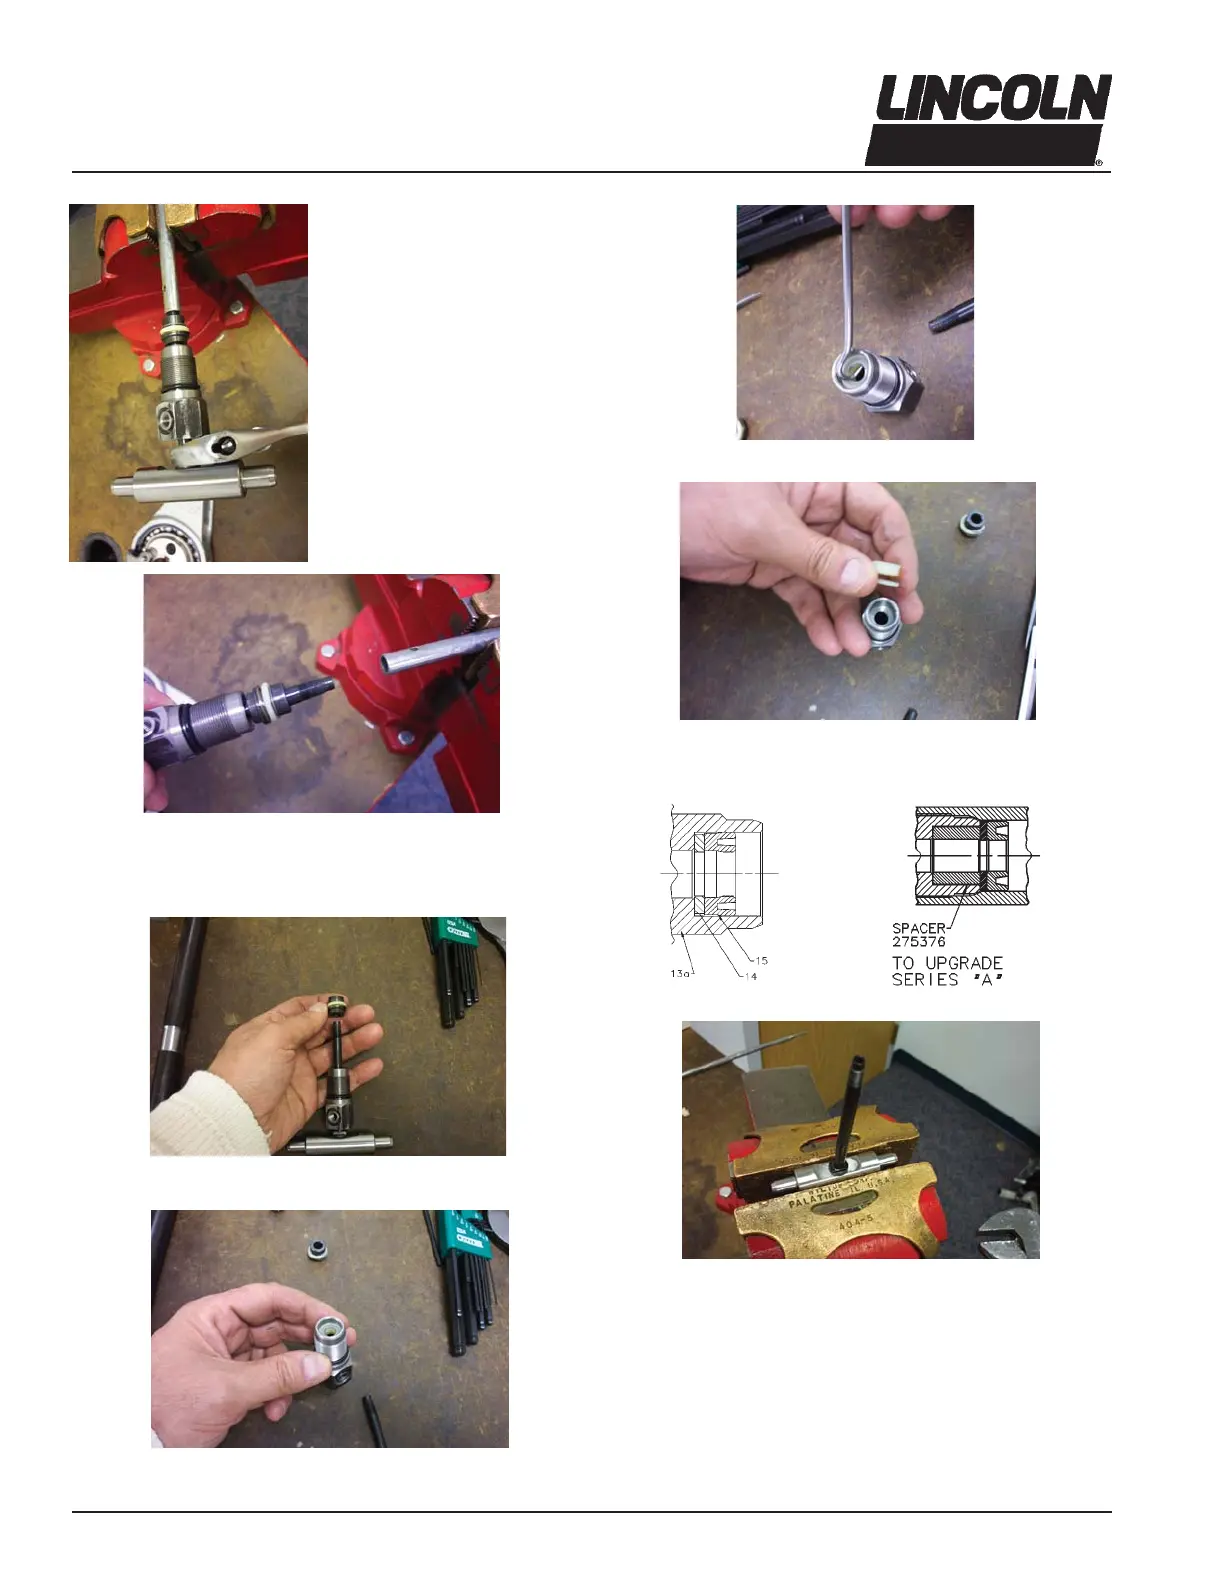
44. Remove cup seal (Item 15) and backup washer (Item 14).
(Reassembly recommendations: replace cup and seal and
backup washer. See detail below for orientation)
45. Hold outlet pin (Item 8) and plunger tube (Item 10) in vise.
Series “B”
 Loading...