Page Number - 17
FlowMaster™ Rotary Driven Electric Pump
Form 402753
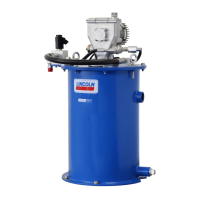
57. Remove plunger and bushing assembly (Item 19) from
reciprocating tube (Item 20). (Reassembly recommendations:
replace O-ring seal (Item 26.)
Remove lower cup (Item 21) from reciprocating tube (Item 20).
(Reassembly recommendations; replace lower cup seal. See
detail for orientation.) Remove pump bushing (19a) from pump
plunger (19).
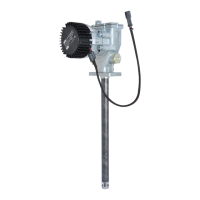
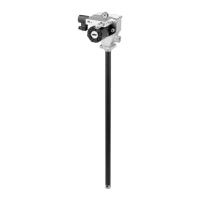
58. To remove lower plunger, using special tool provided in kit
276275.
59. With the tool in place, insert the pin from tool kit (276275)
through the tool and into the plunger outlet hole.
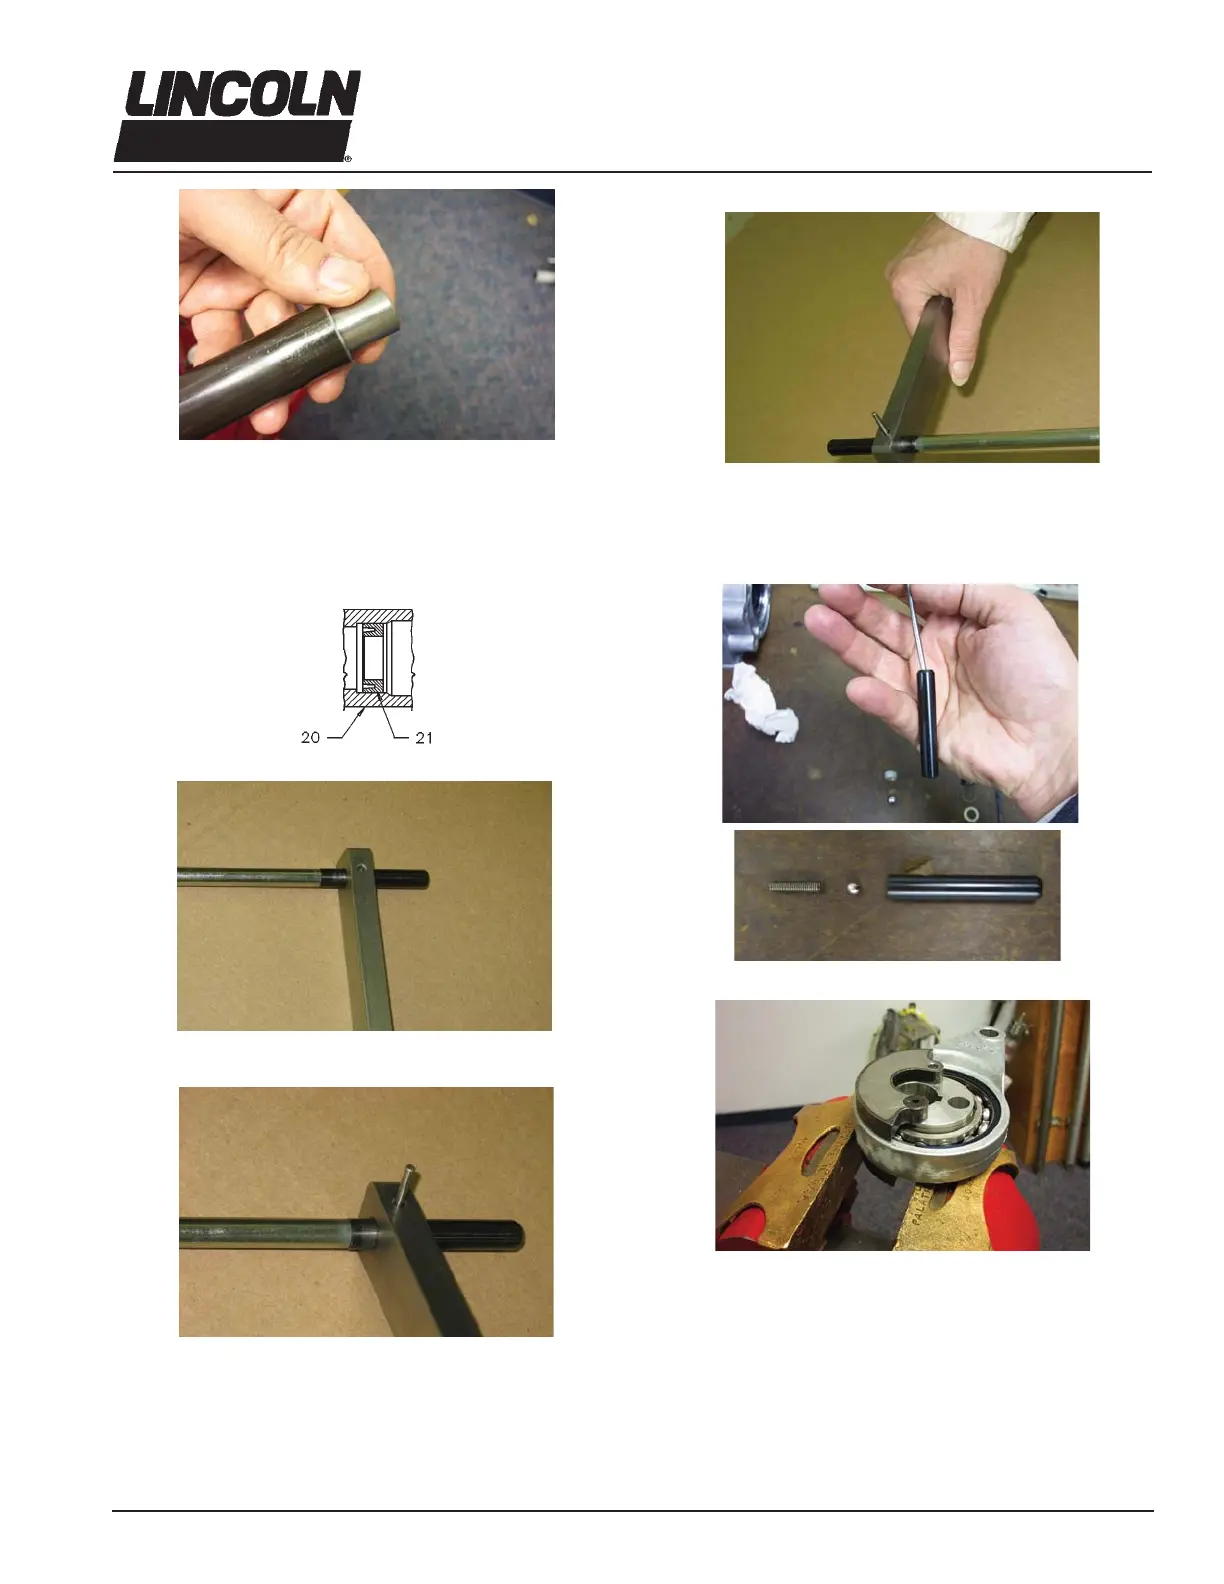
60. Remove plunger (Item 19). (Reassembly torque: 100-110
in. lbs. (11.3 - 12.4 Nm).) (Reassembly recommendations: use
Loctite 242 or equivalent on plunger threads).
61. Push out check ball (Item 18) and check spring (Item 17).
62. Clamp crank rod/eccentric assembly (Items 1-7) in vise.
Top of Pump
Bottom of Pump
 Loading...