Welcome:
S
TORING
Y
OUR
P
RE
-U
PGRADE
S
OUNDS
UP•5
Step 7 (Windows) -
On Windows, the Entry menu is at the top of the screen with
File and the rest of ’em. From it, choose
Save as...
>
Selected Entries
. SoundDiver
will give you a standard Save File dialogue box. The SoundDiver software’s Libraries
folder has been automatically selected for you as the destination for your library file.
You can change the name of your library by typing one here (we recommend
something like “POD Pre-Upgrade Sounds”), and then complete the Save by clicking
the
Save
button.
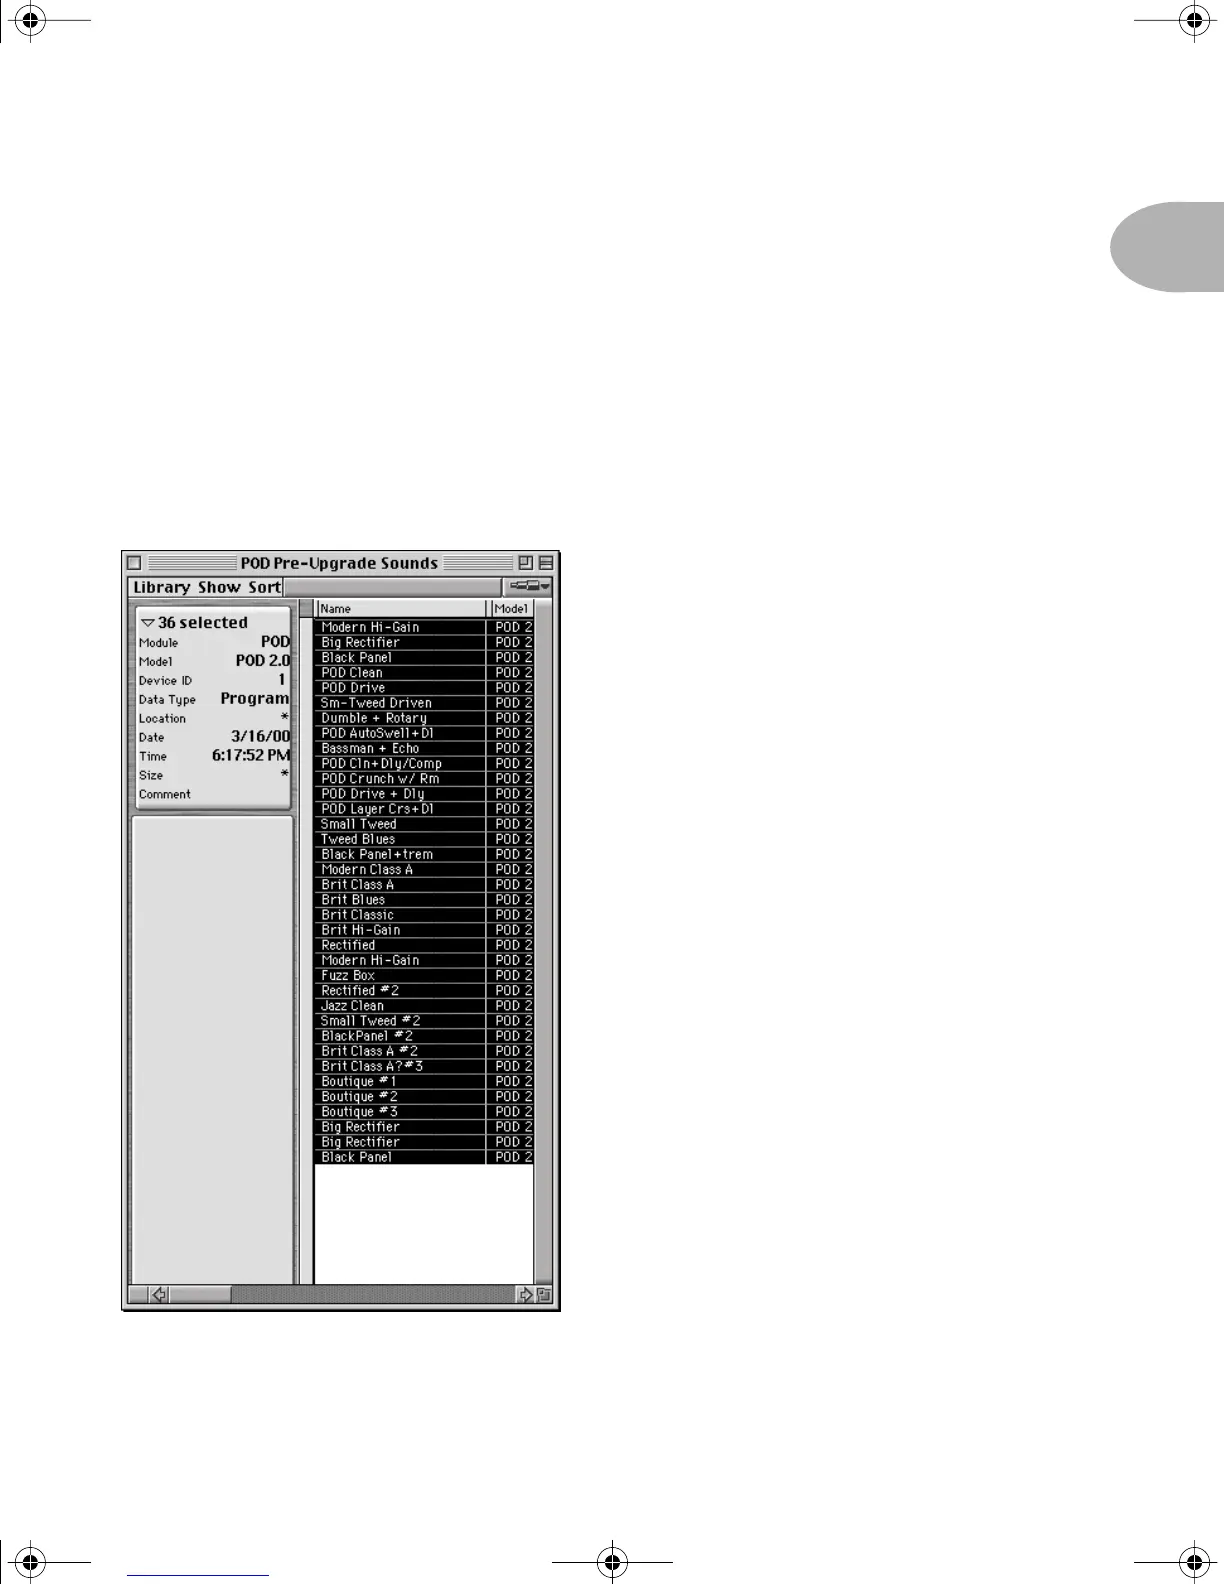
Step 8 -
As a final check to make sure
everything went as it should, choose
Open
from the
File
menu, and open the library
you just saved. You should see a window
like the one at the left, listing all 36 of your
POD’s memories.
Congratulations! You’ve now backed up
the memory of your POD, and are ready to
install your upgrade chip.
POD 2.0 Upgrade Guide Page 5 Wednesday, June 21, 2000 9:20 PM
 Loading...
