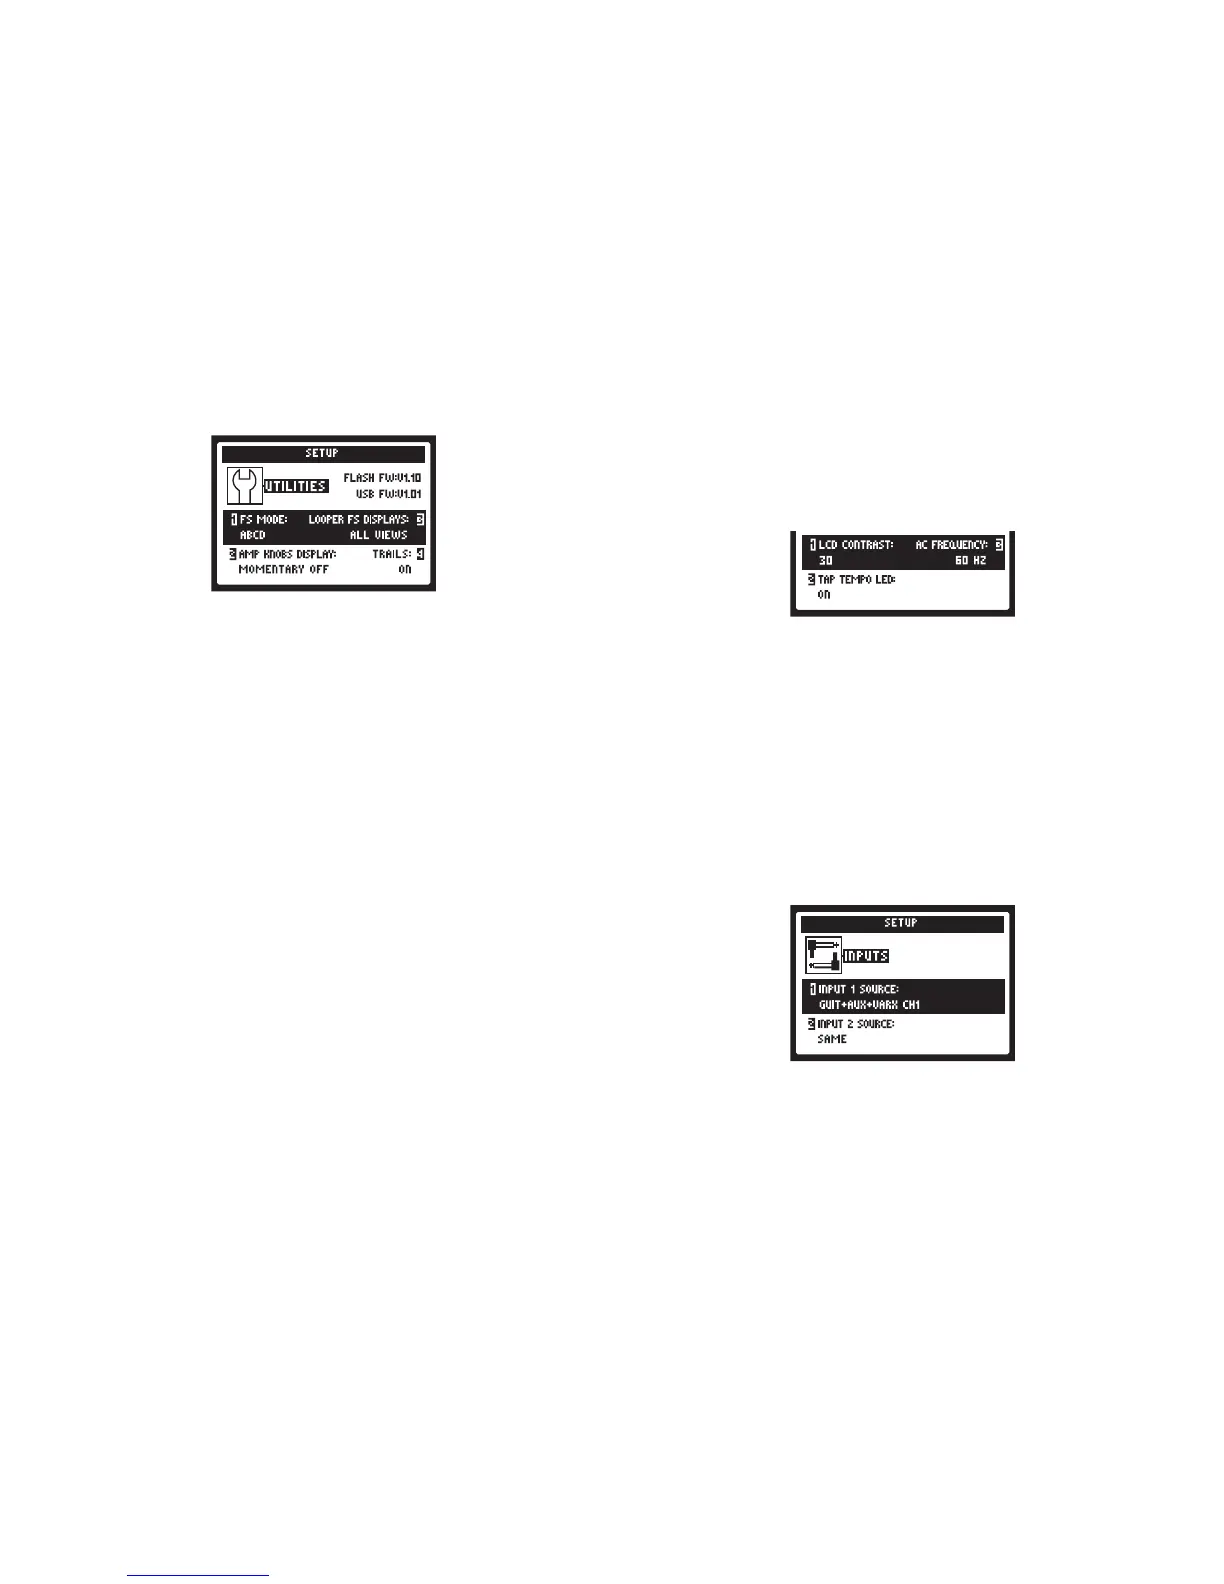
Setup: Utilities Options
The top portion of the screen lists the Flash Memory and USB Firmware
versions currently installed on your POD HD500X device. You can use
Line6Monkeytoeasilycheckforandinstallallavailableupdates.The
lowerportionofthescreenoersfouroptions,adjustableusingtheMulti-
functionKnobs1-4.
Knob 1 - This option congures the function of POD HD500X foot-
switches FS5 through FS8. This setting is “global” (persists regardless
of the current preset). Choose FS 5-8 for “Pedalboard Mode,” where
thesefootswitchestoggleFXblocks 5-8On/O. (WhileinPedalboard
Mode,theA,B,C,DfunctionsarestillaccessiblebypressingtheBank
Up/Downfootswitches.)ChooseABCDfor“PresetMode,”wherethese
footswitches act as Preset Channel switches.
Knob 2 - Allows you to have the LCD screen momentarily display the
Amp Tone Knob settings whenever adjusting any physical amp knob.
This is a global setting.
Knob 3 - When the LOOPER footswitch is toggled on to engage Looper
Mode,thePerformance Viewscreenautomaticallychanges todisplay
Looper footswitch functions. This is a global setting. The two selections
hereoerthefollowingbehaviorswhenLooperModeisactive:All Views
shows the Looper controls in the LCD regardless of the currently selected
View. Performance View shows the Looper screen as the Performance
View screen (and allows the 3 Home View screens to still be displayed
when toggling the VIEW button).
Knob 4:Whensetto“On”allowstheechorepeatsand/ordecayofDelay
andReverbFXtocontinuewhentheModelistoggledo-thisaects
theFXLoop block as well...how cool! Withthe Trails option “O” the
decayismutedinstantlywhentogglingtheModelo.NotethattheTrails
feature does not provide a “spillover” of the FX decay when changing
Presets. The Trails setting is saved per Preset.
Setup: Utilities Options
The adjustable options at the bottom of the screen are as follows - all are
global settings.
Knob 1 - Adjusts the contrast of the POD HD500X LCD screen.
Knob 2 -Choose“On”tohavetheLEDlightfortheTAPfootswitchash
to indicate the current Tap Tempo value.
Knob 3 - The AC hum typical of the AC Vacuum Tube Heater component
isanimportantpartofthetonalityofatubeamplier.We’veprovidedthe
optionheretosettheACRatetomatchthatoftheUSA(60Hz)orUK
(50Hz)frequencyfor authenticity andcompatibility whenfeeding POD
HD500X to a tube amp plugged in to either type of power source.
Setup: Input Options
Use this page to choose among the various hardware inputs as a source
for your patch.
 Loading...

