Page 9 of 15 FA69397–2 English
Jun 2013
15
How To Use the USB Connection
Linx 5900 & 7900
3 Copy logos
3.1 Copy logos from a memory stick
NOTE: 5900 only. You can copy logos in bitmap (.bmp) file format from a USB memory
stick to the printer. Logos created on, for example, a PC should be saved to a folder
named ‘LINX\5900\LOGOS’ on a memory stick. Copied logos can then be added
to messages created on the printer, and the messages copied to other printers as
described in ‘Copy messages to a memory stick’ on page 4 and ‘Copy messages
from a memory stick’ on page 6.
This option is not available on the 7900 printer as the printer has logo creation
functionality as standard.
Only monochrome bitmap files (normal or inverted) can be copied to the printer.
Only logos that are less than or equal in height to the currently selected maximum
print height (based on the rasters available) can be selected for transfer to the
printer.
The maximum allowed width of a logo is 1000 mm (based on the standard raster
pitch of 0.353 mm, which is equivalent to 2832 pixels).
To copy logos from a memory stick to the printer:
1 Insert a memory stick into the USB connector at the front of the printer (see note on
page 2).
2 Select the Copy Logos from USB option to display the Copy Logos from USB
page.
NOTE: If there are a large number of logos saved on the memory stick, the printer
can take several minutes to display the data.
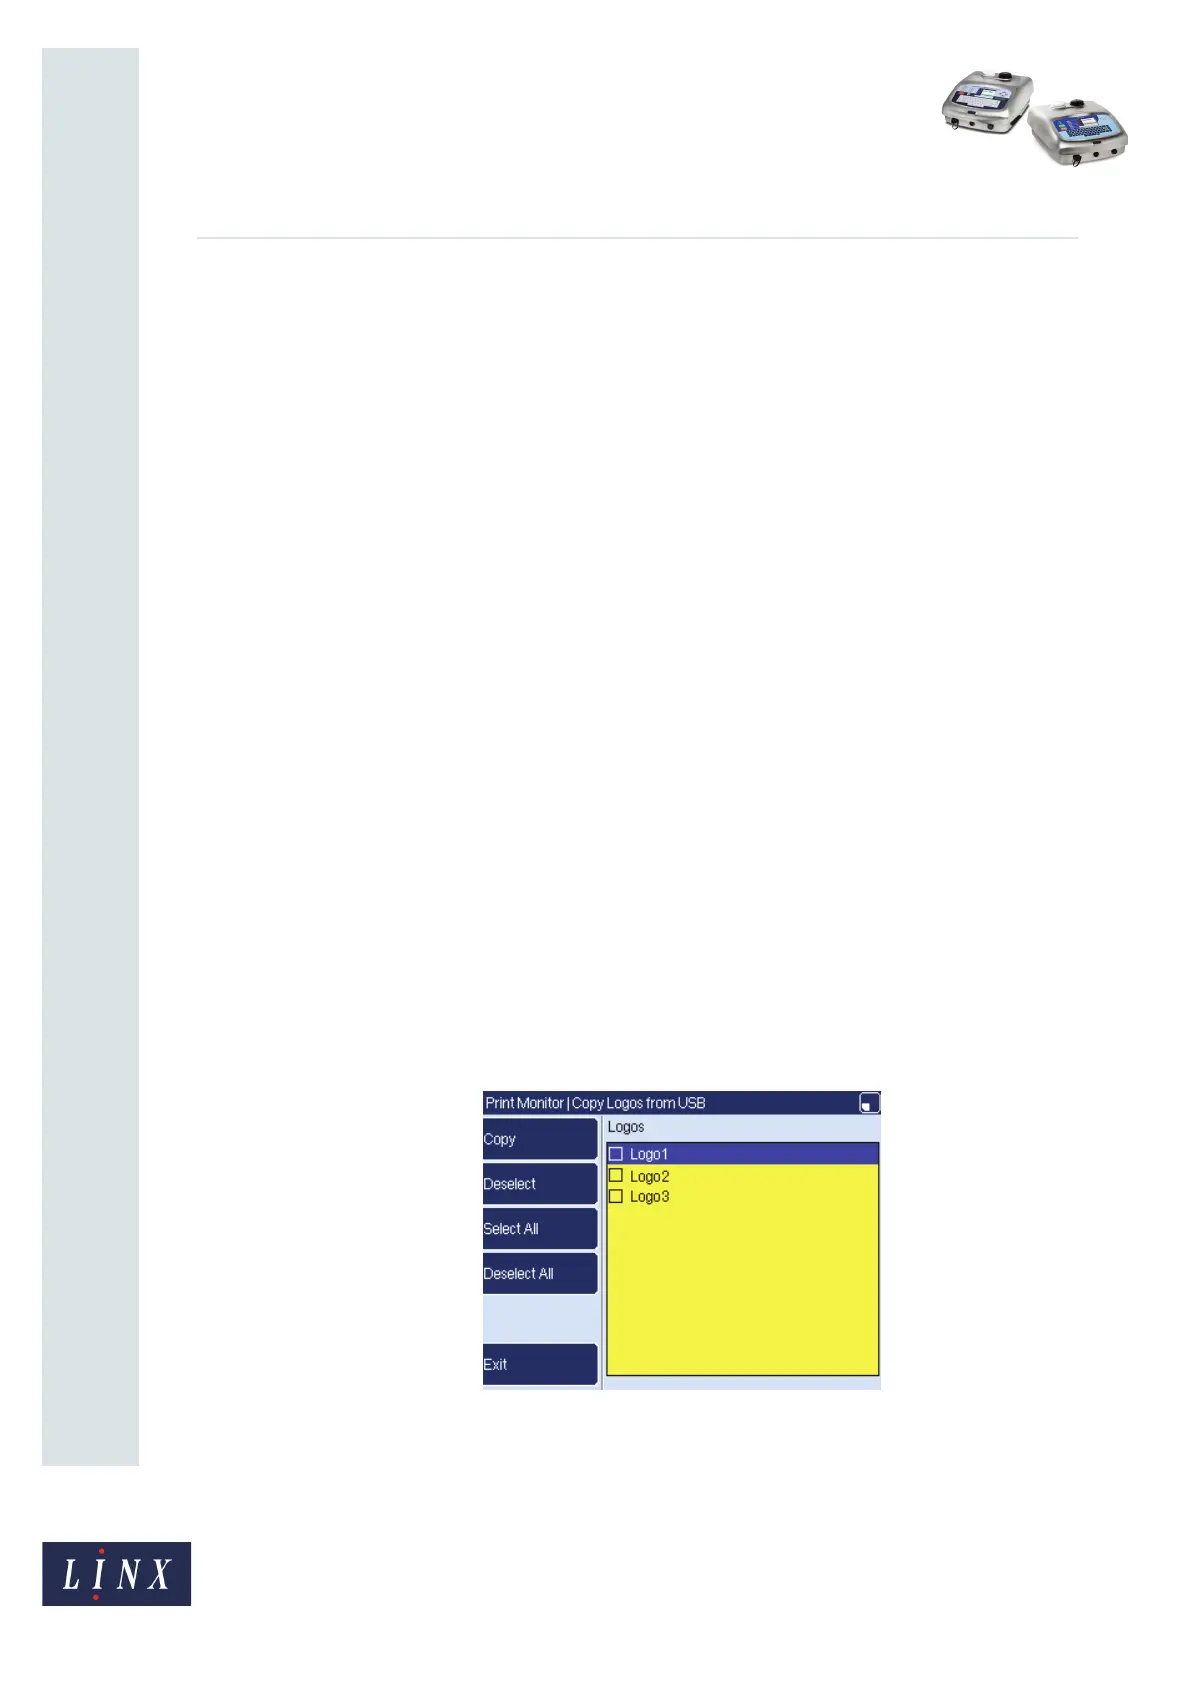
A list of logos that are saved on the memory stick is displayed. Only valid files in
bitmap format (see note above) are available for selection.
Figure 12. Copy Logos from USB page
NOTE: If there are no logos saved on the memory stick, the Copy, Select, Select
All, Deselect, and Deselect All options are not available.