Page 9 of 24 FA69354–2 English
Jun 2013
24
How To Create Bar Codes
Linx 7900
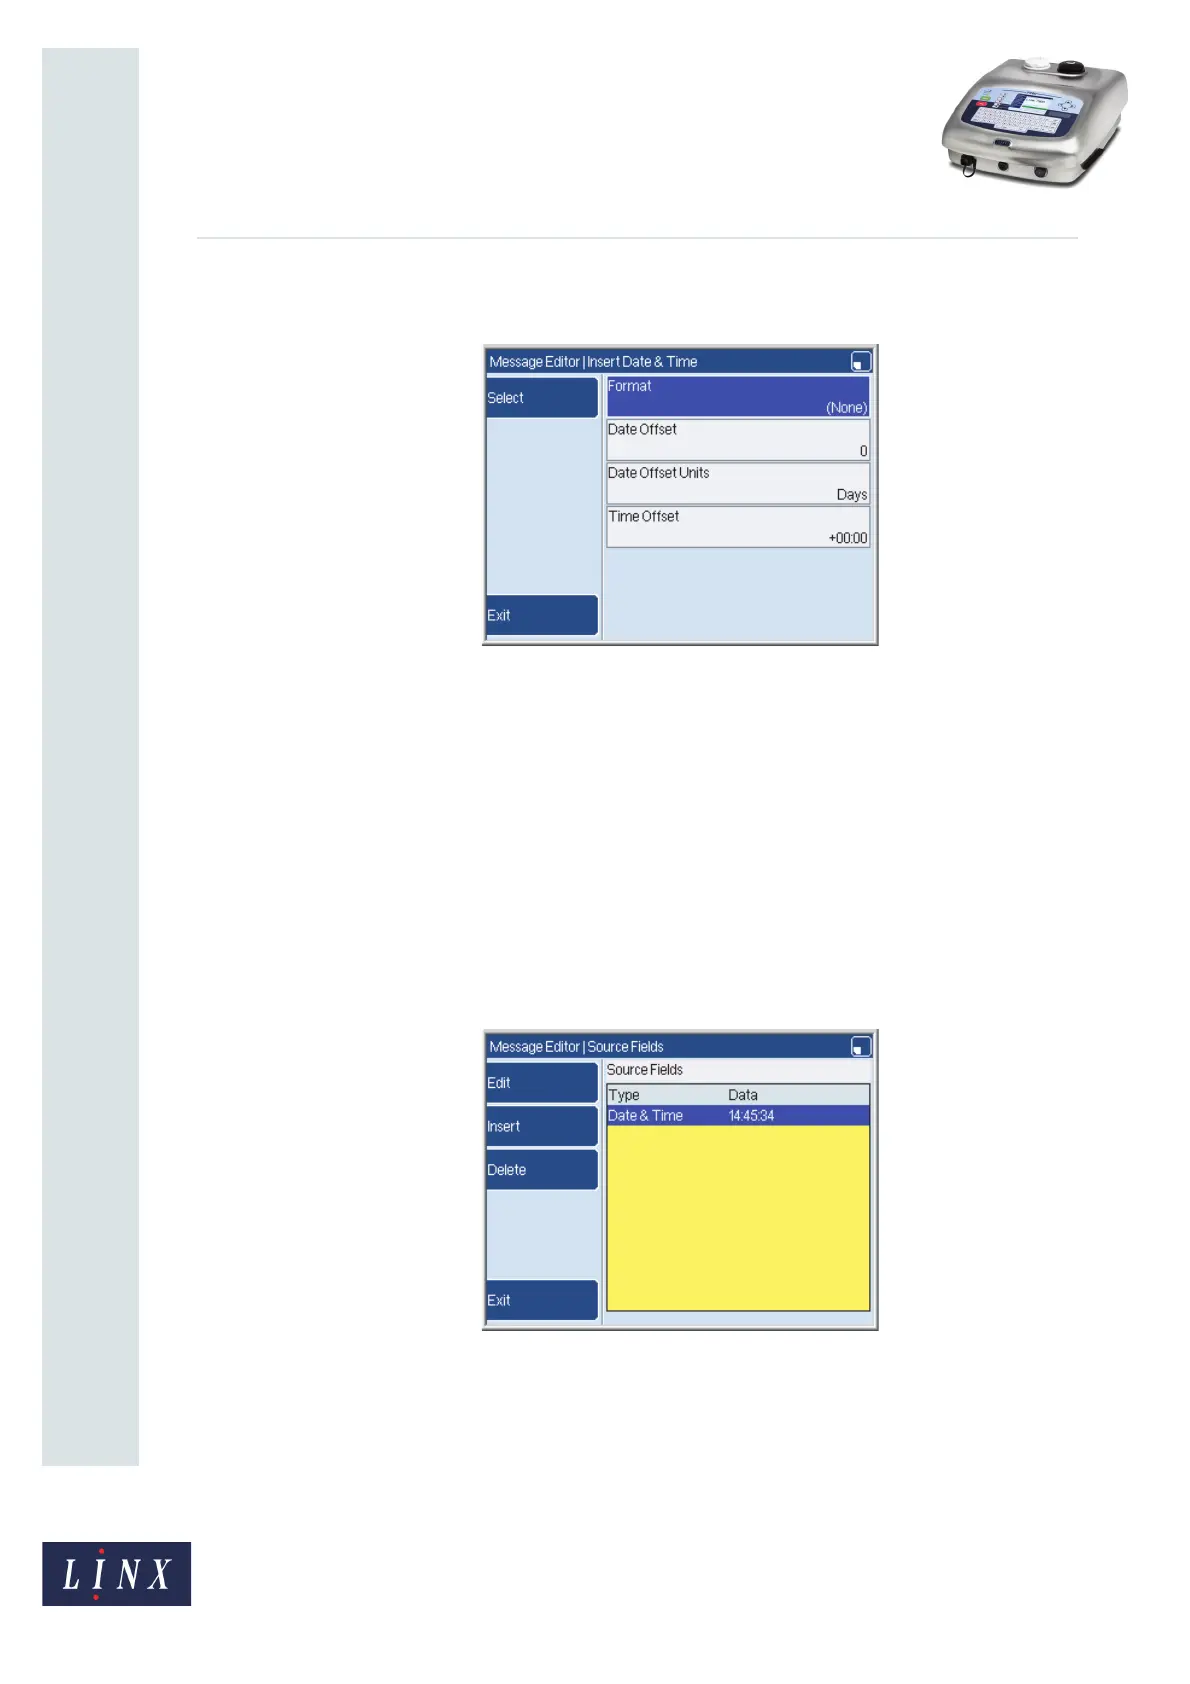
For example, if you select the Date & Time field type from the list, the printer
displays the Insert Date & Time page.
Figure 15. Insert Date & Time page
NOTE: There is no Options item on this page.
You use the page that is shown in Figure 15 to add a Date & Time format into a bar
code. When you insert a Date & Time field into a message, the Insert Date & Time
page has the Options item.
The Options item is not present in the pages that you use to insert other field types
into a bar code (for example, Text, or Shift Code).
10 Use the options on the ‘Insert’ page to create and configure the field as necessary.
(The ‘Insert’ page is different for each field type.)
11 When your changes in the ‘Insert’ page are complete, press the Exit key to return to
the Source Fields page. In Figure 16, a Date & Time field was inserted and the
format of this field is “HH:MM:SS”.
Figure 16. Source Fields: Date & Time field
69311
69312