3
lci1.com 574 - 537- 8900 Rev:0 4.10.18
Flow Max
TM
Galley Faucets
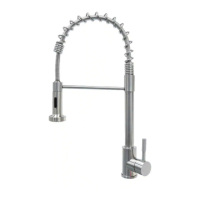
Installation and Owner’s Manual
(For Aftermarket Applications)
CCD-0001241
Resources Required
• Phillips screw driver
• Adjustable wrenches
• Bucket
• Flashlight
• Safety glasses
Prior to Installation
1. Shut off the hot and cold water outlet supply valves for
the existing faucet, typically located below the sink.
2. Relieve any pressure from the existing faucet by turning
the existing faucet on and off.
3. Place a bucket under the sink, under the supply lines’
supply valves to catch any excess water.
4. Using an adjustable wrench, disconnect the supply lines
from the outlet water supply valves. Place the supply lines
into the bucket to drain any excess water.
5. Under the sink, disconnect the mounting hardware for
the existing faucet and remove the faucet from the deck.
6. Make sure the deck around the mounting hole area is
clean, dry and free from any debris.
Installation
Fixed Faucet
1. Unscrew the metal collar with the two screws from the
faucet base and set aside (Fig.1A).
2. Remove the metal washer (Fig.1B) from the base and
set aside.
NOTE: Leave black rubber washer (Fig.1C) on faucet.
3. Place the faucet supply lines through the mounting
hole on the deck, making sure the black rubber washer
and faucet base are seated rmly on the deck of the sink
(Fig.2A).
4. Position the faucet base so the handle is to the right side
of the faucet base (Fig.2B).
NOTE: The handle can be positioned to the left of the
faucet base but is typically placed to the right. Placing the
handle in the middle may cause severe burns depending
on where the faucet neck is located when turning
on the water.
5. Under the sink, slide the metal washer (Fig. 1B) over
the supply lines onto the base of the faucet. Make sure
the metal washer is ush against the underside of the sink
deck and covering the mounting hole (Fig.3A).
A
B
Fig.1
C
A
B
Fig.2
Fig.3
A
sink deck
faucet base

 Loading...