10
lci1.com 574-537-8900 Rev: 03.19.18
Solera
®
Universal Hardware
Manual Awning to
Solera Hybrid Awning
(For Aftermarket Applications)
CCD-0001269
NOTE: Silicone sealant MUST be used on all screws and
holes to prevent water from inltrating the unit.
NOTE: Do NOT install fasteners to the lower and middle
sections of the wall mount arm at this time.
17. Repeat Steps 3-16 for the idler side of the awning,
skipping all cam lock instructions.
Fig.23
NOTE: The idler head does NOT have a cam lock,
therefore the cotter pin is holding all the tension of the
spring assembly.
NOTE: Be sure to handle with care and always have a
secure hold of the idler head.
18. Once the drive and idler side conversions are
complete, cut the nylon ties containing the support arm
assemblies.
19. Use the manual crank to fully extend the awning. See
“Operation” section of this manual.
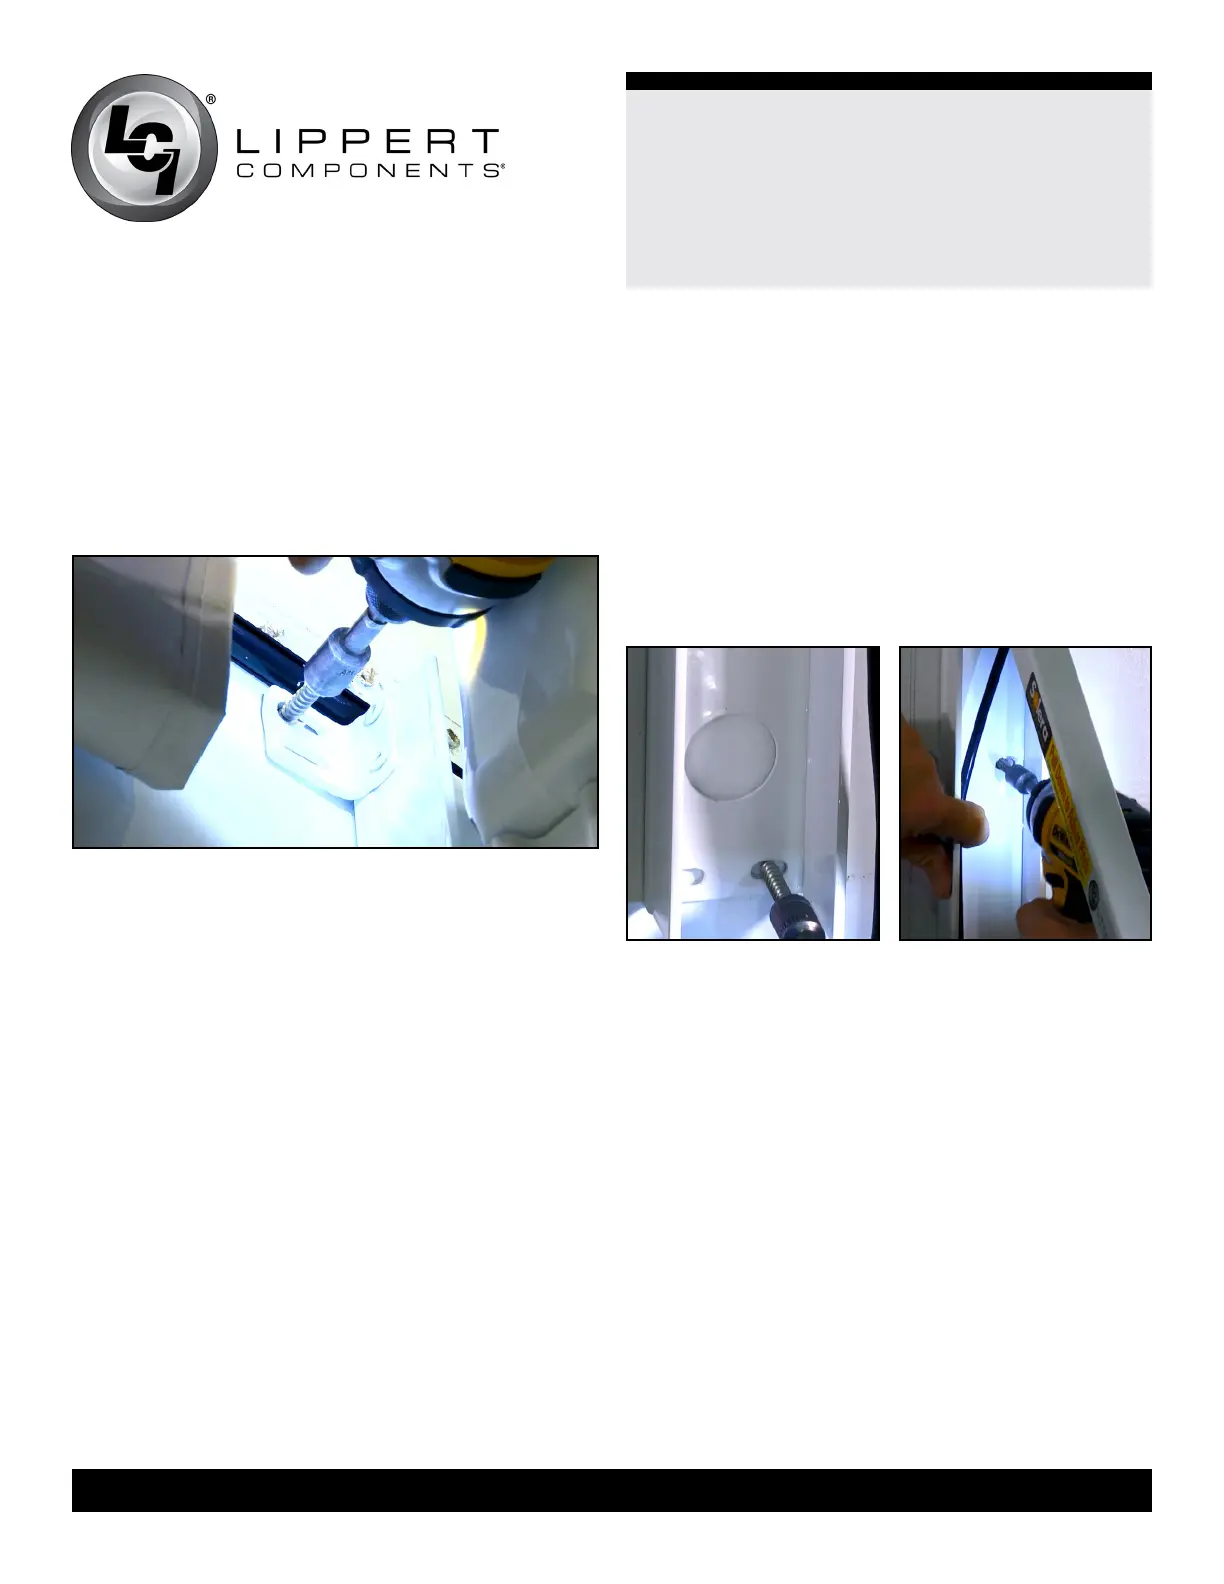
20. Secure the lower (Fig.24) and middle (Fig.25) sections
of the drive and idler mount arms to the unit with the
provided #14 x 1
¼” screws or rivets. Make sure arms are
square to the unit. (There will be 2 screws in the lower
holes and 2 screws in the middle holes.)
NOTE: Silicone sealant MUST be used on all screws and
holes to prevent water from inltrating the unit.
NOTE: For units with berglass sidewalls, LCI requires the
use of rivets for securing the lower and middle sections of
the mount arm.
Fig.24 Fig.25

 Loading...


