Rev: 06.01.2018 Page 3
Solera® Power Awning Owner's
Operation
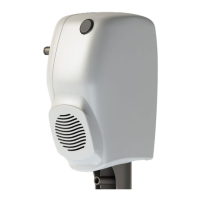
NOTE: Some coaches may not use the LCI switch (Fig. 3).
Extending the Awning
1. Verify the RV battery is fully charged and connected to the electrical system.
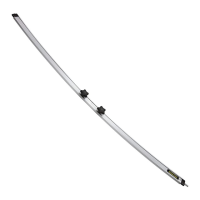
2. Locate the locking latch (Fig. 1), if equipped, and unlock the latch (Fig. 2).
NOTE: This latch is optional and may or may not be installed on one or both support arms.
3. Press and hold EXTEND (Fig. 3A) until the awning is extended completely.
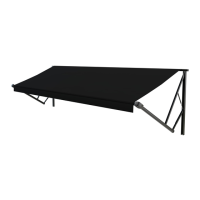
NOTE: Extension is considered complete when the fabric is completely unrolled, the valance seam is visible
and a section of the roll tube is exposed (Fig. 4).
NOTE: The awning fabric should always be above the roll tube. However, if the extend switch is engaged
too long or extend is hit inadvertently instead of retract, the awning will roll up backward. This is not
a defect. To correct the fabric orientation, press the RETRACT button. The awning will then extend
to its correct orientation and normal operation can resume.
Fig. 1
Fig. 2
Fig. 3
Fig. 4 - Complete Extension
Valance Seam
Exposed Roll
Tube Section
Retracting the Awning
1. Verify the coach battery is fully charged and connected to the electrical system.
NOTE: The awning can be retracted without resetting the pitch.
2. Press and hold RETRACT (Fig. 3B) until the awning is retracted completely.
3. Locate the locking latch (Fig. 2), if equipped, and lock the latch (Fig. 1).
NOTE: This latch is optional and may or may not be installed on one or both support arms.
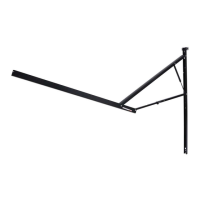
Tying down the roll tube once the awning is extended will not allow the free-floating support arms to
work as designed and may cause damage to the awning or RV.
A
B
Fabric
Roll
Tube
Valance
Awning
Head

 Loading...


