Rev: 05.22.23 Page 4 CCD-0001436
8. Install the next four #8 screws in alphabetical order (Fig. 1E-1H).
9. Install #8 screws in remaining pre-drilled holes on the door frame.
NOTE: Each pre-drilled hole in the outer frame should be filled. Do not use additional screws.
NOTE: Screws must be installed straight on the latch side of the door. Screws installed at an angle will
cause the door frame to twist and may prevent the door from opening properly. This can also result
in latch damage.
NOTE: On stick and tin units, install screws at the ridges of the siding metal first, then valleys.
10. Install snap trim (Fig. 2A). Snap trim is installed from the outside in. Match the long leg of the snap trim
to the long leg of the door frame.
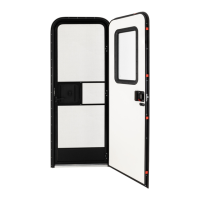
11. Remove the jig (Fig. 3A) holding the screen and entry doors together.
12. Remove the spacer blocks on the entry door after the door is installed.
NOTE: There is a spacer block (Fig. 4A) on the very bottom of the door.
A
Fig. 2
A
Fig. 3
A
Fig. 4
 Loading...