STEP 1: PREPARING THE DOOR
1.1
If you are installing the Lockly Secure
smart lock on an existing door, please
remove existing door hardware and latch
or bolts before installing the new lock.
You can remove most existing door locks
with a screwdriver.
If you are having problems removing
your existing door lock or unsure if what
you are doing can damage the existing
door, please contact a locksmith or the
current door hardware manufacturer for
assistance.
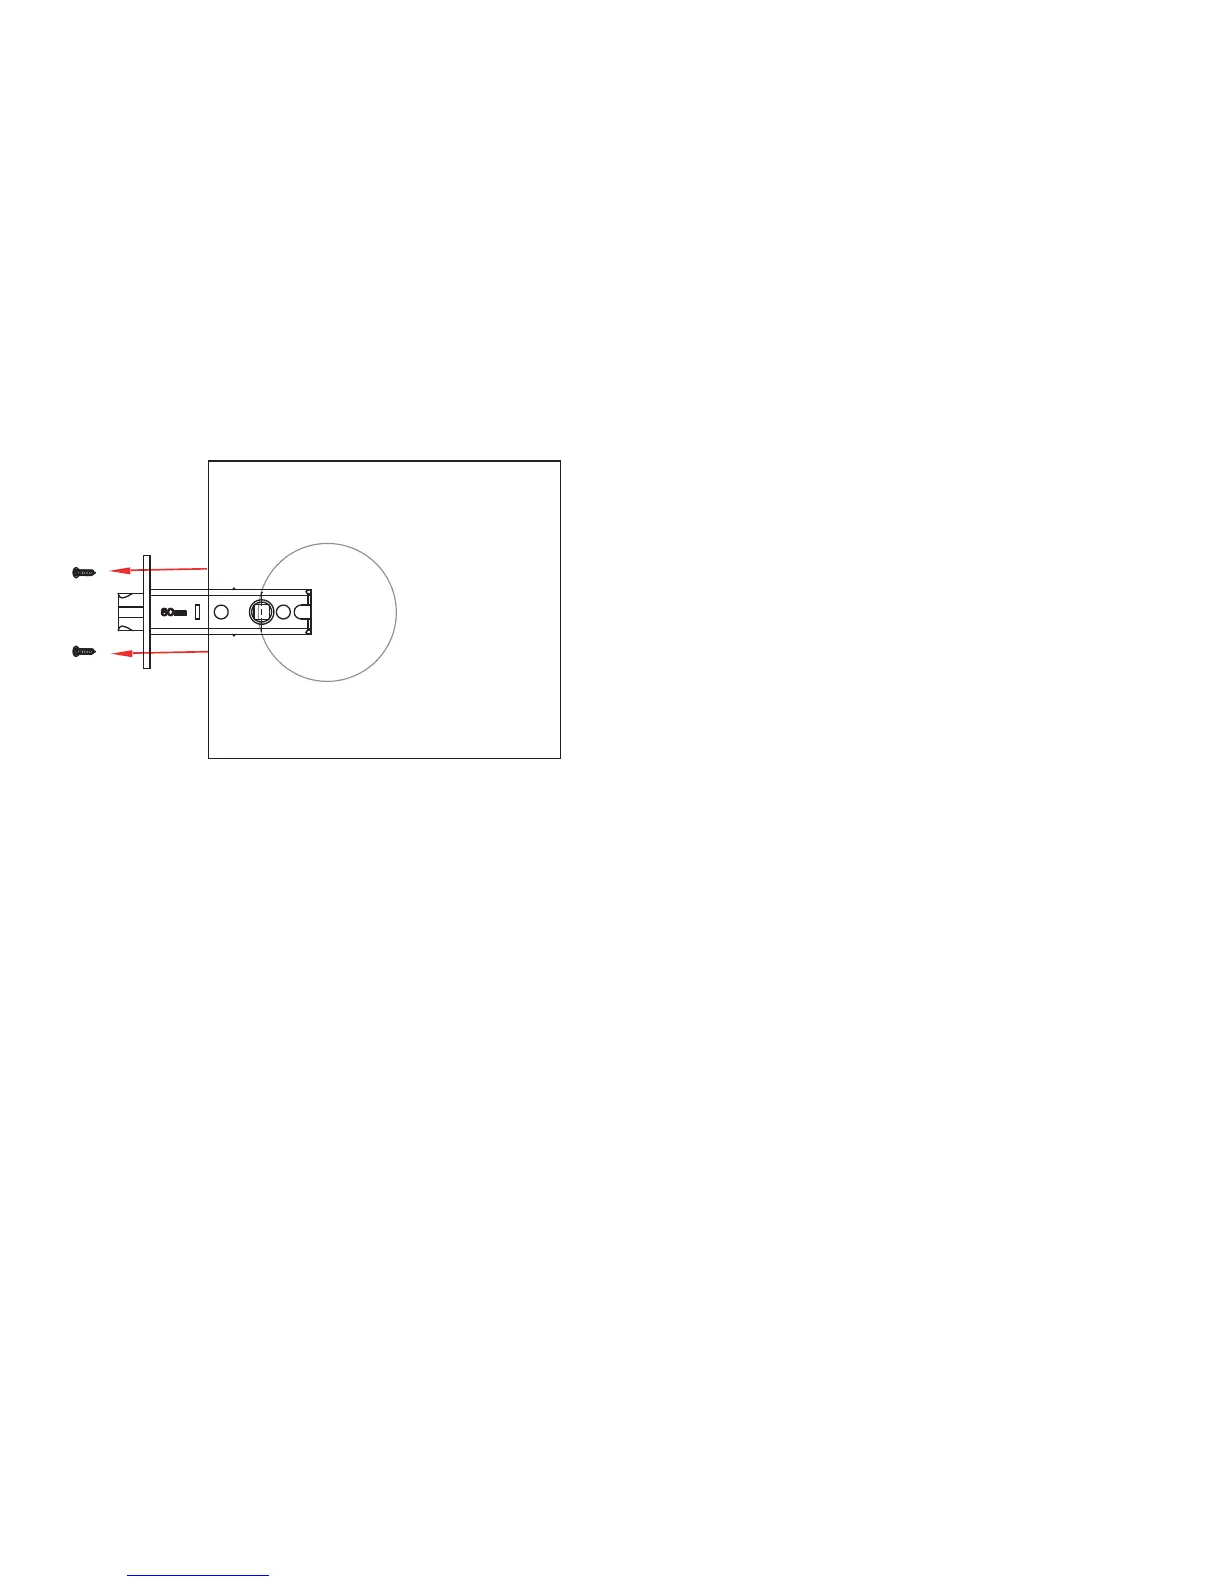
1.2
After removing the exisiting lock, make sure your door is properly prepared. If you
need to drill holes in your door, please use supplied templates to assist.